Hen Wing Sulphur Spinner
Fly and Photos by Loren Williams
Mayfly imagoes, or "spinners," are an incredibly important food source for the fly angler. These fully mature mayflies have just completed the mating and egg-laying rituals and are succumbing to death. With wings outstretched, the bugs lay helpless and motionless on the surface, going only where the currents take them. Very often this "spinner fall" happens at dusk, or very early in the morning. For these reasons, trout are all over them! Logically it makes sense: the bugs are easily captured and can be found virtually anywhere there is current-often collecting in mass along seams, foam lines, and in back eddies. Using the low light conditions as cover, trout can ease into shallow water or hang just under the surface and sip these morsels at will, expending very little energy. This is an equation that can equal some very big trout!
Fishing spinners poses a few difficulties for many anglers. The first problem is realizing when the trout are eating spinners and not duns or some other insect. Anglers need to be alert to what is going on over their heads. Spinners will come out of the vegetation, often at treetop level, where they will gather in a cloud to mate. After mating, the males will depart and die and the females will lay their eggs and die. Usually the progress of the event can be tracked as the cloud gets lower and lower to the water. Once the bugs are at eye level you can expect the trout to turn on to them.
The other issue at hand is imitating theses creatures. Spinners will develop transparent wings, long tails and slim, often darker bodies, when they molt from the dun or sub imago stage. These features will be represented differently on the water's surface especially in the calmer areas that the trout tend to await them. In order to be consistently successful you'll need patterns which are flush floating, durable and provide an accurate footprint on the surface.
The Sulphur species (Ephemerella invaria, rotunda and dorothea) are one of the few Eastern US mayflies whose duns do not molt into a spinner with a brown body. These species are more adequately represented with a dirty tan dubbing.
I have chosen to demonstrate hen hackle spent wings on this pattern. While I prefer to use poly wings, hen hackle (and CDC) can be useful for stillwater applications or where fishing pressure is intense. You'll find that flies tied with these material land softer and produce a softer footprint. However, they are far less durable.
MATERIALS
Hook: Partridge SLD (#10-#18) or similar fine wire dry fly hook
Thread: Dark Olive or Tan
Wings: Light Dun Hen Hackle
Tails: Microfibetts
Body: Dirty Tan Dubbing
Click photos to enlarge!
|
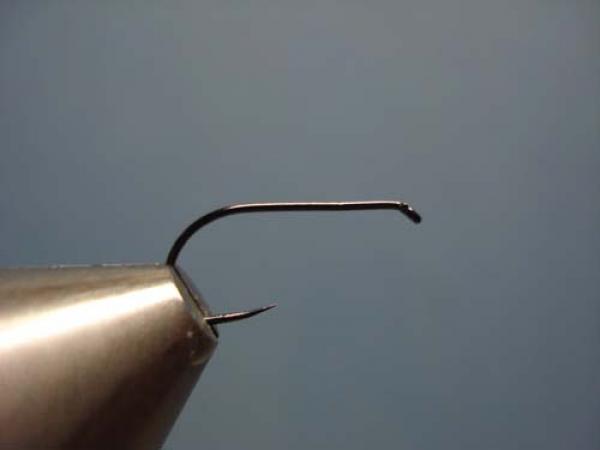
Place barbless hook firmly in your vise. |
|
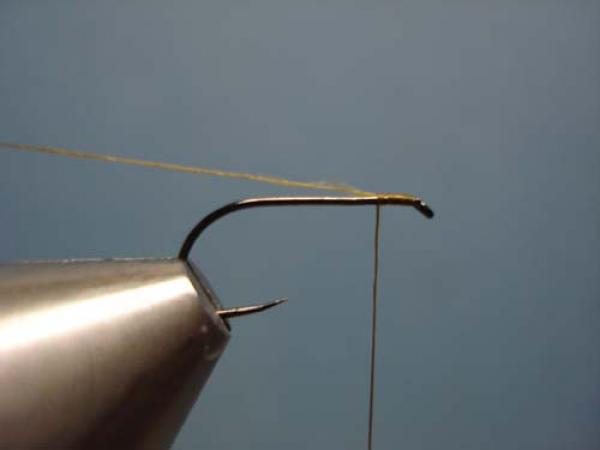
Making a long tag end, start the jam knot behind the hook eye and run it all the way rearward on the shank, binding the tag to the top of the shank. |
|
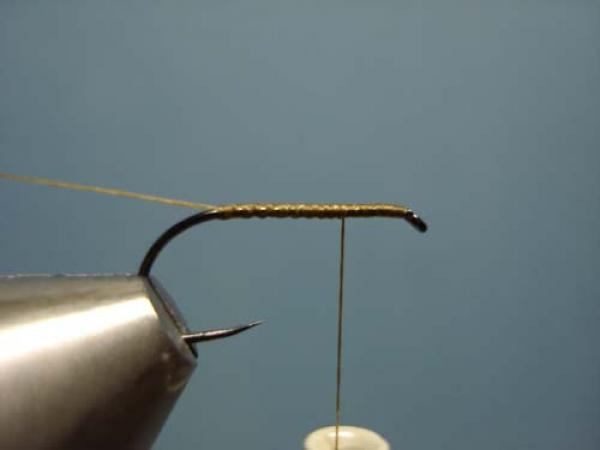
Place the thread tag in your material clip and run the thread forward to the 1/4 point of the shank. |
|
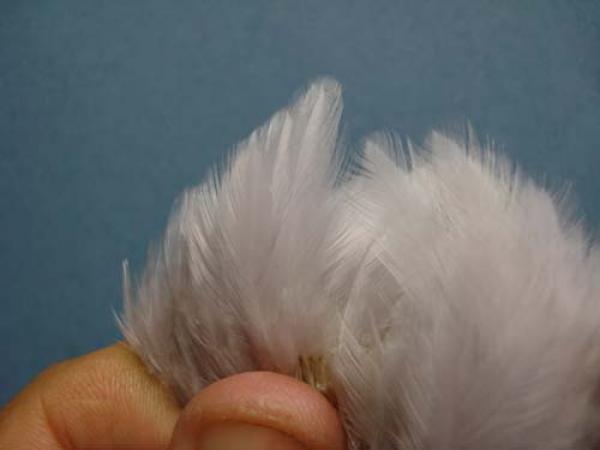
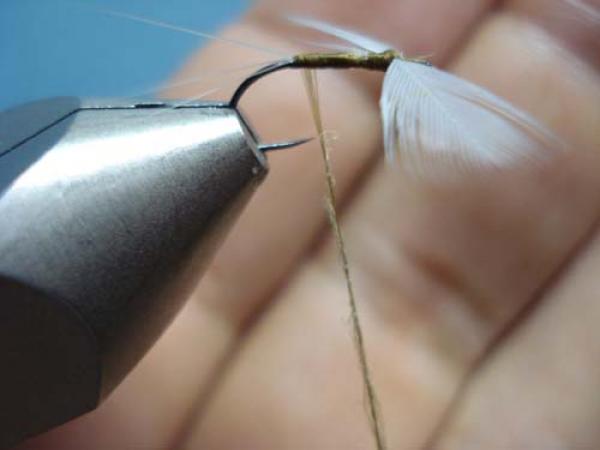
Obtain a light dun hen cape whose feathers are fully webbed and broad across the top. |

|
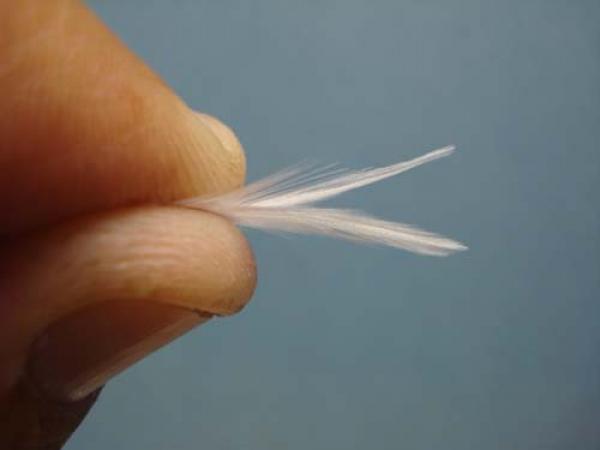
Remove two matching feathers whose width is upwards of twice the gap of the hook. |
|
Most tiers, in my opinion, use hen hackles that are too thin when winging flies. Once prepared, secured and placed, the feathers will lose a significant portion of their width. Also, the webbing is crucial to provide the strong wing outline. |

|
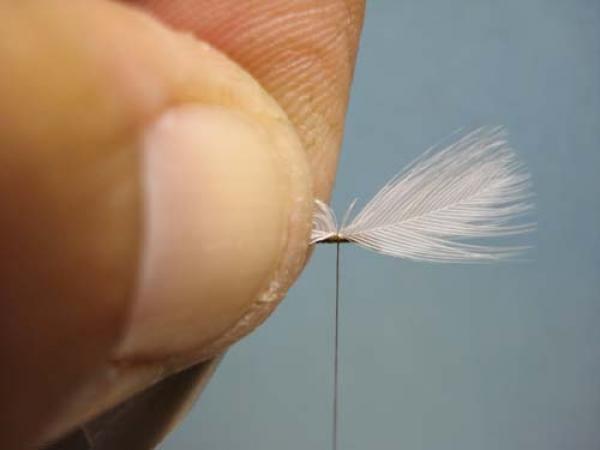
Flip one feather over so that they lay back-to-back with their tips even and facing the eye of the hook. |
|
Measure the tips to be equal to the overall hook length and fold back the barbs below that point. Do not remove the barbs or you will weaken the stem. |

|
Slide the measured point forward to the thread. |

|
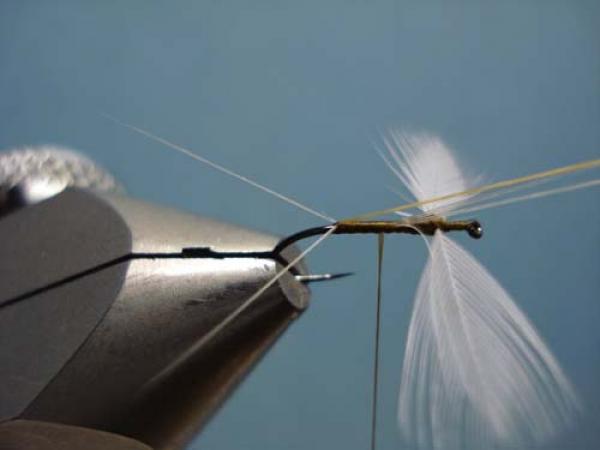
Make one pinch wrap... |

|
... |
|
Followed by a second pinch wrap... |
|
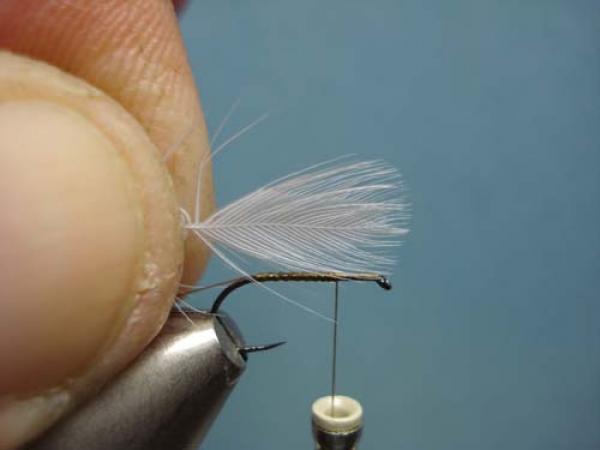
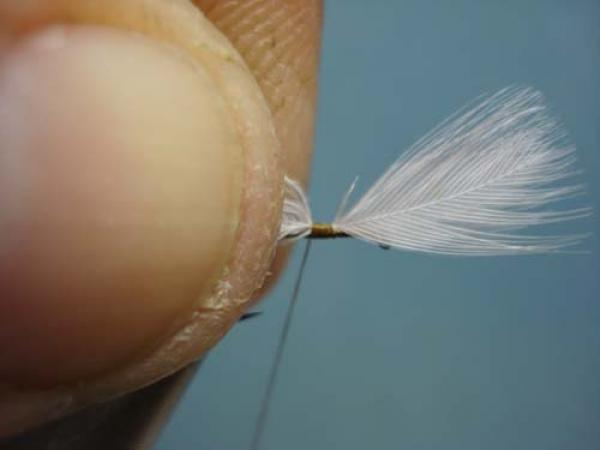
...to secure the wings atop the hook. |
|
Support the rear section of the hackles.... |
|
..as you make several thread wraps to the rear. |
|
Clip the excess. |
|
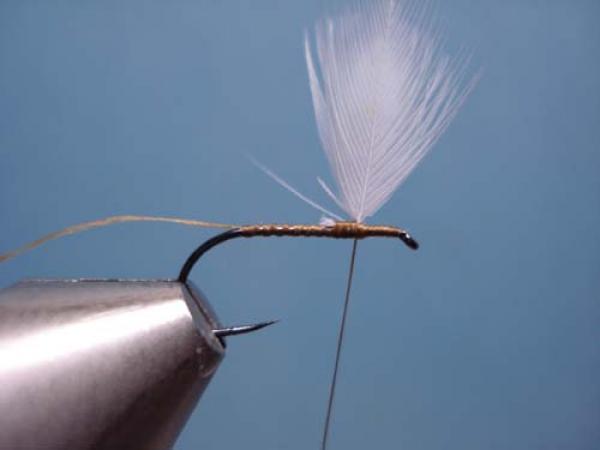
Advance the thread back to the wings and gently pull the wings back. |
|
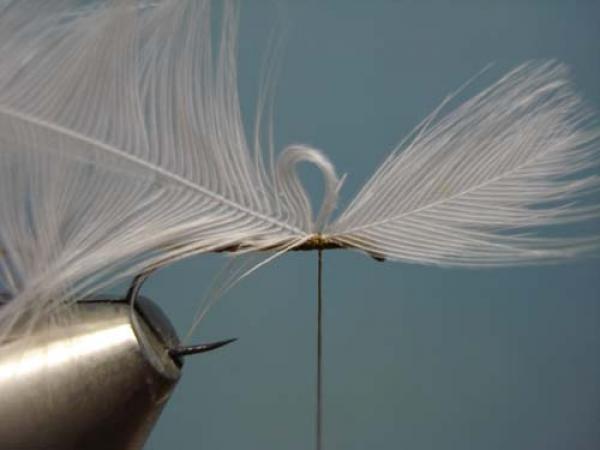
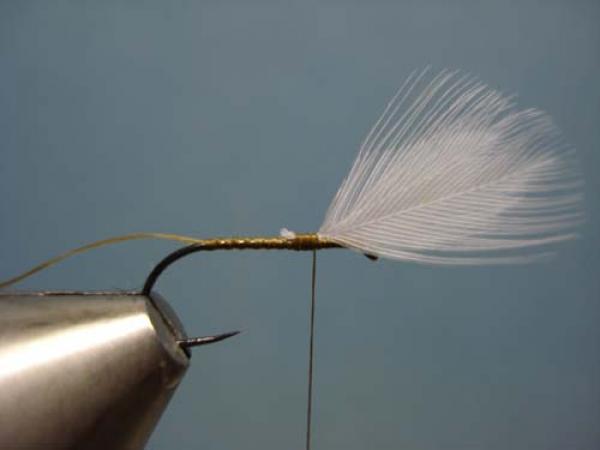
Form a small thread dam to support the wings temporarily upright, but more importantly perpendicular to the hook. |

|
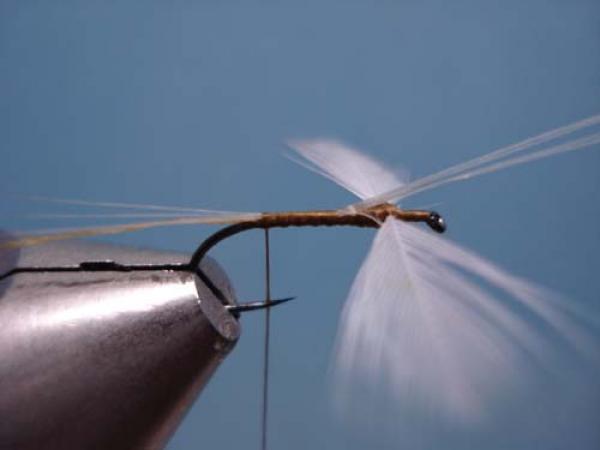
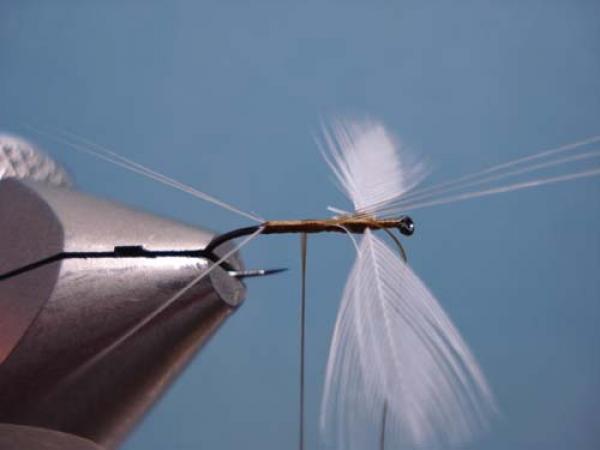
Make several "x-wraps" between the hen wings to support them in the spent and divided position. |

|
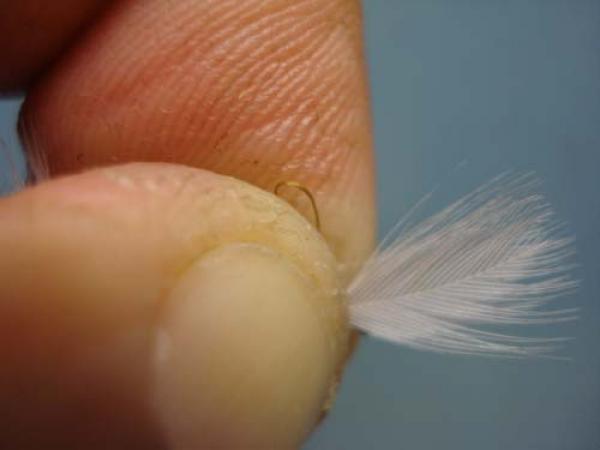
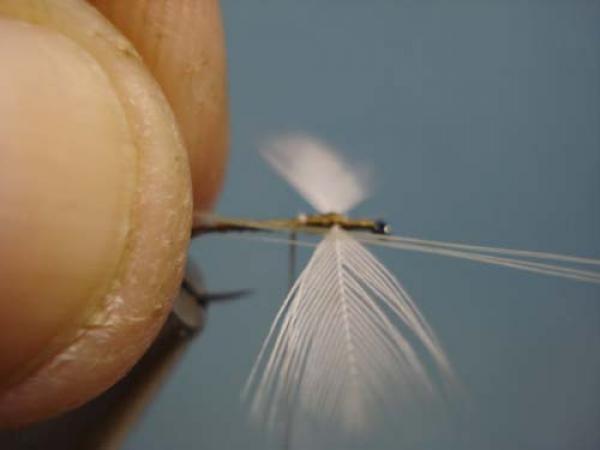
Obtain some light colored Microfibett tailing material. Remove 4 individual "barbs," keeping the tapered tips even. |

|
With the tips to the rear, measure to be equal to 1.5 times the hook length. |
|
Keeping the measured point at the rear edge of the hook... |

|
...secure the tailing material to the shank at the rear of the thorax. |
|
Secure them to the top of the shank as you wrap to the bend. You can best do this by holding the fibers up at a slight angle as you wrap back on them. |
|
Come back to the thorax with the thread. |
|
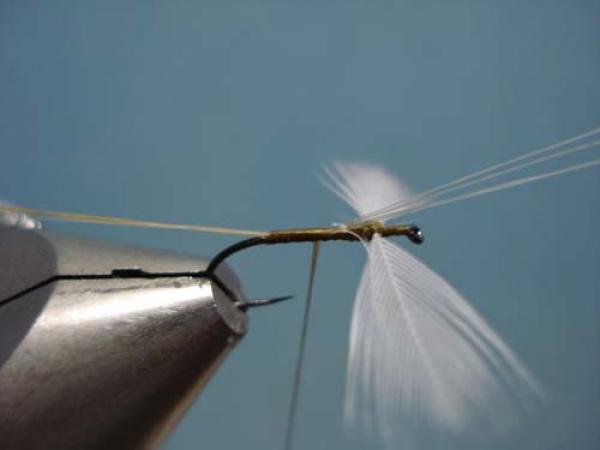
Pull the thread tag up between the tail fibers, splitting them 2 per side. As long as you kept the tag and the fibers on top of the shank you will end up with nicely split tails. The harder you pull the tag forward, the wider they will splay. I like them at about 45-degrees. |
|
When you find the position you like, secure the tag with several thread wraps. |

|
Clip the thread tag and excess tail fibers. |

|
Take the thread to the rear stopping short of the tail. |
|
Dub your thread with a VERY thin tight dubbing. No need to dub right up to the hook. This is why we do not run the thread back to the rear. You can use up the gap of naked thread as you take the thread back to the tail, this ensures your first wrap of dubbing goes on right at the end of the abdomen. |
|
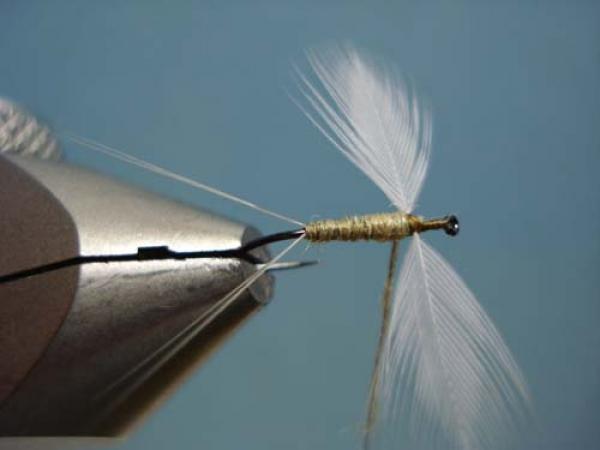
Dub a thin, tight body right up tight to the rear of the wings. Be careful not to trap wing fibers. |

|
Make a series of X-Wraps between the wings to dub that section of the thorax. Keep it thin. Usually one series is sufficient. |
|
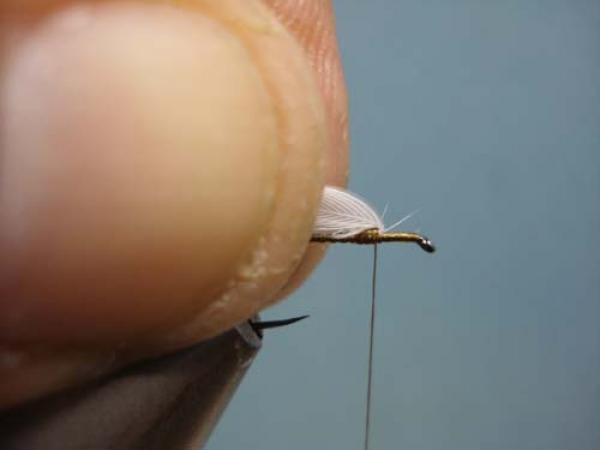
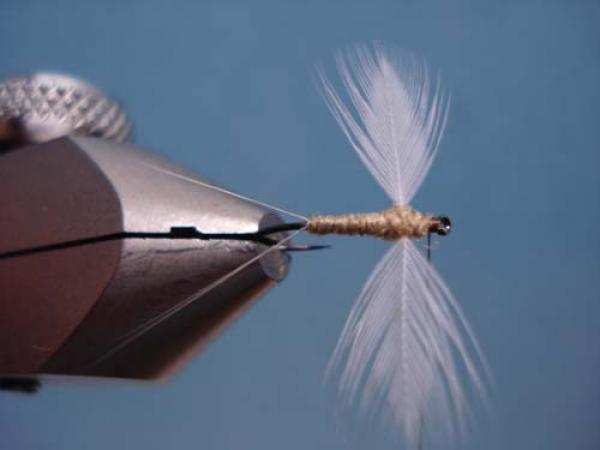
Gently, pull the wings out of the way. Dub the forward section of the thorax, stopping short of the hook eye. Form a neat head, whip finish and clip the thread. Cement for durability. |
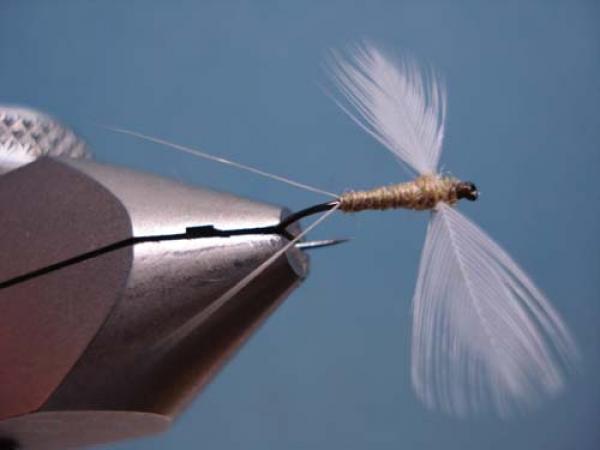
|
A completed Hen Wing Sulphur Spinner! |