Sulphur Parachute
Fly and Photos by Loren Williams
"Sulphur" is a generic term we use to indicate the species of yellow mayflies that hatch in the evenings on most eastern US waters. These mayflies are delicate evening risers and therefore are also called Pale Evening Duns, counterparts to the west's Pale Morning Duns.
Most commonly when the term "sulphur" is used, reference is being made to the three species of Ephemerella that hatch in succession. E. invaria is the largest (#12-#14) and starts the ball rolling. The hatch progression finds the smaller E. rotunda coming off next (#14-#16) tagged along by the smallest, E. dorothea (#16-#18). Typically, nutrient-rich spring creeks have larger specimens than do freestone streams or tailwaters. It is also noteworthy to mention that some watersheds produce a sulphur that is strikingly orange in body color.
Although most sulphur activity is complete by the end of June, there will be some systems that entertain hatches all summer, the Delaware River is a prime example.
There are some other species that can be equally imitated by the generic sulphur patterns, most notably the Epeorus vitreus and some Heptagenids.
Parachute versions of mayfly duns offer some variation to your dry fly arsenal. I find these types of patterns to be well suited when an angler feels a slightly more accurate profile is in order. These flies will ride lower in the surface film and can be just what the doctor ordered for fussy fish or calmer pools.
MATERIALS
Hook: Partridge SLD (#12-#18)
Thread: Pale Yellow
Tail: Lt. Dun Microfibetts, split
Body: Pale Yellow Fly Rite Dubbing
Wing Post: Gray Poly Yarn
Hackle: Oversized Lt. Dun
Click photos to enlarge!
|
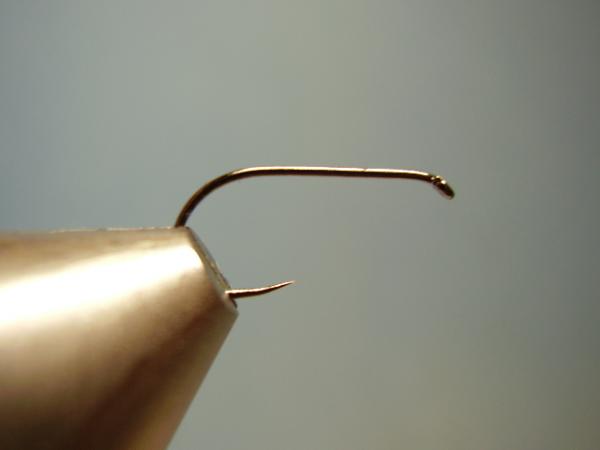
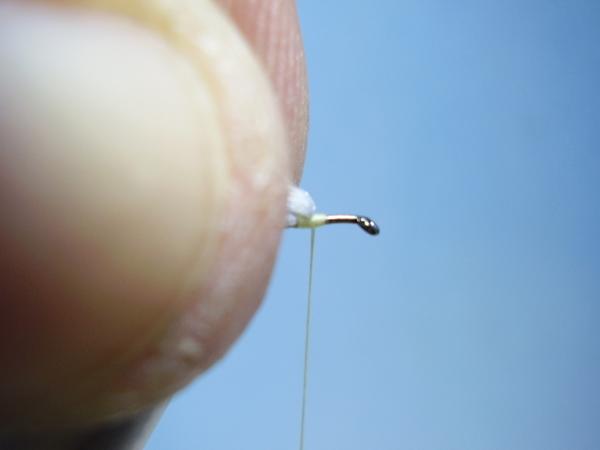
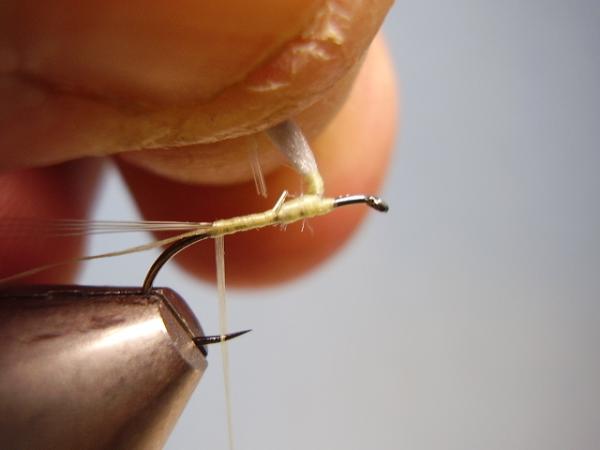
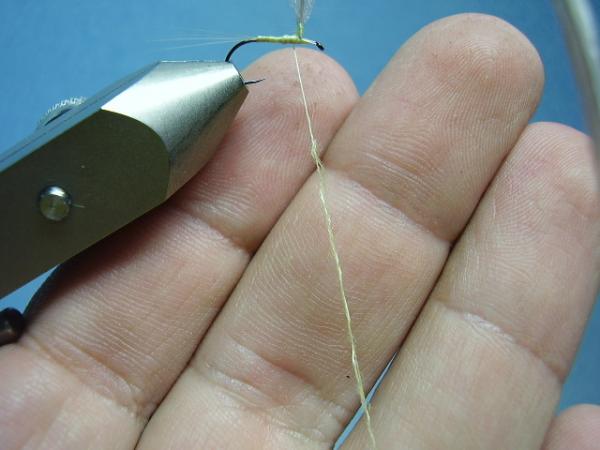
Place the barbless dry fly hook in your vise making sure the jaws are gripping a broad surface area of the hook. |
|
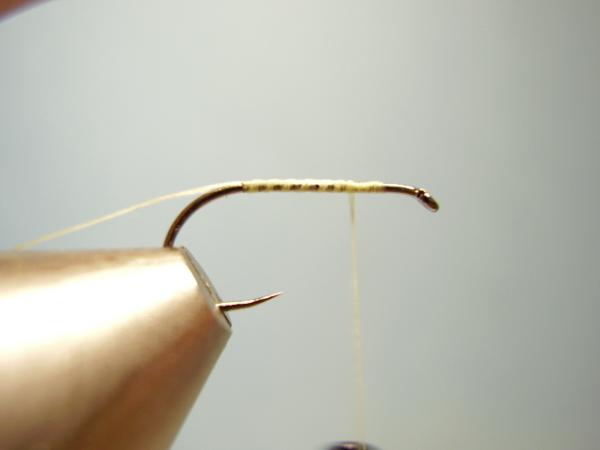
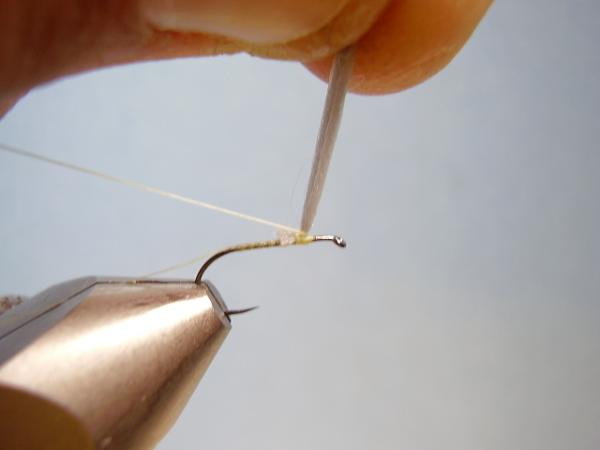
Leaving a LONG tag, start your jam knot behind the eye and lay a thread base to the rear. Be sure to keep the tag on top of the hook shank. Do not clip the tag, instead, place it in your material clip. |
|
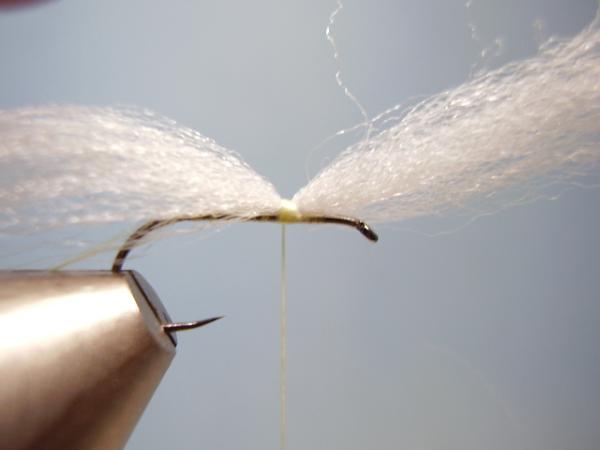
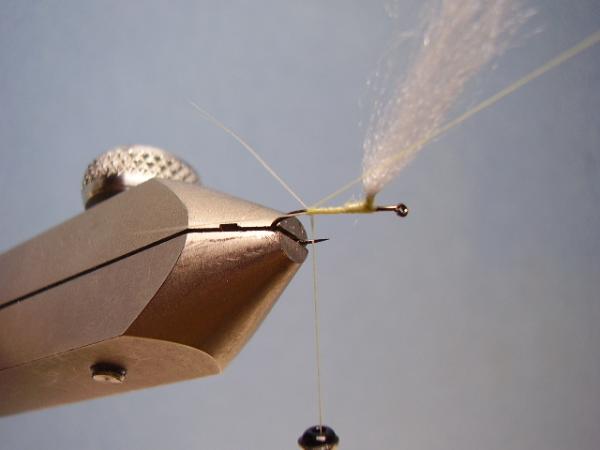
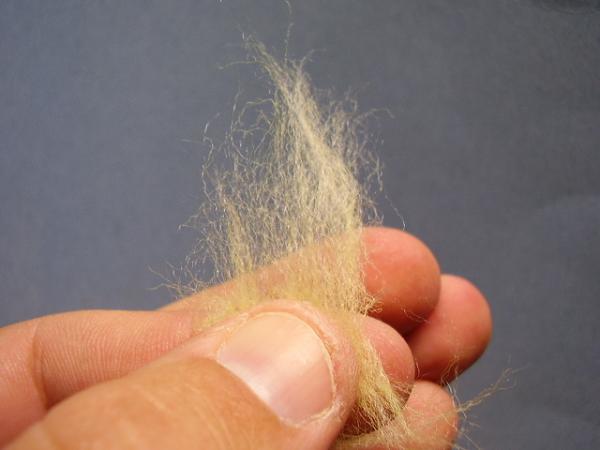
From a section of gray poly yarn, split the yarn to about 1/2 it's original thickness. |
|
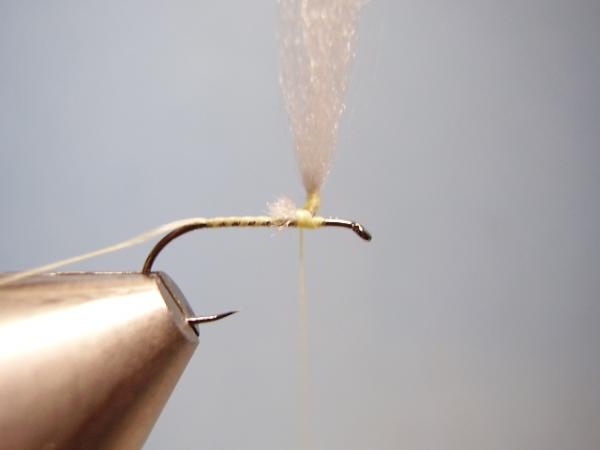
With the thread 1/4 to 1/3 of the way behind the eye, secure the poly yarn to the top of the shank with 5 tight wraps--long side over the eye. Clip the butt ends that are facing the rear. |
|
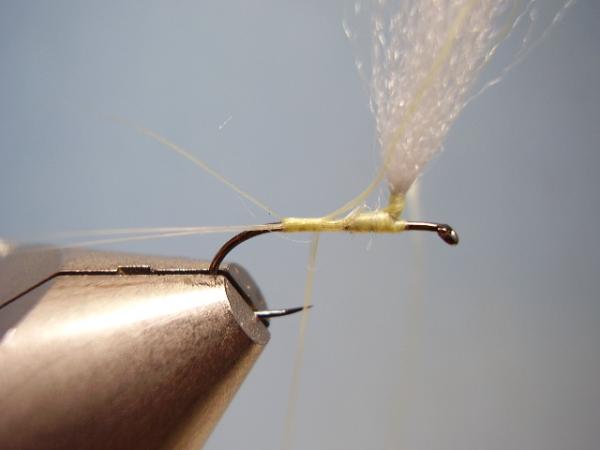
Grasp the front end of the yarn and pull it up and to the rear as you lay a small, but very tight thread dam in front of the yarn. |
|
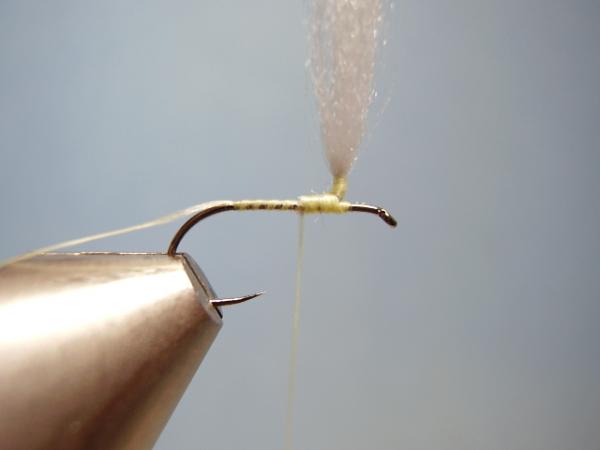
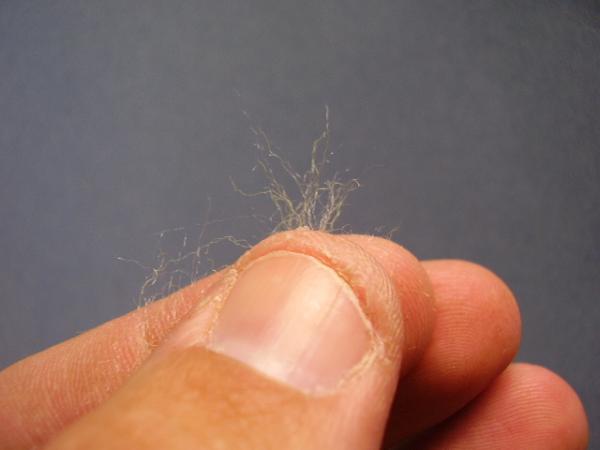
Stand the yarn erect, and while using your hand to support the yarn, wrap a base of thread around the base of the yarn. Be certain to briefly relax the thread tension as you briefly let go of the yarn to pass your bobbin past your hand, otherwise the thread will pull off the post. |
|
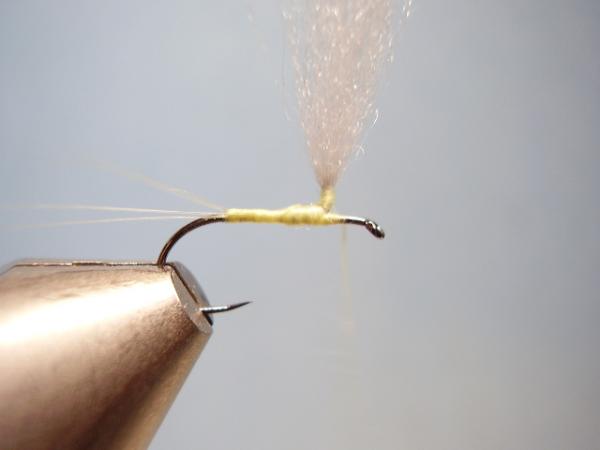
Completed thread base. |
|
Bind down the butt ends with thread. |
|
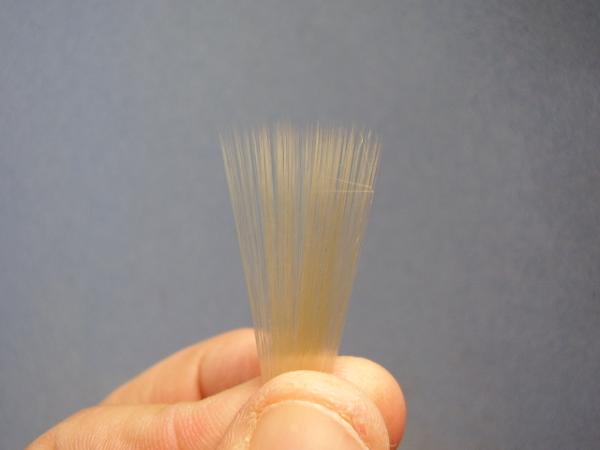
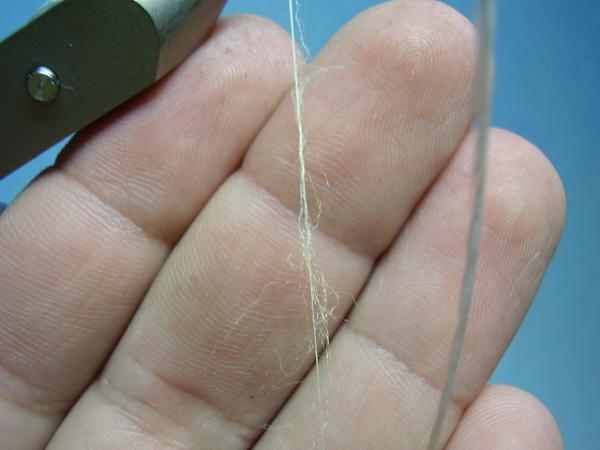
Select some light dun Microfibett tailing material. |

|
For hook sizes #12-#14 select 4 fibetts, select two for #16-#18 hooks. |
|
Measure the tails to be about 1 1/4 times the hook length. |
|
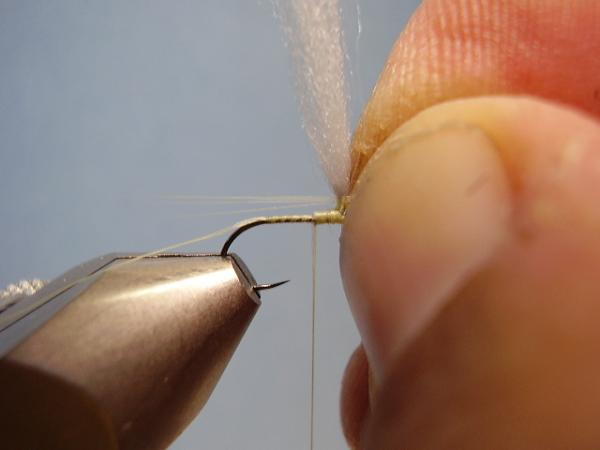
With the thread still just behind the wing, place the measured point directly above the end of the thread base. Secure the tailing fibers to the top of the hook from the wing to the rear. |
|
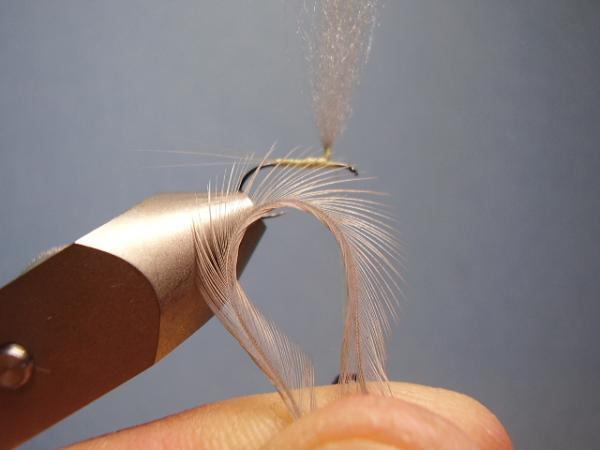
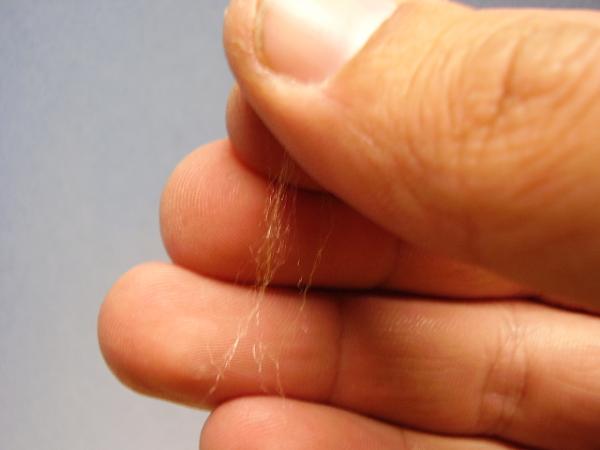
Grasp both the wing post and butt ends of the tailing material and pull up to expose a gap between the two. |
|
Slide the point of your scissors into the gap and snip free the excess butt ends of the tailing material. |
|
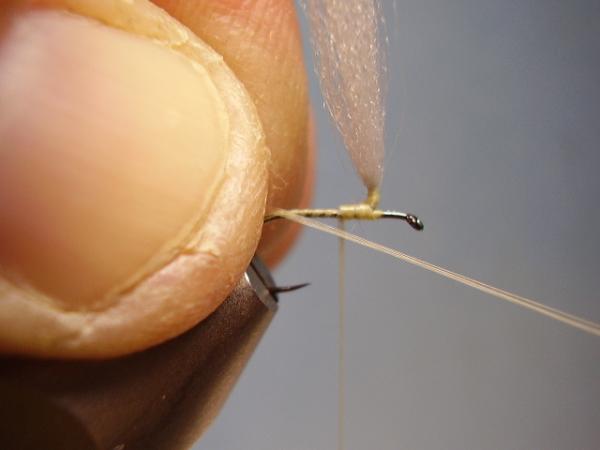
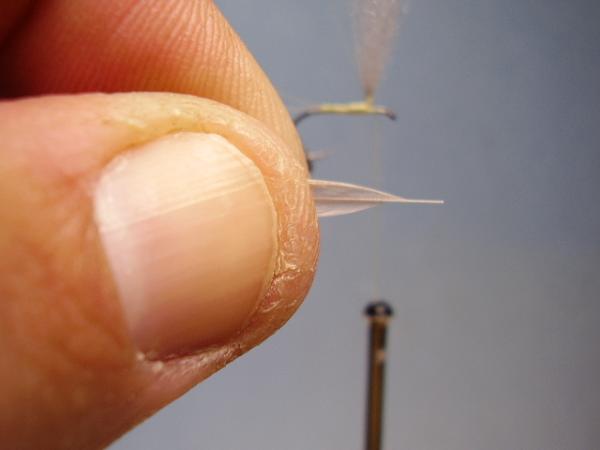
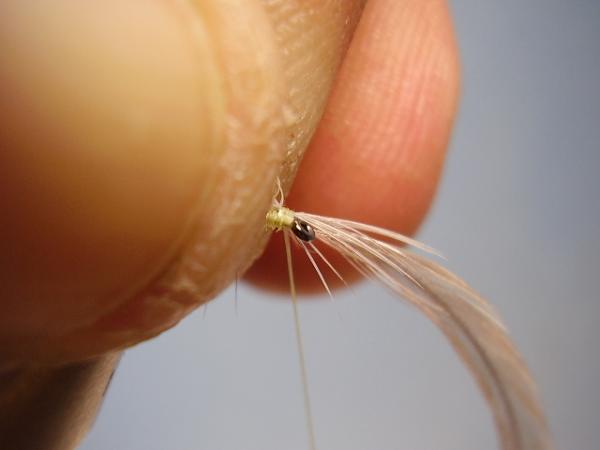
Next, pull the tag end of thread up between the tail fibers and toward the front of the hook. This will form your split tails. The more force you pull with, the wider the tails will flare. I prefer a pleasing angle of about 30-degrees. |
|
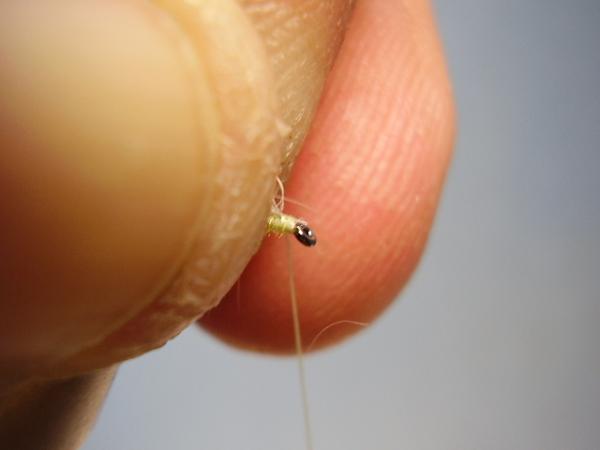
Lock the tag end to the hook with thread and then cut the tag. |
|
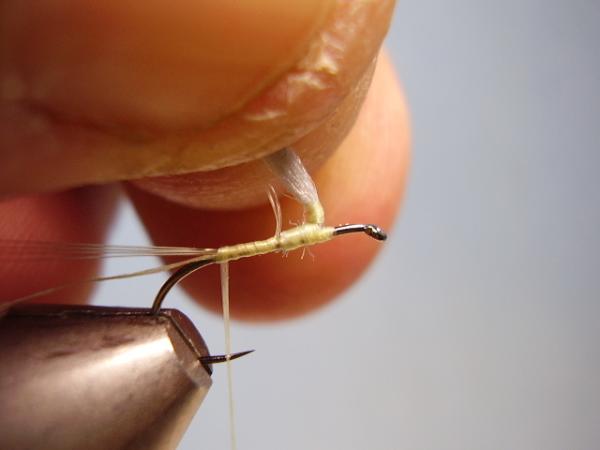
Move your thread forward of the wing post. |
|
Select a light dun hackle about one hook-size larger, or about 2 - 2.5 times the gap of the hook you are using. Here, I am using a saddle hackle. |
|
Expose a few cm of stem at the base of the hackle. |

|
Secure the exposed stem to the hook, in front of the wing. |
|
Lift the hackle straight up so that it is parallel to the post with the underside facing out. |
|
Secure the exposed hackle stem to the rigid post. Leave it there for now and advance your thread to the rear of the post. |
|
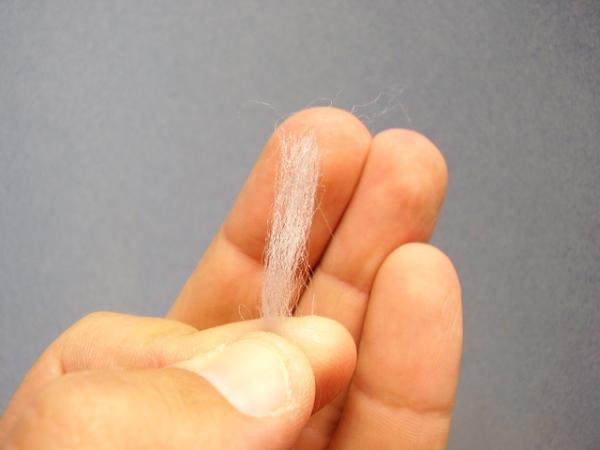
Select the dry fly dubbing you will use. Here, I will demonstrate the use of the long-fibered synthetic dubbing by Fly-Rite. I have taken a dollop of dubbing and pulled it apart a few times to align the fibers. |
|
Grasp the dubbing so that only the very tips are exposed beyond your fingertips. |
|
Now, simply grasp just a few of the exposed fibers and pull them away so that they stay parallel to each other. Notice how few fibers I have removed. |
|
Lay them, still long and parallel to each other, in-line and against the thread. Gently twist them onto the thread. |
|
Apply pressure and, in one direction only, twist a tight, thin dubbing rope. |
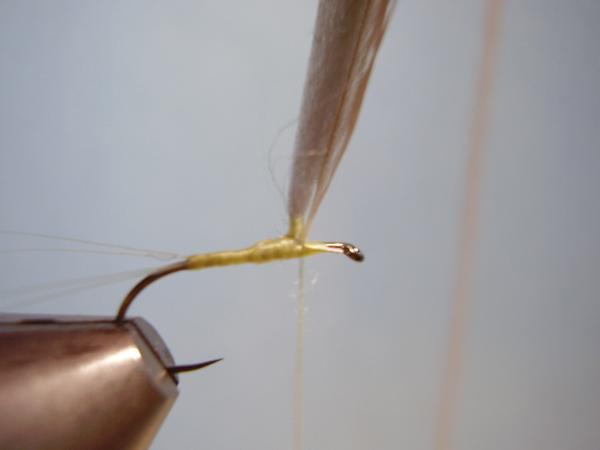
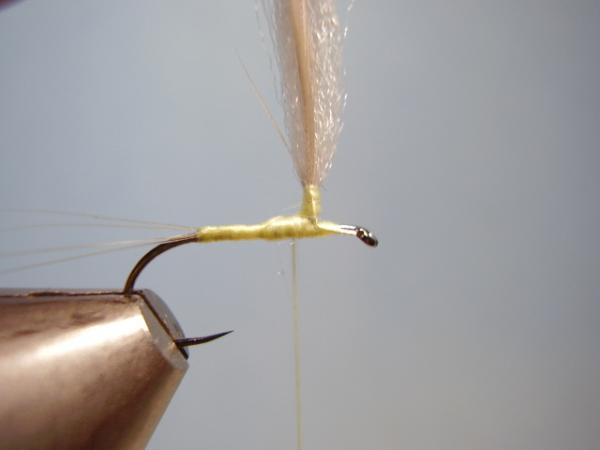
|
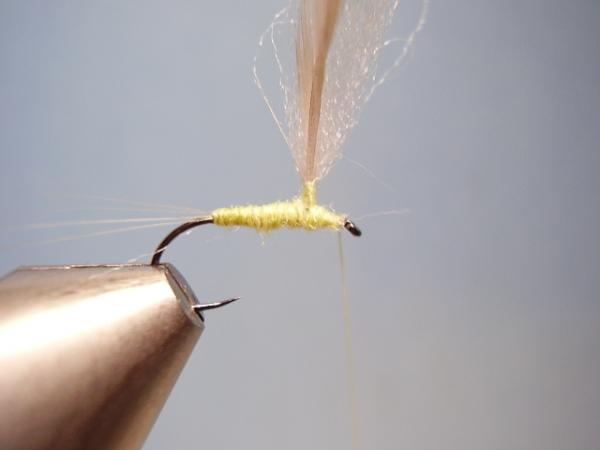
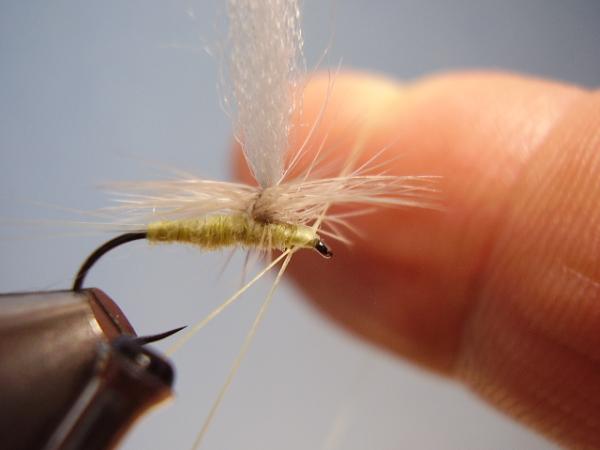
Dub a slim, neat body forward to just behind the hook eye. |
|
Pull the hackle feather down to crease the stem. |

|
Begin wrapping the hackle counterclockwise around the wing post-making sure that the natural curve of the hackle barbs is facing down. This will make for a much stronger parachute. |

|
Each tight wrap is placed under the previous wrap. I prefer saddle hackle for this application because I can use my fingers in place of hackle pliers to get a tighter wrap, and since the barb density is so much higher versus neck hackle I can get a denser parachute with fewer hackle wraps. |
|
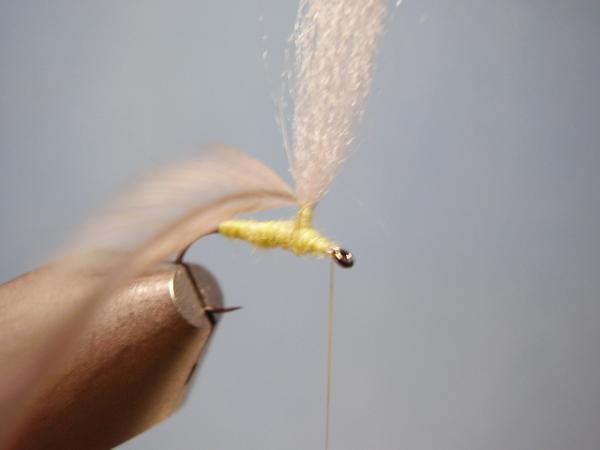
After the final wrap is made, allow the hackle to cross over the hook shank, grasp the wrapped hackle barbs and the unwrapped hackle barbs and pull them all to the rear. This will expose the hook shank and the hackle stem. |
|
Make 3 tight thread wraps around the stem and shank to lock the parachute in place. Since you wrapped the parachute counterclockwise around the post, these thread wraps will further tighten the hackle collar. |
|
Still without letting go of the post and hackle barbs, grab the exposed hackle stem and snap it off clean using only your fingers. |

|
Maintaining your grip on the post and hackle barbs, wrap a small neat head. |
|
Finish the fly by whip finishing under the parachute hackle--easy if you've learned to whip finish by hand! |
|
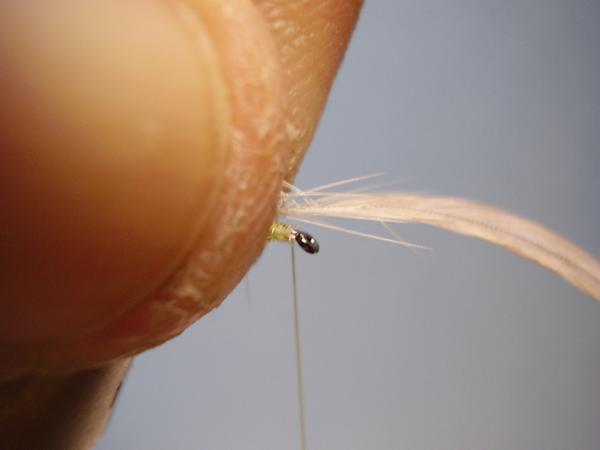
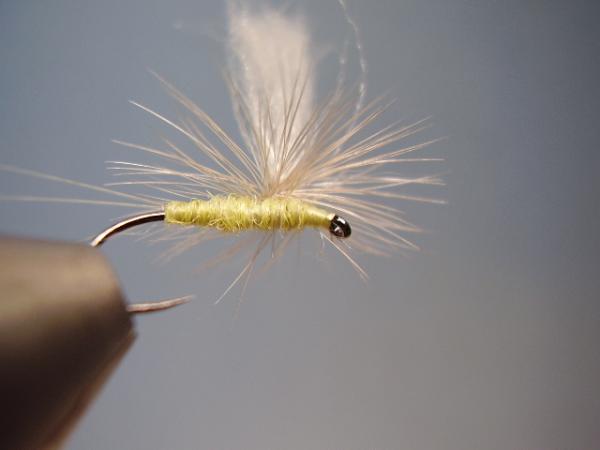
Completed fly from the bottom... |
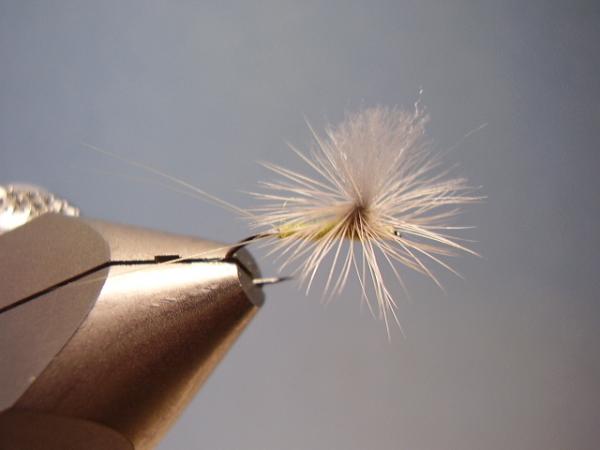
|
...from the top... |
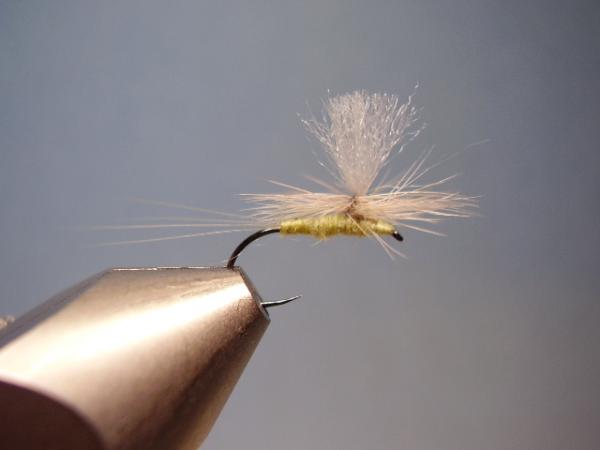
|
...and from the side. |