Glo Bug
Fly and Photos by Loren Williams
For a pattern that appears so outwardly simple to tie and gets so much use, the glo bug is one fly that I get questions about almost non-stop. One material and no special techniques are all that is required to tie this super-effective "hatch" matcher. While especially effective for egg-eating species around the fall and spring spawning cycles for all river residents, the glo bug has been proven effective at all times of the year, especially for rainbow trout. For that reason it should not be left out of anyone's fly box.
I would like to make a few comments on this pattern before we tie it. First, think about how eggs behave in the water when you are tying these up. Commercialism has created a very tight glo bug that, while appealing to the eye, results in a buoyant pattern due to the density of the yarn used. Real eggs do not float for if they did it would be very difficult for any fish to have success spawning. Eggs need to remain in the river's substrate as they develop so it's vital that they sink. Eggs that get swept into the current merely tumble along the bottom, rarely more than an inch or two off the bottom. When fish key on eggs it is very important that your pattern mimic the proper behavior.
Next, and in contrast to what I just said, sometimes you do not want to compete with the real thing. Often it's more prudent to stand out from the crowd. While I stress the importance of mimicking the behavior of a real egg, I do find it advantageous to stray from the norm when I chose colors, especially when dealing with pressured fish or rainbow trout. Always tie some in natural colors (especially for wintertime use) but do include outrageous colors too, and be sure to have contrast in your fly. I am firmly convinced that contrast in a fly pattern is very important.
Now, let's tie this bug!
MATERIAL LIST
Hook: Mustad Signature C49S, CO68 or Partridge CZF (shown)
Thread: GSP (UNI Cord 8/0 shown)
Body: Egg yarn (2 full strands for egg, 1/4 strand for yolk)
|
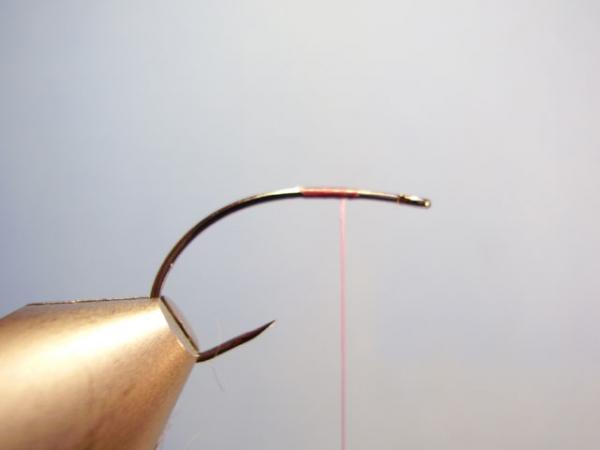
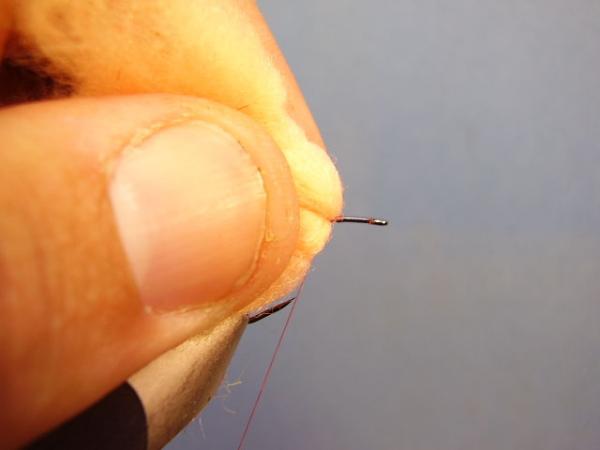
Mount the hook and create a jam knot with your GSP thread well back from the eye. It helps tremendously to have an image of the finished egg's size in your mind so that you can place it properly on the hook. I prefer my eggs to end just back from the eye and to just touch the point. A note about GSP: GSP Thread (Gel Spun Polyethylene) is a small denier super-strong synthetic thread. It's applications are suited to any pattern where strength is crucial and bulk is problematic. It is slick stuff so creating the jam knot requires a few extra wraps. Also, it can only be cut when under tension. |
|
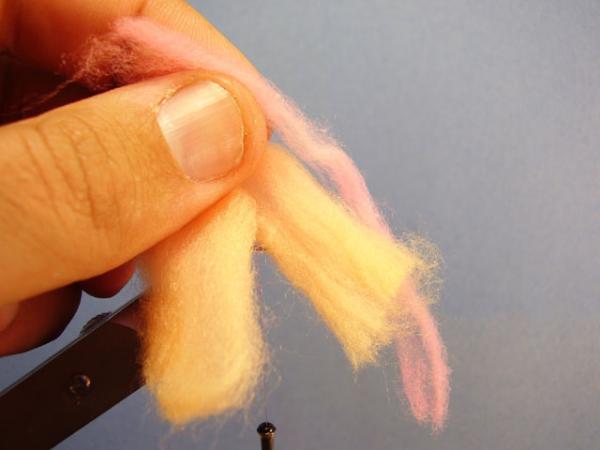
Select two contrasting colors of egg yarn. I do believe egg yarn is superior to egg foam. Foam is more buoyant and less durable so you end up with an egg that floats even more than yarn and does not hold it's shape as well. For the main color, cut a 4" section and double it. For the yolk color, split a short section of yarn into quarters. 1/4 of a yarn diameter is about right for the yolk on a typical glo bug. Note: I am referencing standard thick egg yarns, not the medium and fine yarns. |
|
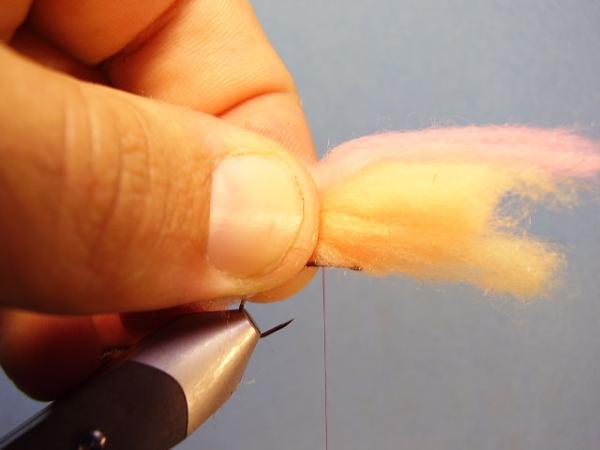
Lay the yolk color directly on top of the doubled section of main color so that all three sections are on top of each other. Place all three on top of the hook as shown. Your thread should be hanging where you want the center of the egg to be located. |
|
With 3 extremely tight wraps of GSP, bind the yarn to the top of the hook. I stress extremely tight wraps. GSP is very strong thread and far thinner in diameter than Kevlar, plus it will not damage your scissors like Kevlar will. These reasons make it a superior choice. |
|
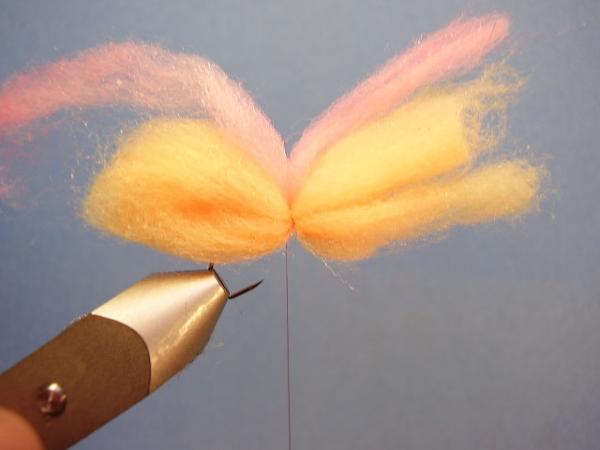
Without losing tension, pull all the yarn to the rear and make a tight wrap just in front. |

|
Repeat to the rear. |

|
Now, pull the yarn straight up and make a complete wrap of thread around the previous wraps only--this will occur above the hook's shank. This will act to tighten the previous wraps even more. Again, all wraps should be made under great tension. |
|
Pull the yarn back and whip finish. Do not make any extra wraps. Aside from the jam knot, you should have laid down 6 total wraps of thread prior to the whip, one of which did not go around the shank. |
|
Rotate the hook and add a drop of cement to the thread wraps. If you cannot bear your egg to spin, then add a single drop of super glue here. Add too much and your egg will absorb the glue and become hard, so be careful. |
|
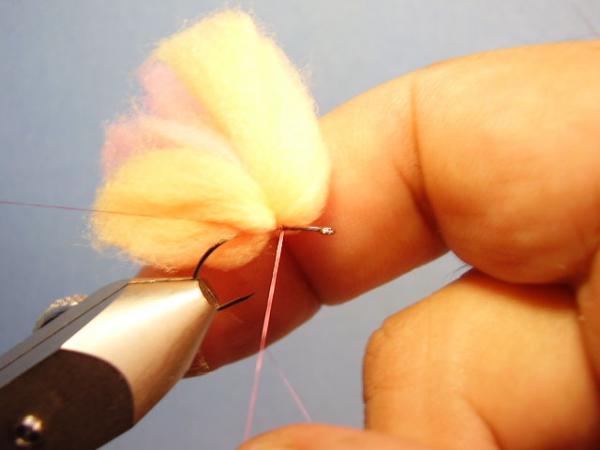
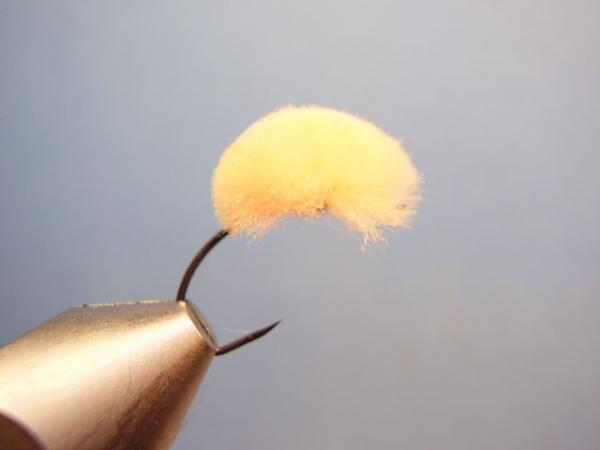
Next, grab a pair of very sharp, and slightly serrated, shears and pull both ends of the yarn bundle straight up. Use enough force that the hook flexes as shown. While the yarn is up and under tension, make straight cut approximately 1/2 the finished desired size of the egg (for me it's 1/2 the gap so the finished egg just touches the hook point). |
|
You should end up with this. |
|
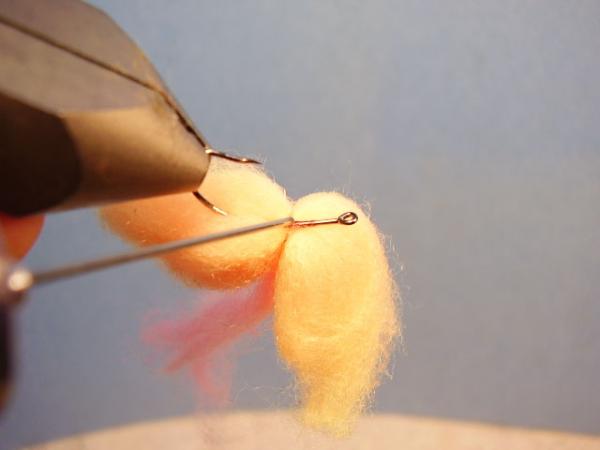
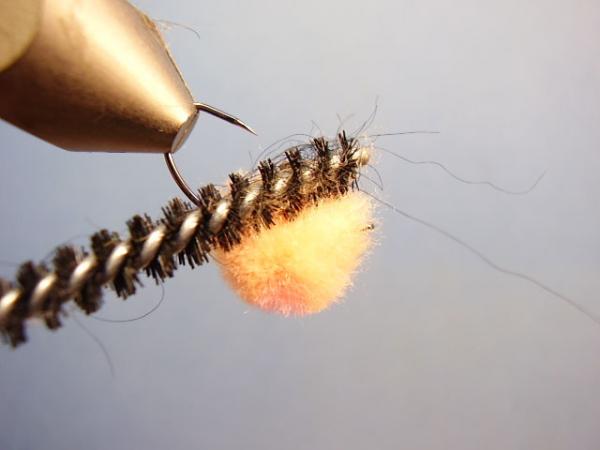
Use your fingers or a soft dubbing brush to fluff out the egg yarn so it encircles the hook. If you are especially anal you can hold the fluffed eggs over a stream of steam for an even fully appearance. |
|
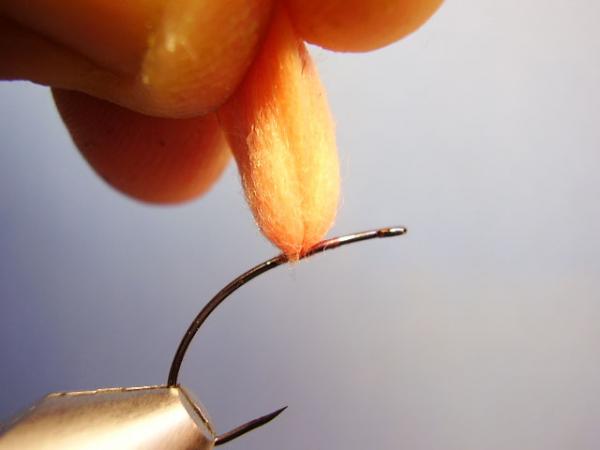
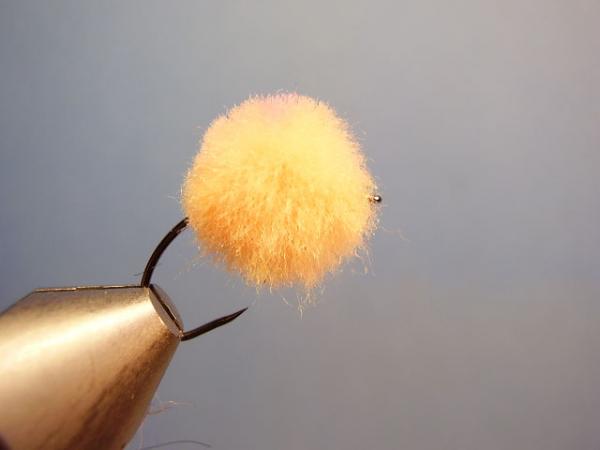
Side view of a finished, sparse, glo bug. This fly will behave properly. |
|
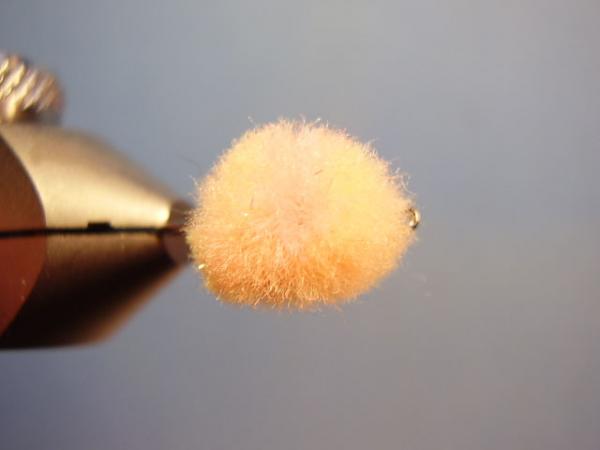
Top view. (I should have chosen a darker yolk color for photographing purposes). |