Egan's Pearl Rainbow Warrior
I've known Lance Egan for a number of years through our tenures as members of Fly Fishing Team USA. Having fished with him on a number of venues, in a few countries, I can speak to his ability to understand trout, whitefish, and grayling and what it takes to put them in the net-often in fairly astounding numbers. I have also spent many late-night hours at some dim, uneven, and super-messy communal fly tying table with Lance on those escapades. Even under such harsh conditions, Lance is always able to produce delectable tidbits that invariably produce for him. The Pear Rainbow Warrior is one such bug!
While I am a fan of Lance's patterns, I am more of a fan of the ideology behind his flies. All of Egan's patterns that I am familiar with get the job done with a minimal amount of materials, are durable, and contain triggers. Most, if not all, of his flies are more suggestive than imitative. These all happen to be traits I do my best to factor in to my flies, and are characteristics I encourage new tiers to learn to love. These commonalities aside, the results of Lance's brainstorming have very little in common with what spews forth from my brain. Cool! Fly-tying is such a creative outlet, and it's awesome to see what each individual creator tosses onto the pallet we call a hook.
I've heard, and read, Lance's account of how the "warrior" came to be. I like to be accurate so I will quote Lance's words from an internet discussion about this fly:
"I tie flies many nights a week. Generally I’m refilling my boxes with go to patterns. Usually the night before a fishing day I also build some “try me” flies. You know, the “what if I combine this with that, add a little of the other thing and see what the fish think” kind of flies. The warrior is a “try me” fly. I tied 4 #18 pearl warriors one night, placed them in my nymph box and there they sat for at least a year. One day on the Provo River I was struggling. I was catching the odd trout, but I could see fish actively feeding near the bottom and my go to patterns were not producing as many fish as I thought I should be catching based on the feeding level of the trout. At this point, after trying my go to flies I start into the “try me” patterns. I tied a few others on first, but they didn’t produce any better than my go to flies. Finally I put on a Rainbow Warrior. I had 4 of them tied, in an 18 and 3 of these flies turned my 8ish fish day into a 40 fish day. I kept one unharmed to ensure I could duplicate them! The warrior has since become one of my go to patterns. I’ve taken fish on it from New Zealand to Alaska. It works surprisingly well in all water conditions, yes even in clear water ( I know it is too flashy but it works, try it .
The pearl version is most popular, but don’t overlook the black and red versions. I carry all colors of warriors in sizes 12 – 22. The originals were tied with pearl glass beads. Currently I rarely fish them with anything other than a silver tungsten bead.
So there you have it. It wasn’t a stroke of fly tying genius, just a stroke of good luck. Why I combined those materials we’ll never know…"
This pattern is available through Umpqua Feather Merchants if you want a pattern for comparison. Originally, Lance tied this pattern on a TMC 2457 but as you might have noticed that I opted to tie the Pearl rainbow warrior for this tutorial on a TMC 60-degree barbless jig hook. Both Lance and I have taken a liking to using jig hooks for many patterns size-16 and larger.
Let's get to tying!
MATERIALS
Hook: TMC 403BLJ
Bead: Silver slotted tungsten
Thread: Red 6/0
Tail: Pheasant tail fibers
Abdomen: Pearl Mylar Tinsel
Thorax: Wapsi Rainbow Sow Scud
Wing Case: Pearl Mylar Tinsel
Hot Spot: Red thread
Click photos to enlarge!

|
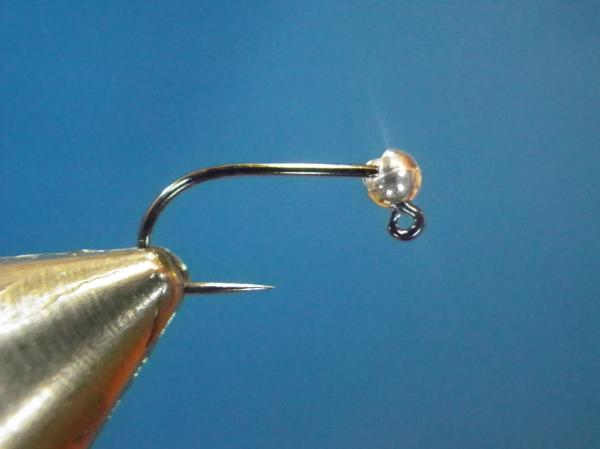
TMC 403BLJ (#16 and larger) or TMC 2457 is the hook of choice. |
|
Slide on a silver tungsten slotted bead and mount the hook in your vise. |

|
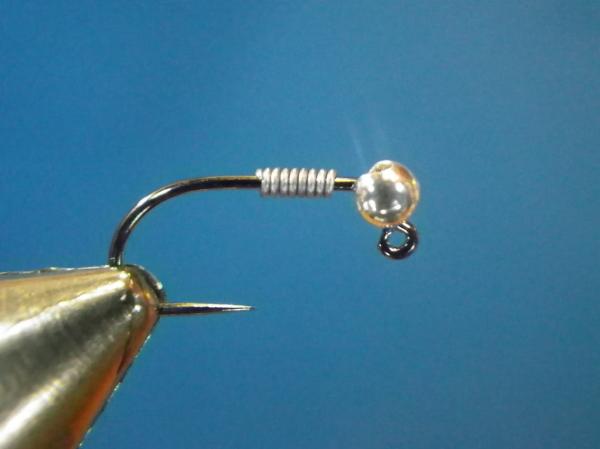
I like to try and match the wire diameter to the wire gauge of the hook. |
|
Apply 6 to 8 wraps of lead to the hook's shank. |
|
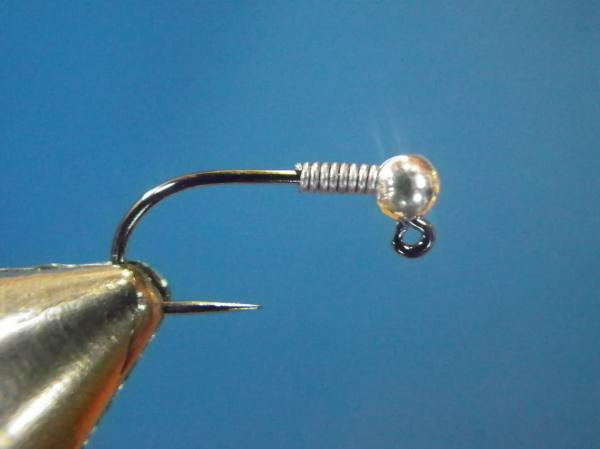
Slide the lead coil forward against the bead. This will help keep the bead in place while tying, add bulk to the thorax, and add more weight to the head so that the fly plummets more efficiently. |
|
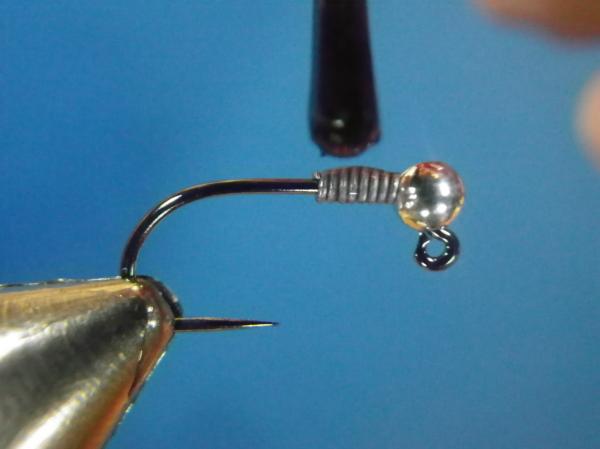
As an optional step, add a light coating of superglue to the lead to fix it in place. |
|
Start your thread behind the lead coil and give the shank a layer or two of thread. Return your thread to the rear of the shank, above where the barb would be. |

|
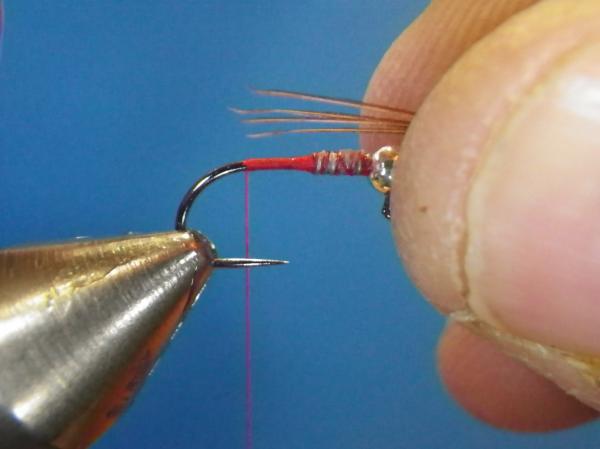
Seperate a few nice fibers from ringneck pheasant tail-try to even the tips before removing them from the stem. Grasp the small bundle by the evened tips and either cut the fibers away, or strip them away. |
|
Measure the bundle for length using your bobbin hand. I like to have the tails on most of my nymphs equal to about 3/4 of the hook's shank. Your mileage may vary. |
|
Transfer the bundle to your non-bobbin hand and place the measured point over the last wrap of thread. |
|
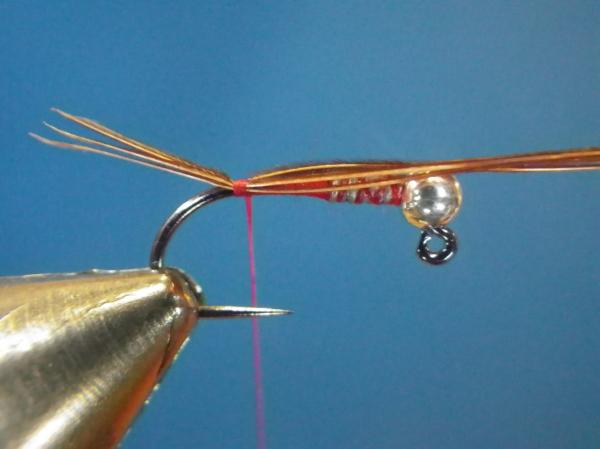
Secure the bundle to the bottom of the shank (remember: it is a jig hook) using a pinch wrap. As an alternative, start the bundle slightly to your side of the shank and allow the thread's tension to push it into place as you wrap. |

|
Continue by securing the excess PT fibers to the shank, terminating at the rear edge of the lead wire. This will help develop a nice smooth underbody taper. |
|
Clip away the excess. |

|
|
|
Cut a workable strip of size L pearl mylar tinsel. The length I use will depend on how many flies I intend to tie. I use the L size for even the smallest flies as it makes for a cleaner fly and the abdomen will resist "backsliding." Cutting one strip to use on multiple flies will reduce waste, but be careful making it too long or it'll get in your way. About 8" seems right for me. Advance your thread to near the bead and secure the tip of the tinsel there with a few tight thread wraps. |
|
Continue by wrapping to the rear with your thread, binding the mylar to the shank and building a smooth red underbody. |

|
Once at the start of the tail, leave the mylar and bring the thread back to the front. |

|
Next, wrap the mylar forward in overlapping and tight turns. |
|
Once you reach the hanging thread with the mylar, make one final mylar wrap from behind the thread, and "over" the hook. |

|
Cross the thread with the mylar from the front, to the rear, and pull the mylar up slightly. |

|
|
|
Make two turns of thread to secure the mylar. |
|
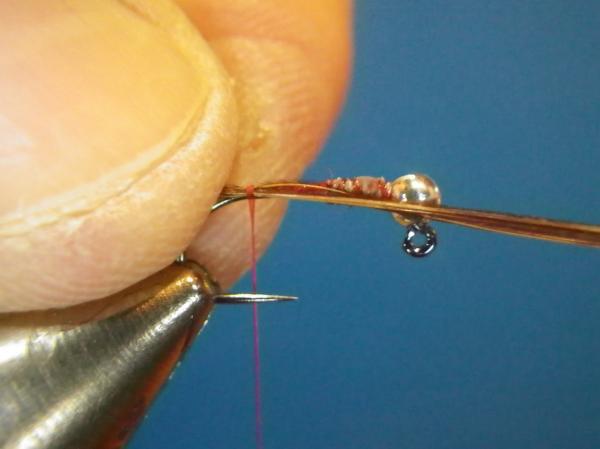
Next, either rotate your vice or remove and replace the hook so it is oriented "hook-point up." This is why we made two wraps of thread as opposed to just one in the last step. |
|
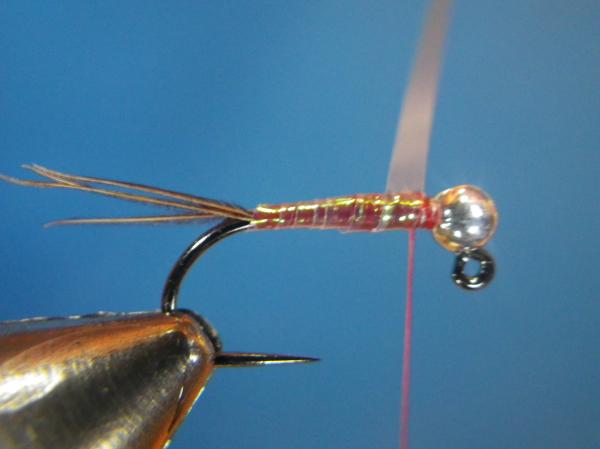
Wrap the thread toward the rear, seuring the mylar back on itself to get it in position to form a wing case. I typically like my thorax/wing case and bead to occupy the front 1/2 of the hook so I will end this process at about the mid way point on the hook. |

|
Wapsi Rainbow Sow-Scud Dubbing. |
|
Remove a small amount of dubbing and "stick" it to the thread. Many people use too much dubbing and the result is a clumpy, loose body. Better to treat dubbing like spray pain and apply sever thin coats as needed. As a rule, I want to see the thread through the dubbing. |
|
Next, twist the dubbing onto your thread by rolling it between your thumb and finger in one direction only. The result should be a smooth, tight noodle not much greater in diameter than the thread itself. |
|
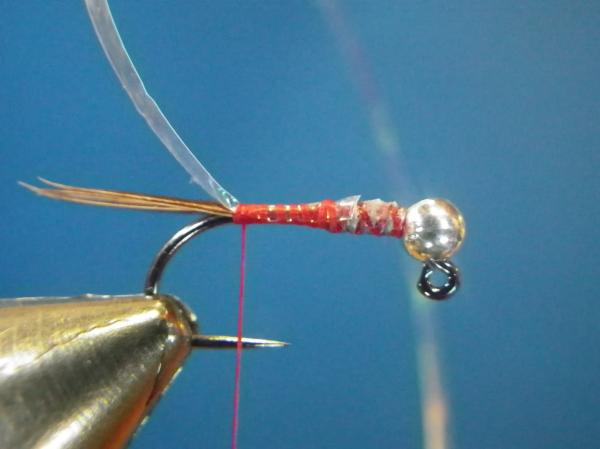
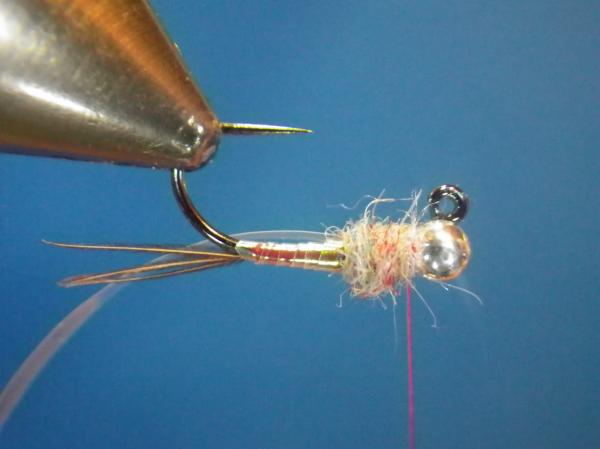
Build a dubbed thorax ending at the rear edge of the bead. It is helpful if you wrap to the rear, over the wingcase, a few wraps. In a minute you will pull the wingcase forward and the few extra wraps will provide some buffer against the wing case being too short. It is perfectly acceptible to do this step in multiple applications until you get an eye for how long of a dubbing noodle will be required. |
|
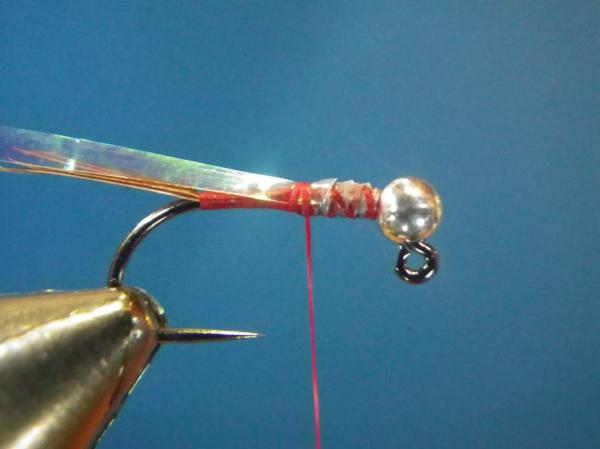
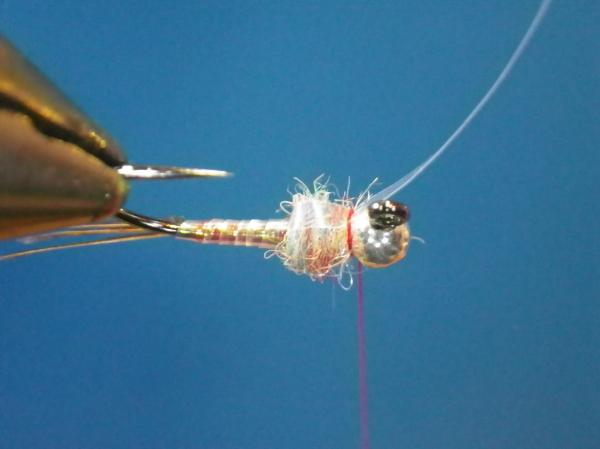
Pull the mylar slip forward over the thorax and secure with two tight thread wraps immediately behind the bead. |

|
Pull the mylar to the rear a bit and make two more thread wraps just in front. The "wedge" wrap is very secure and will allow you to trim the mylar close without cutting the thread. Once the wedge is built, trim away the excess mylar and set is aside for the next fly! |
|
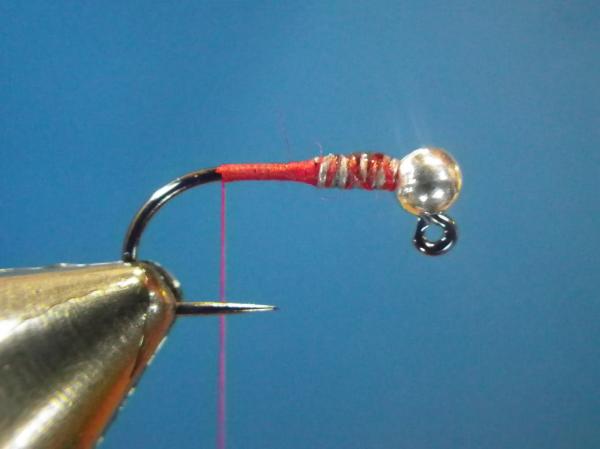
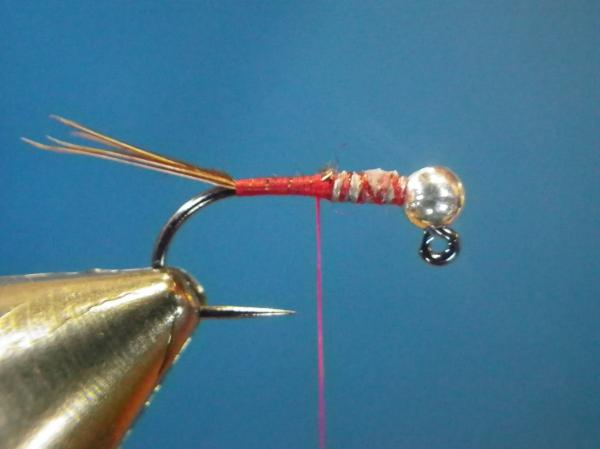
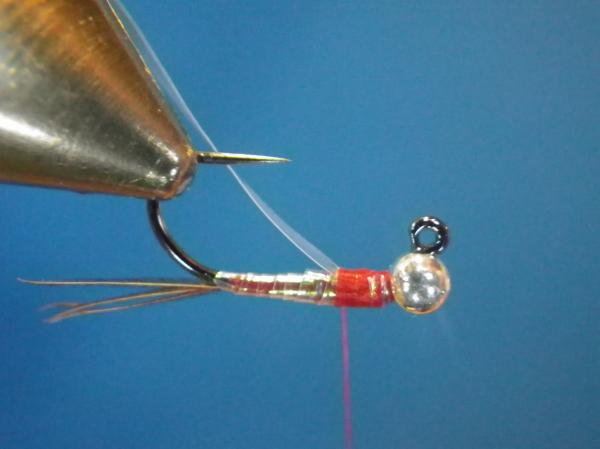
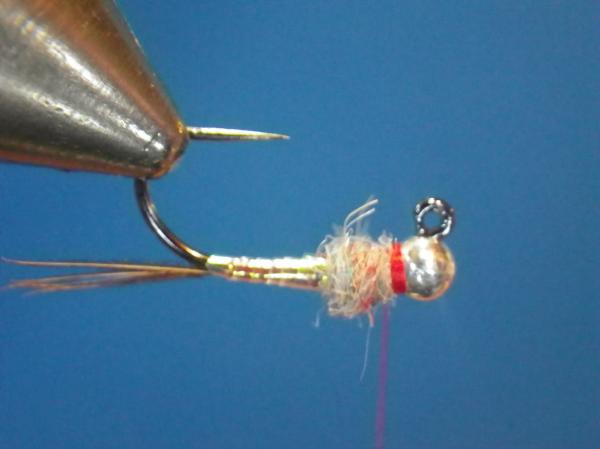
Take a few more thread wraps behind the bead to build a narrow, tight "dog collar" hot spot. Lance's hot spots are always narrow, yet conspicuous. |

|
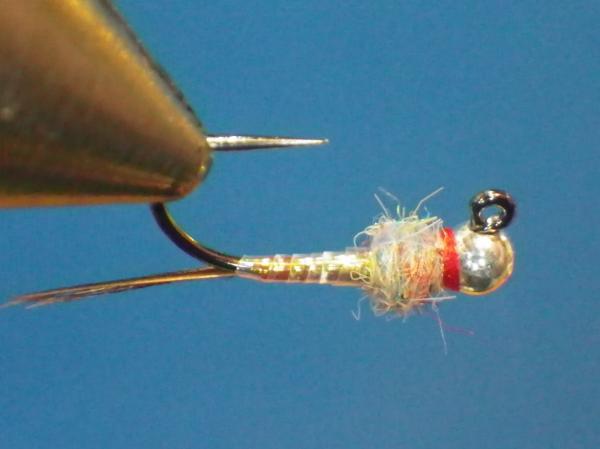
Whip-finish and clip the thread close. |
|
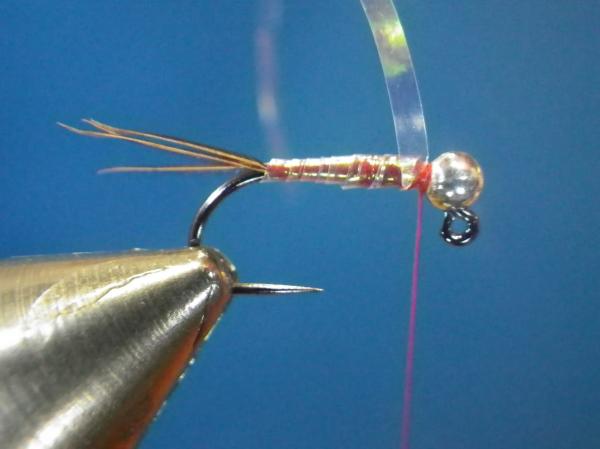
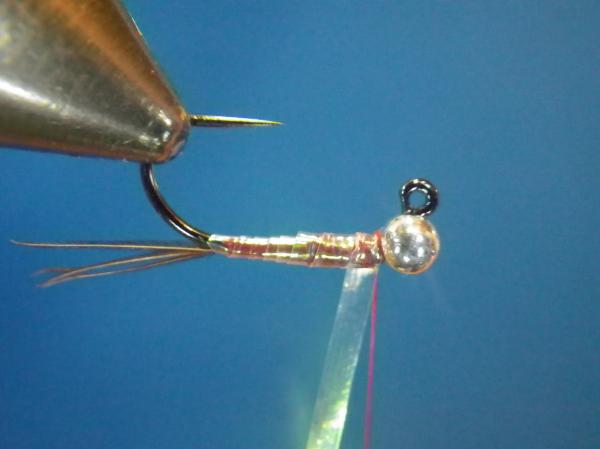
Now you have yourself a Pearl Rainbow Warrior! |