LW's Hoover
Fly and Photos by Loren Williams
This is yet another one of "my" patterns that offers nothing new by way of material or technique. So obviously based on the venerable Gold-Ribbed Hare's Ear or Hare and Copper that I had trouble even renaming this fly, but for sake of communication and the fact that there are indeed some differences I've elected to call it the Hoover.
The Hoover has been one of my top-producers for the past 3 years, since it's conception. Here is it's story:
I was training on a local small stream a number of months after my exposure to competition fly-fishing as Team USA's Fly Tier. That selection had provided me with the chance to travel with the Team to the 2005 World Championships in Lyksele, Sweden. There, I learned about European nymph fishing tactics and some of the theory behind fishing weighted flies. With the desire to earn a place on the team burning within me, I set about my training for the various Regional competitions I would need to participate in, in order to get selected to the team.
On this particular day I was working on my upstream nymphing (al a Joe Humphreys) on a section of very accessible and shallow riffle/run water. This stream is very fertile, and influenced heavily by springs and seeps. As typical with such streams, the bottom had a healthy blanket of vegetation. I was doing OK, but I felt as though the fish were keyed on something I was not prepared to offer. Keep in mind that I was now fishing true to FIPS-Mouche limitations (no strike indicators, no split shot, barbless hooks, etc...) and I was learning how to adjust. Putting theory into practice.
A closer look at the stream under me revealed a number of fresh, good-sized stonefly shucks adhered to the rocks. BINGO! However, every large weighted fly I had immediately dropped through the shallow water and into the green "stuff" on the bottom. So, I had an idea of what was missing but I could not find a way to put it into action. All of my other large stonefly and nymph imitations were tied weightless and did not get deep enough-after all, I used to use split shot to adjust for the ever-important depth factor. I needed to fix this dilemma.
At home that day I started to think. I could tie my usual stoneflies, but with more weight-or I could try to find a pattern that worked for stoneflies, and all other nymphs in that circumstance (rather shallow, yet heavy water). I far prefer a "does-all" pattern over a specific imitation when at all possible. Taking from the teachings of my Polish friend Vladi about how materials affect sink rate, I opted to try using a bushy dubbing to soften the sink rate of a big weighted fly, a Hare's ear.
The first attempts worked in spades. The fish would hammer at the weighted Hare's Ears I threw-it's weight punched it through the surface but it's fuzzy body delayed the rate at which it sank to keep it in the productive zone, and off the bottom, for a much greater amount of time than other patterns.. That part of the problem was solved, but I thought I could improve on the pattern and make it better for pressured fish. I like Fox Squirrel dubbing because it's a good deal darker in the water than Hares Ear and much spikier. From there the pattern evolved to using rubber legs and tails for pronounced motion and a hot spot in the form of a brilliant flash wing case. Eventually I settled on copper beads and ribbing since that color throws far less light that does gold, which may be too much flash when paired with the wing case.
The true test of this fly came in October of 2006 on the Kings River in the California Sierra's at the West Coast Team USA Regional Qualifier. That pattern gave me a 1st and 2nd on my very difficult river beats, allowing me to qualify for the 2007 National Championships. Between then and now, this fly has proven itself time and again when working fish in that very difficult type of water when too heavy and too light means no fish.
MATERIALS
Hook: TMC 100 SPBL (#10-#14)
Bead: Copper
Weight: Round Lead Wire
Thread: Brown
Tail: Sili LegsRib: Oval Copper Tinsel
Abdomen: Fox Squirrel (from the back; blend-in Antron as an option)
Wing Case: Mirage Sheeting
Legs: Sili Legs
Click photos to enlarge!
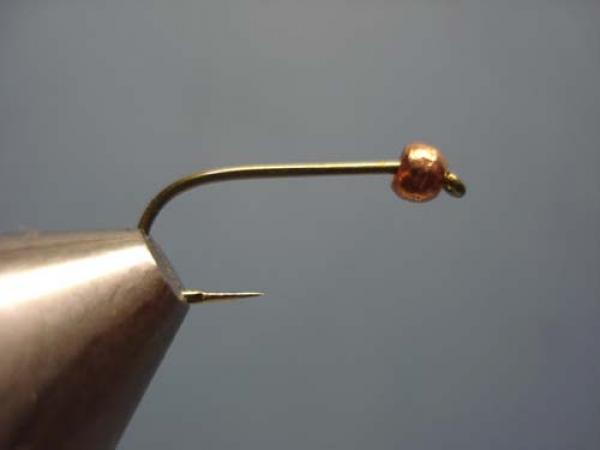
|
Place the bead over the hook and place the hook firmly in your vise jaws. |
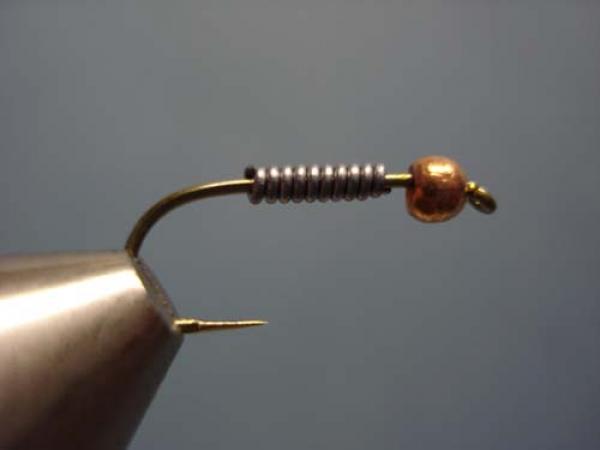
|
Wrap about 10 wraps of appropriately sized lead wire to the shank. I match my lead wire to the diameter of the hook shank. |
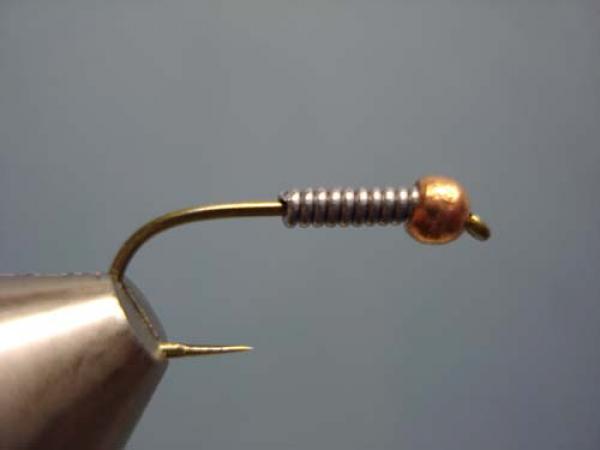
|
Push the wire up into the bead. This holds the bead in place, front loads the nymph, and builds bulk to the thorax. |
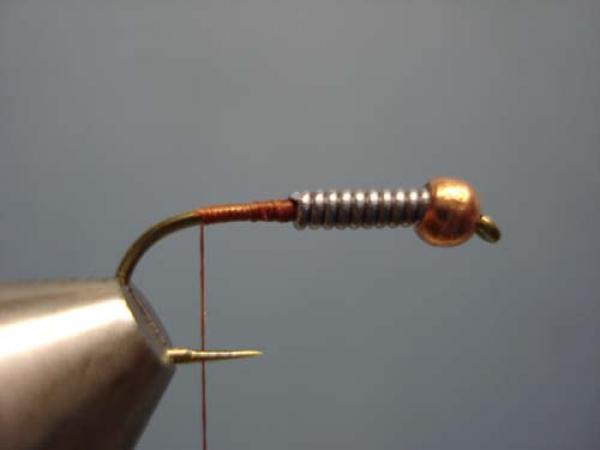
|
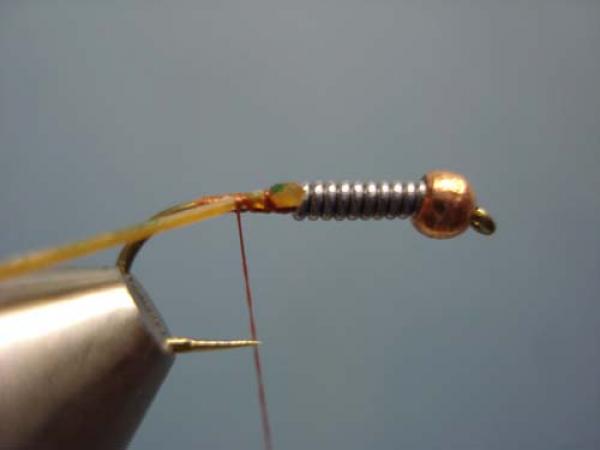
Attach your thread. I typically affix it behind the lead wire and build a slight taper to seat the wire against the bead. Run the thread back to the bend, then return to the middle just behind the wire. |
|
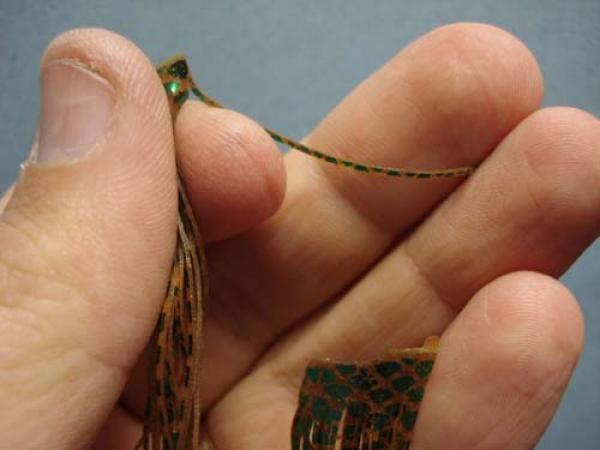
Select some rubber hackle. I prefer Sili Legs from Wapsi as I like the metallic hints and they are quite durable. You want to the legs to be thinner rather than thicker, and I like them flat rather than round to increase motion. I prefer a root beer type color for this pattern. |
|
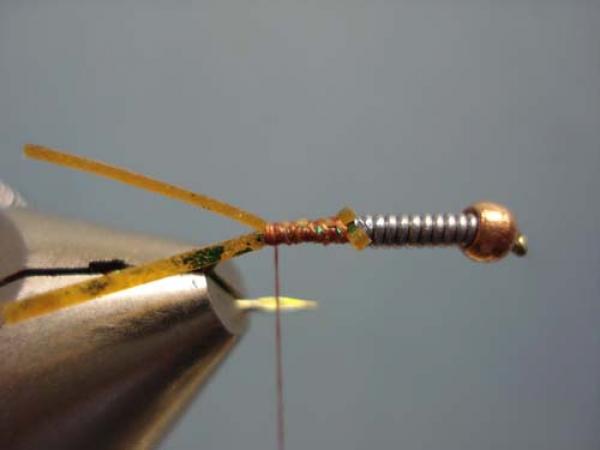
Secure one end of the hackle to the near side of the shank. |

|
Bind it to the rear and clip it. |
|
Repeat on the far side. |

|
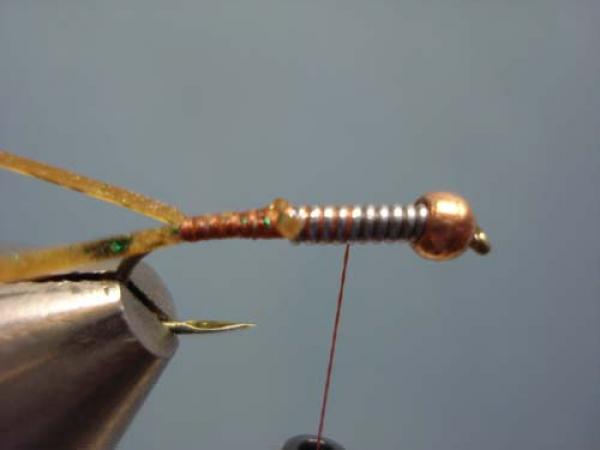
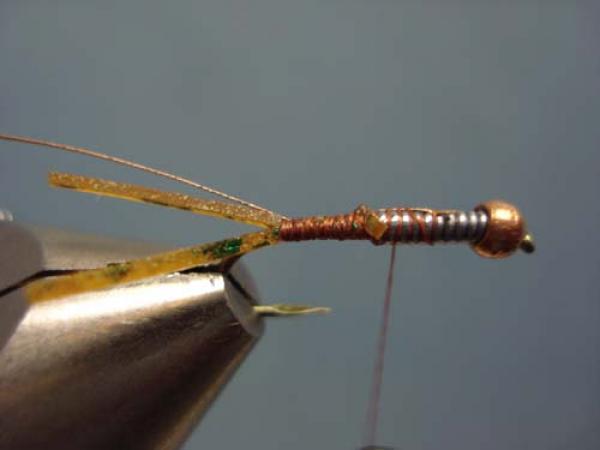
Select some extra-small copper oval tinse and remove a length. |
|
Affix it to the far side of the shank to the rear, end just shy of the tail. |
|
Advance your thread to the middle of the shank. |
|
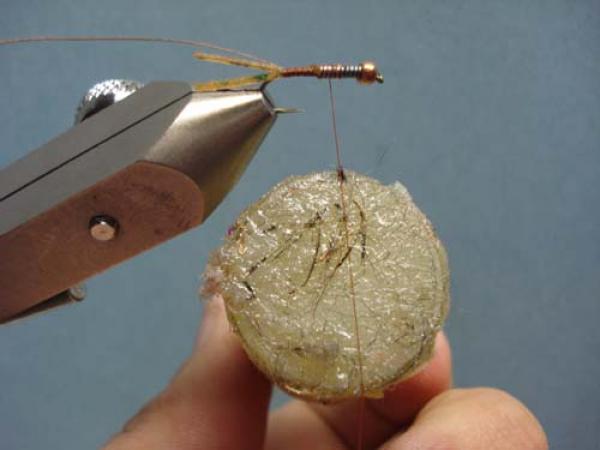
Apply a few strokes of very tacky tying wax. I like Loon's Hi Tack Swax. |
|
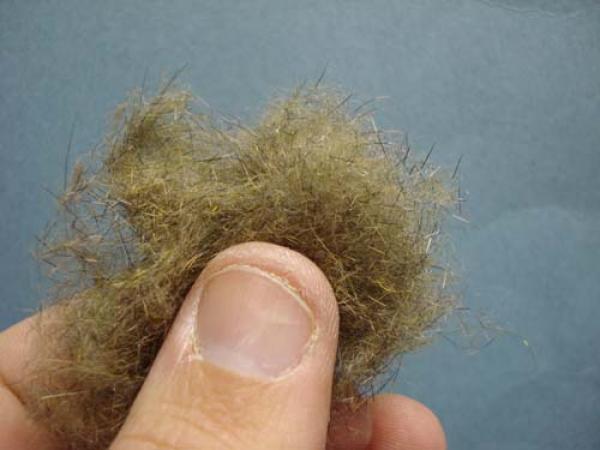
Get some Fox Squirrel Dubbing (I like to blend in some clear or tan Antron) and run it through a coffee grinder for a few seconds to loosen up the fibers. |

|
Grab a pinch and touch it to the thread allowing the wax to grab a few fibers with each touch. This is appropriately called "touch-dubbing" and was popularized by the late Gary LaFontaine. I use this technique almost exclusively now with all my dubbing applications as it is far easier to get a smooth application (no lumps or bumps) with minimal waste. One can leave the result spiky as we will here, or smooth it over with your fingers for a tighter body. |

|
The dubbing as applied to the thread. |

|
Next, give your bobbin a good series of spins to allow the thread to lock to the fibers and form a chenille. It is irrelevant as to which direction you spin the thread as the number of revolutions will far exceed and twisting or untwisting that results from the actual thread wraps. |
|
Wrap the dubbing down the shank, making one final pass behind the rubbing material. This will keep the ribbing from sliding off the rear and allow that first wrap to go on easier. |
|
Re-apply dubbing as needed to form a thin, buggy abdomen. I typically can complete the abdomen with one application. End the abdomen at the middle of the hook shank. |
|
Counter-wrap the tinsel ribbing with open and even turns. Pass the final turn under the shank, in front of the thread, and up the near side, angled to the rear. |
|
One wrap of thread will secure the rib (I use two for security). Clip the excess. |

|
Snip a section of material from a sheet of Mirage flash. The slip should be equal to 1/2 the hook gap. |
|
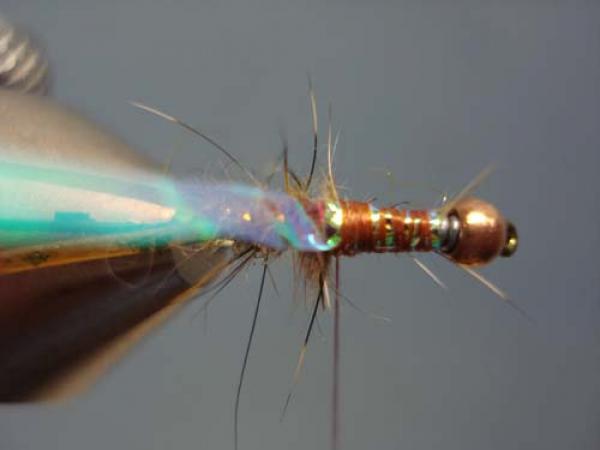
Secure it atop the thorax (the front 1/2 of the hook). |
|
Advance the thread to a point a wee bit behind the bead. |

|
Secure a section of Sili Legs to the near side of the thorax beginning just shy of the bead and ending at the rear of the thorax. Clip the legs a bit longer than you desire. |
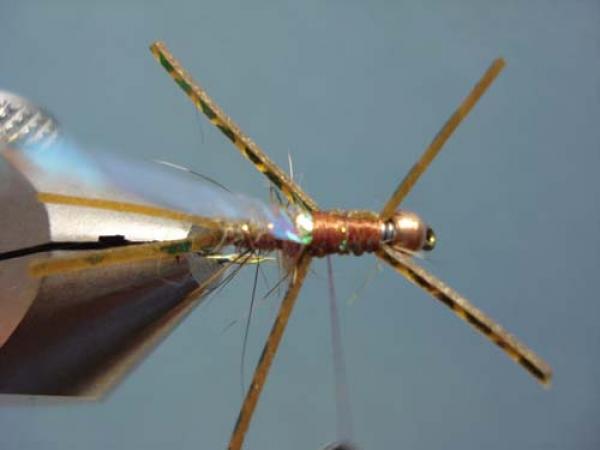
|
Repeat on the far side. |
|
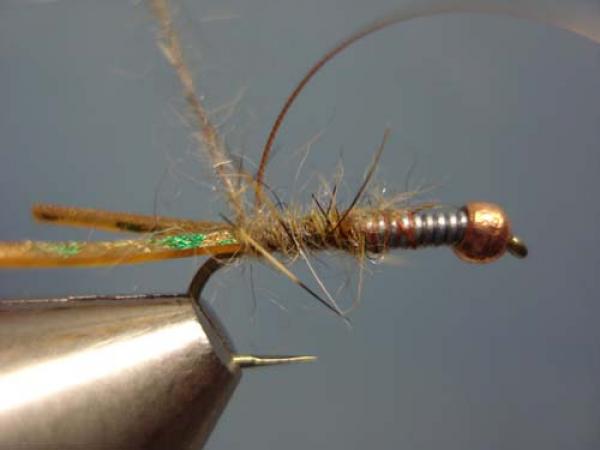
Touch-dub more fox squirrel dubbing as before. |

|
Cover the thorax area with a fuzzy layer of dubbing ending at the front legs. |
|
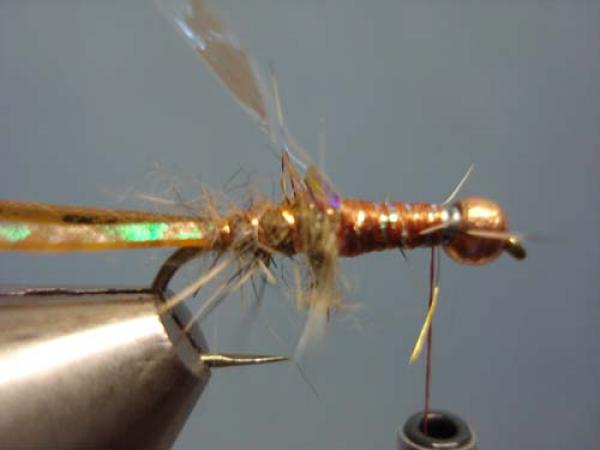
Pull the legs back and advance the thread to just in front of them. |
|
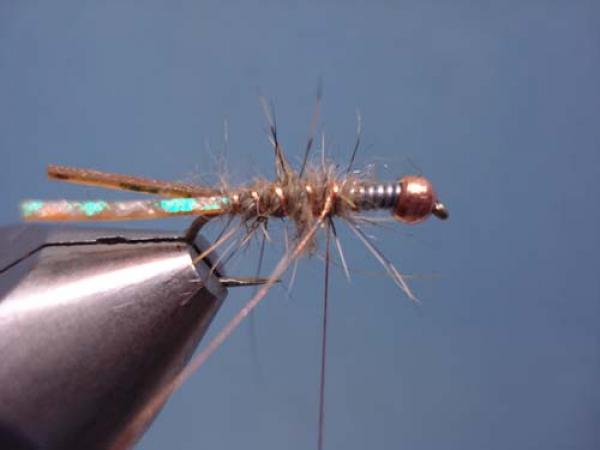
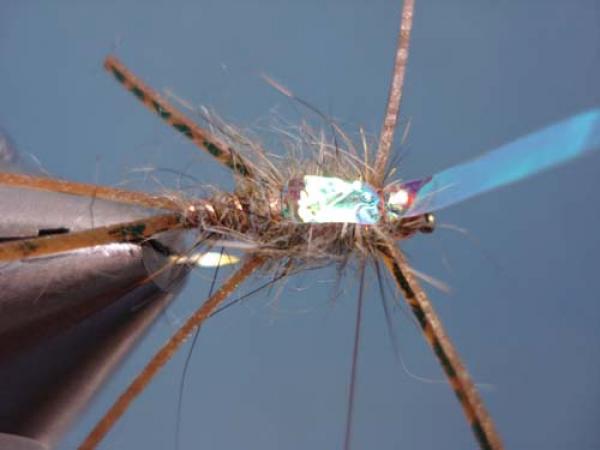
Pull the wing case forward and secure it behind the bead with 2 wraps of thread. |

|
Pull the excess back and make one wrap of thread. |
|
Clip the excess. I like to clip mine a bit long as it will lay flat atop the first layer. |

|
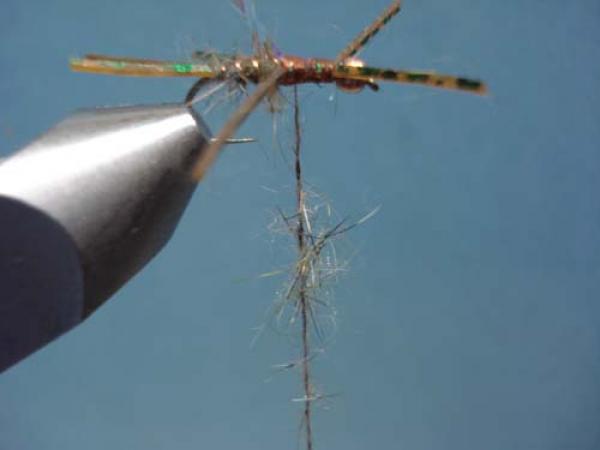
Touch dub a very sort section of thread. |
|
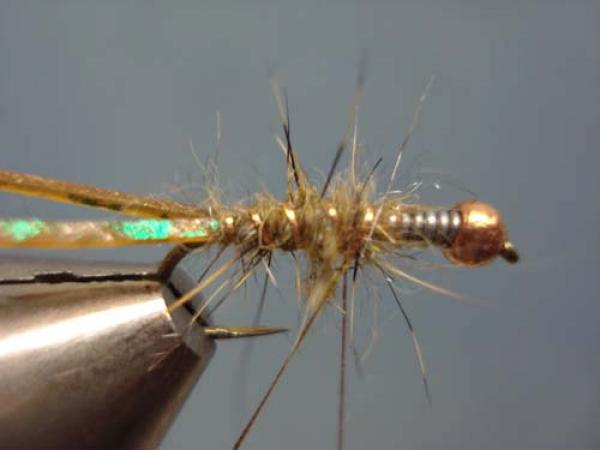
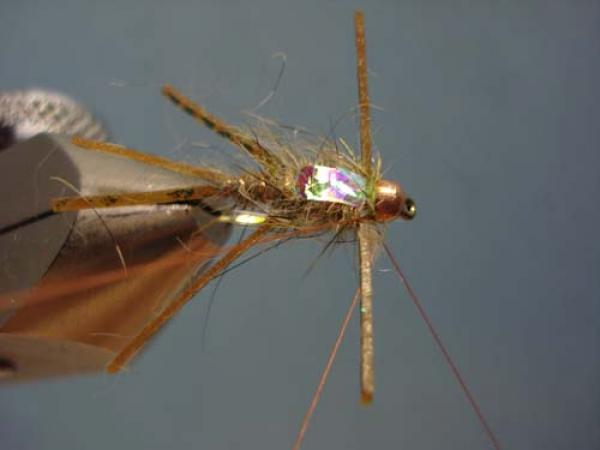
Wrap a very small collar to hide any thread wraps. |
|
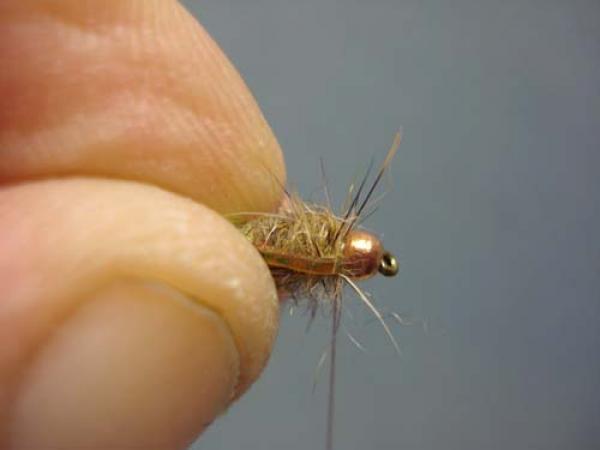
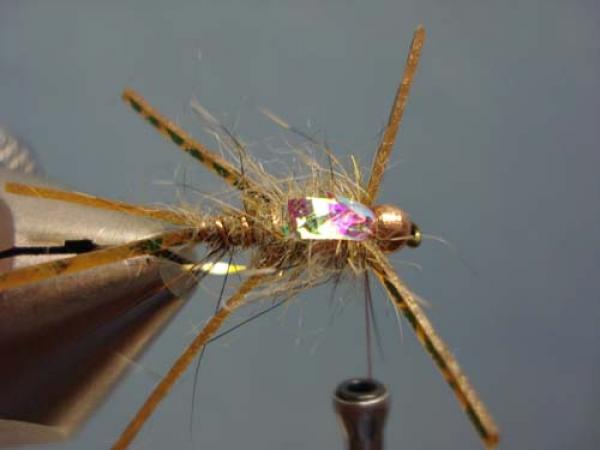
Whip and snip! Trim the legs to length (about 3/4 hook length or so)... |
|
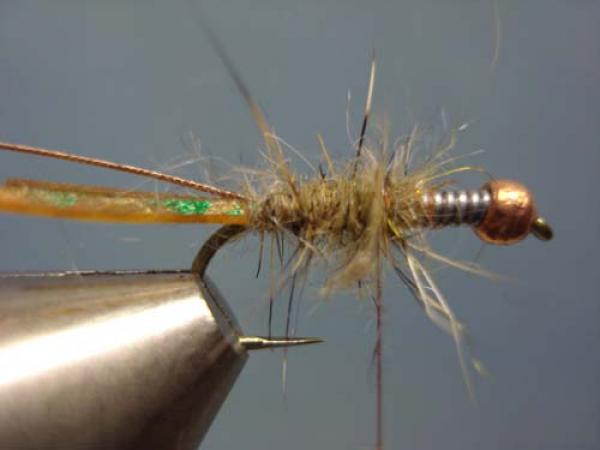
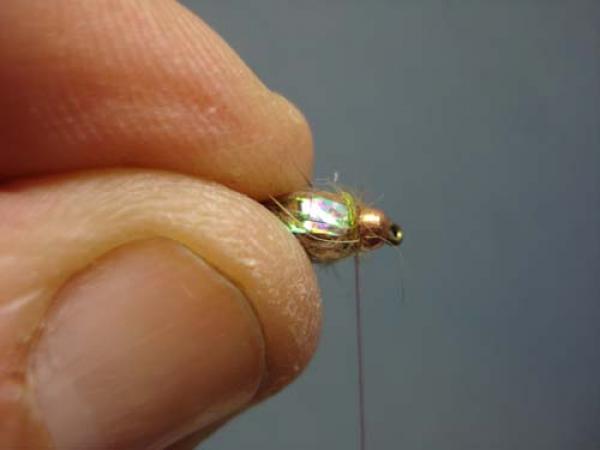
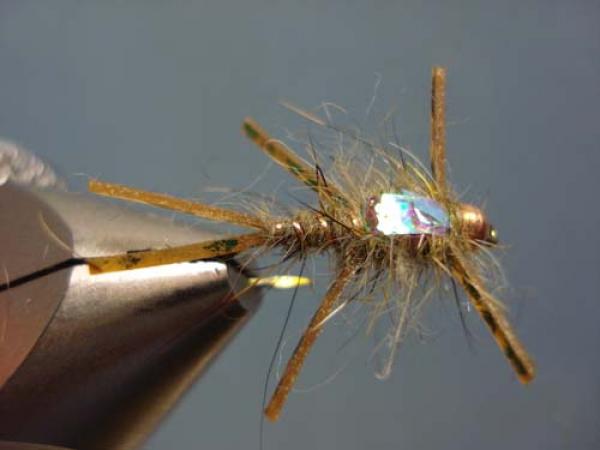
..and you have a finished Hoover! |