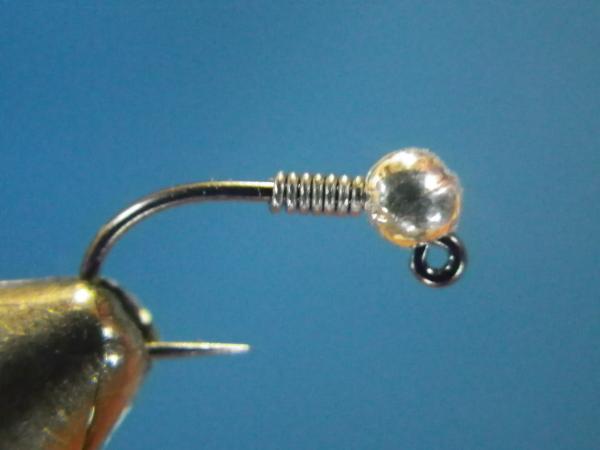
Lee's Turbo Midge
This is a new pattern to me that has quickly become a go-to in my box. This fly is the brainchild of my friend, Chris Lee, from North Carolina. Chris is a tremendous angler and is a former Team USA team mate of mine. Together, with three other anglers, we took the team silver medal away from the 2012 Fly Fishing Team USA National Championships that were held in Bend, Oregon. The river venues for that competition were the Upper Deschutes and Crooked Rivers. Both were thick with rainbow trout and rocky mountain whitefish. The Crooked River was especially productive. In my 3-hour session I was able to net 73 rainbows and "whiteys" 20cm or longer, and many of them came to this sweet little bug. Chris gets all the credit for discovering how well the fish, especially pressured fish, responded to this combination of silver bead and pearl flash against a black body. The rest of us just took turns putting a hurt on the inhabitants of that stream If my recollection is accurate, four of the five members of our team won our sessions on the Crooked River.
Since that event this fly has been a killing pattern in my local brown trout streams for both stocked and wild fish. Some of the keys to this pattern that I enjoy are it's stark contrasting hues, which I feel are important triggers; its durability; and it rapid rate of descent since there is very little surface area to impart a "parachute" effect. These are all mighty important attributes to have when dealing with small flies.
This is a simple fly to tie, yet it is best to plan to tie them in larger lots since you will be coating the body with some type of lacquer. When doing so, it makes sense to coat a bunch of flies, then move on, giving them ample time to dry.
Again, you will see I have opted to tie this on a jig hook, but your favorite small fly hook will do just dandy.
Now, let's speed onward to tying the turbo midge!
MATERIALS
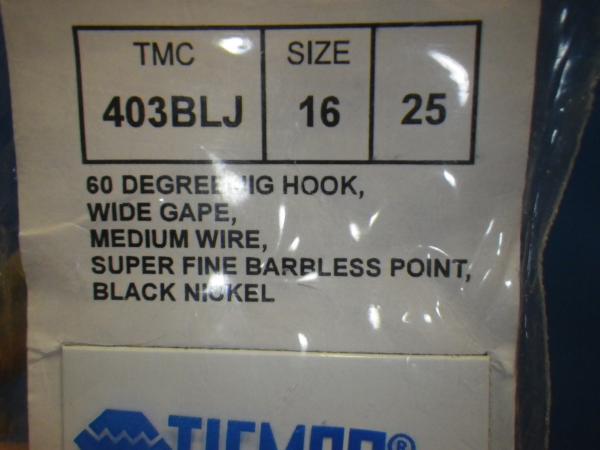
Hook: TMC 403BLJ (#14-#16), TMC 2499 (#18)
Weight: Silver slotted tungsten bead, lead wire
Thread: Black 6/0
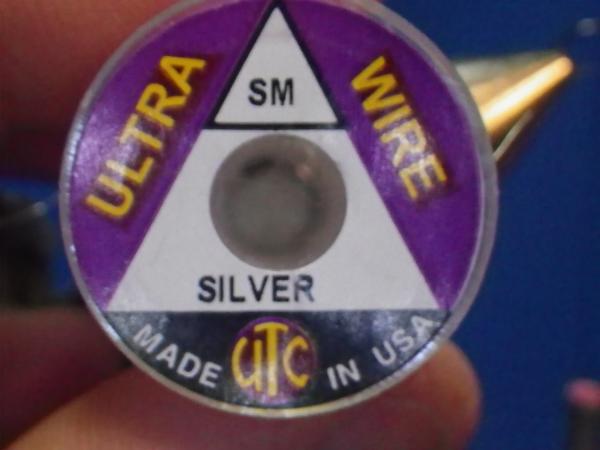
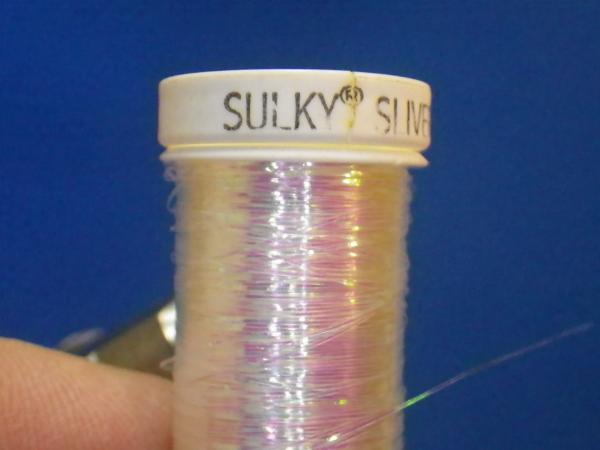
Rib: Small silver wire and pearl silver metallique Sulky thread together
Body: Black Thread
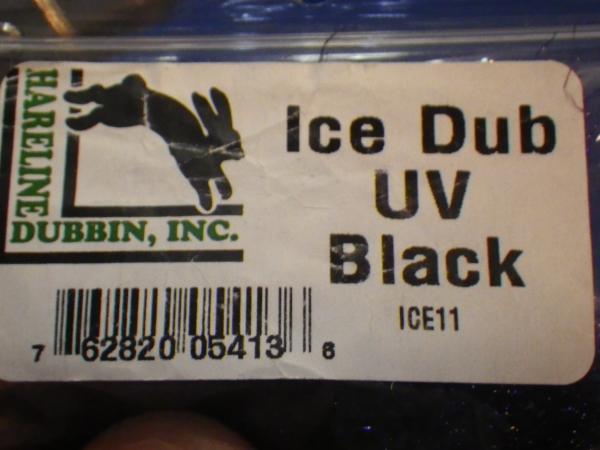
Thorax: Black UV Ice Dub
Click photos to enlarge!
|
TMC 403BLJ is my hook of choice. |
|
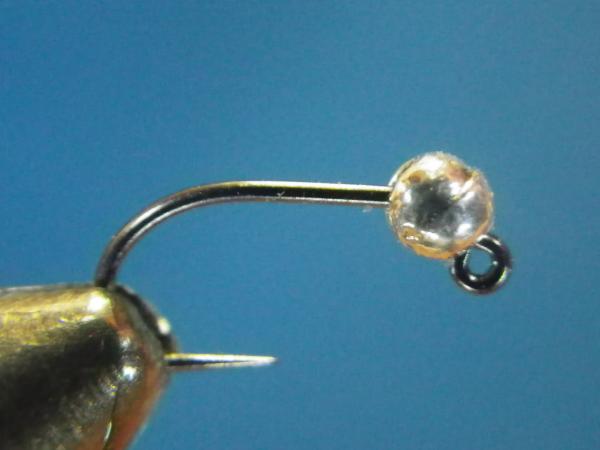
Slide the silver slotted tungsten bead onto the hook and squeeze it into your vise. |
|
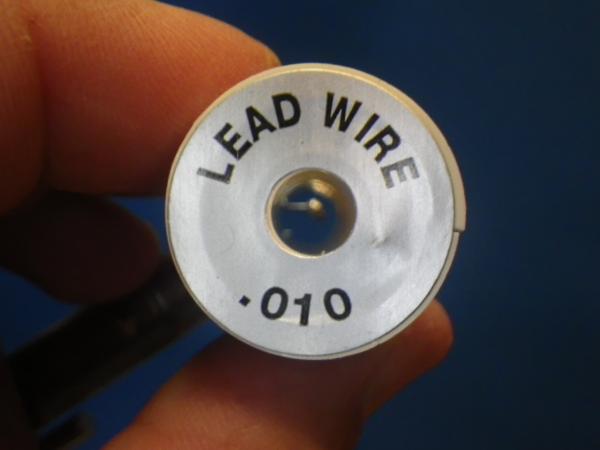
In most cases I match the lead wire to the hook wire diameter. |
|
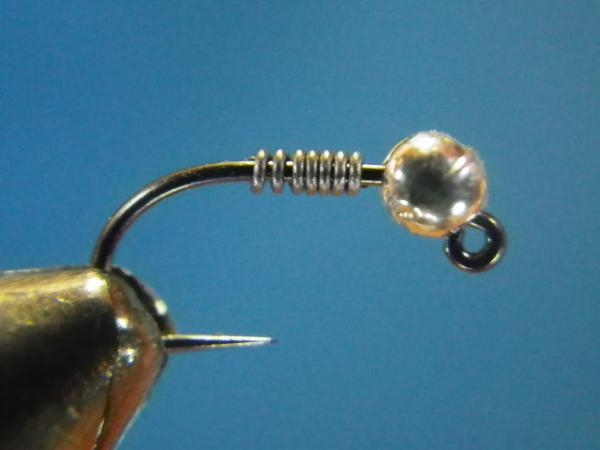
Place 6-8 wraps of lead on the middle of the shank. |
|
Slide the wire coil up against the bead. This will keep the bead in place while you are tying, add a bit of weight, and help build a taper. |

|
Affix your thread behind the lead coil-this will help keep the coil tighly against the bead and assist in building a taper from the shank up to the lead. |

|
Wrap forward, through the coil, to the bead-this will lock the lead in place. If the rear tip of the lead wire "kicks" out as it often does, use you can use thread tension and a "wiggle" motion to cut it off for a smooth transition. Once at the bead, wrap back to just past the rear of the lead and then stop. |
|
Cut a section of small silver wire. The more flies you plan to tie, the longer the section should be to minimize waste. |
|
Repeat with your pearl Sulky thread. There really is no good substitute for this material as it is so very strong. It is available through Kevin Compton at Performance Flies. |

|
Place the two sections of ribbing together and even-up the ends. |
|
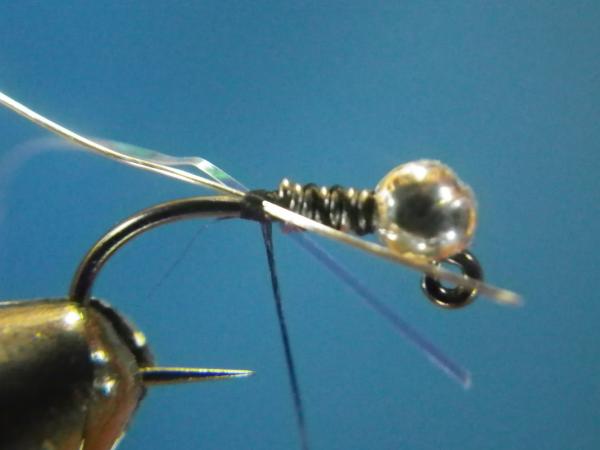
Secure both strands of ribbing together with a few loose thread wraps just behind the lead wire. |
|
Next, carefully pull the ribbing sections toward the rear, under the loose thread wraps, until they are even with the shoulder formed by the lead. This trick will help fill in that space and promote a nice taper. Nice tapers promote good ribbing. |

|
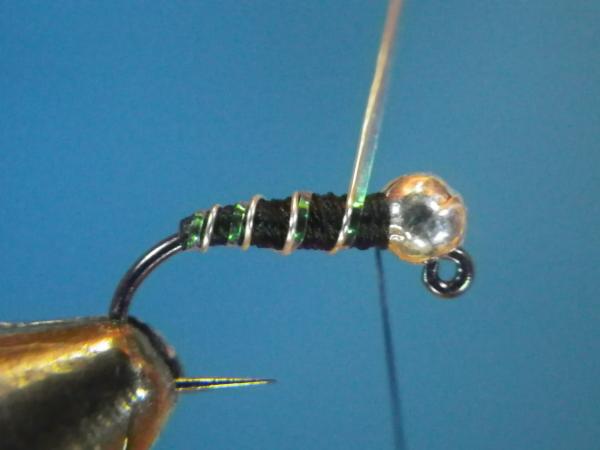
Now, secure the ribbing sections to the hook as you tightly wrap the thread to the rear, stopping at the start of the bend. It is beneficial if you keep the ribbing sections together and under tension with your non-bobbin hand, or place them securely in a material clip. |

|
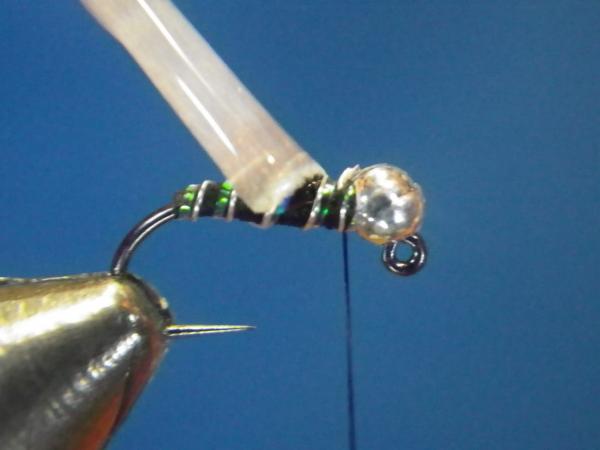
Advance the thread forward to the bead, taking time to build a smooth body as you go. This may require a few "back and forth" courses, especially on larger hooks. |
|
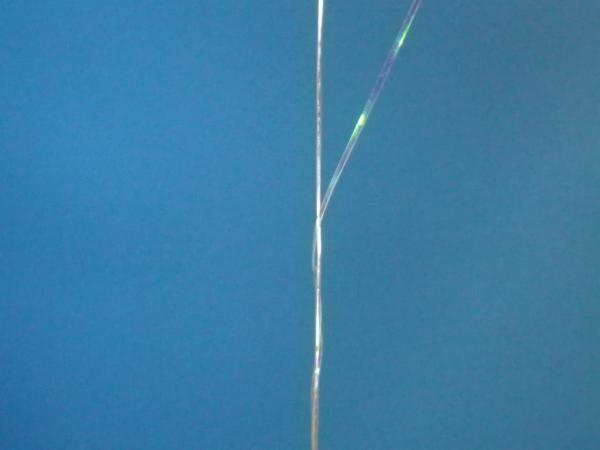
Lift the ribbings vertically and wrap the Sulky around the wire a number of times. This will help keep them together when you rib the fly. |
|
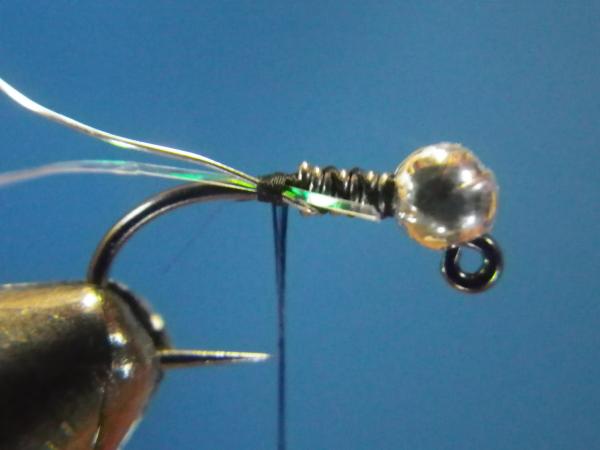
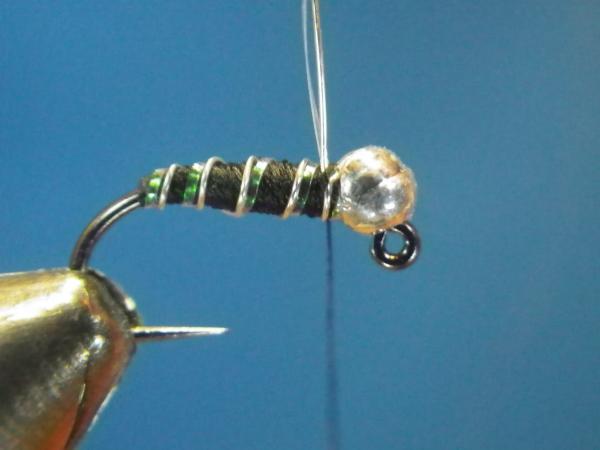
Hold both ribbing materials together and under constant tension to keep them married. I dislike the apprearance when the ribbing materials separate and it reduces the reinforcing qualities of the wire. Wrap them forward in open and even turns. Shoot for 4-5 wraps on the smaller flies. Your final wrap should pass across the top of the shank just behind the thread, which is hanging at the rear of the bead. |

|
Your final wrap should cross over the shank just behind the thread hanging at the bead. |
|
Come under the shank in front of then thread, then angle it up and back. One or two tight wraps of thread will lock the ribbing in place and allow you to cut it close without fear of clipping the thread. |

|
If you are tying a bunch of these, toss in a quick whip-finish now and cut the thread. My lacquer of choice for coating bodies and as a head cement is Sally Hansen's Hard as Nails. You can find this as your local grocery. |
|
Give the fly a coating (preferrably two) of lacquer to seal the thread and bond the ribbing. Allow the fly to dry before proceeding. |
|
I like Black UV Ice Dub for the collar. |

|
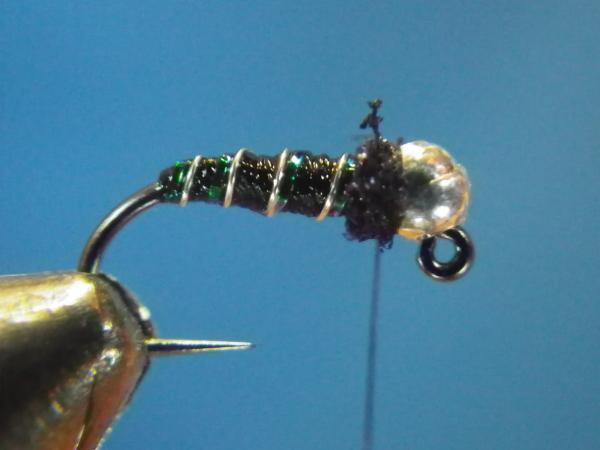
Touch a very small amount of dubbing to the thread, I cannot stress "small" enough. |

|
Twist the dubbing tightly to the thread in one-direction. Then slide the dubbing noodle up the thread until it touches the fly. |
|
Wrap the dubbing directly behind the bead forming a small, tight collar. |
|
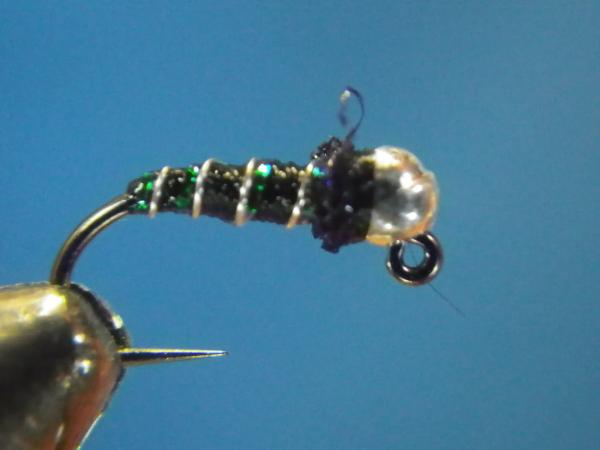
Whip finish and clip the thread. |
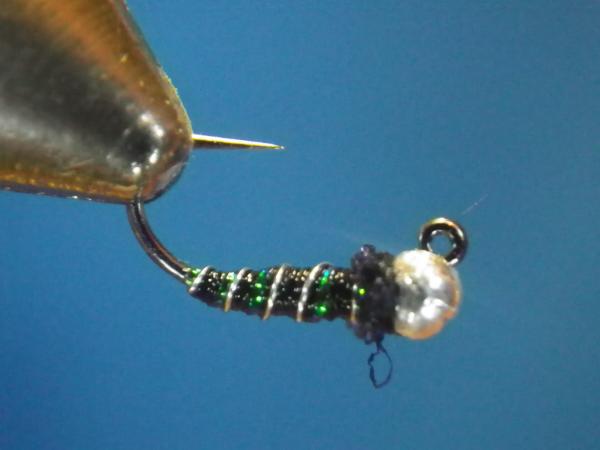
|
And you have yourself a Turbo Midge! |