White Intruder Tube Fly
Fly and Photos by Loren Williams
The Intruder style steelhead pattern is credited to Pacific steelhead angler Ed Ward. First designed as a pattern to attack King Salmon by trying to mimic the large profile of a pulled plug, the fly soon proved its worth as a steelhead pattern. Through the years and via discovery of new materials, Ed and his cronies have created a style of fly as flexible, yet as effective, as the beloved Woollybugger.
I'm not quite sure one can "define" an intruder style fly however, like the 'Bugger, once you see one you never forget it. The original was tied on a shank with a stinger, but these days Intruders show up on Waddingtons, shanks, and tubes. Intruders should have eyes to keel the fly in absence of a heavy hook point, otherwise the fly may not swim as designed. An Intruder can be tied with Ostrich, Rhea, saddles, burnt spey, bunny or any mix thereof. Long, flowing materials to create profile and denote life. Triggers! What I feel tends to denote a pattern as an Intruder is the very pronounced and active tail and thorax regions which are encouraged to flare and dance via some type of sturdy support chassis. The result should be a large profile built of flowing materials, under which lie body materials (hackle, dubbing, hair) tied to prevent them from collapsing against the shank or tube when being fished, but not so much bulk that the fly cannot be cast.
What I have shown is a version of the Intruder that I prefer to tie. I tie it in a variety of color schemes because you just never know! The deer hair accomplishes the task of framing the longer materials, yet has a great deal of action on it's own. I have grown to avoid any type of body material beyond mylar for ease of tying and durability. I do tend to add some type of hot spot dubbing into the thorax as a target or trigger. Hair and motion again build the thorax and wing and the head is finished with spun dubbing. Not accurate to Ed Ward's versions, but not far enough away to be properly called another name. Again, my personal preferences with credit given to Mr. Ward.
From what I gather, the clan that was involved with this pattern has taken the same path.
I am finding that I can fish this fly ahead of my rod or behind and still have it perform. By allowing it to lead my rod the fly swims faster and higher and accounts for more brown trout.. By leading the swing with my rod I can slow down the swing and bring the fly more perpendicular and this seems to appeal more to steelhead. However, this is not to imply that those boundaries are concrete, fish attitude and water temperature are certainly factors The point is this: this fly takes fish under many conditions and I have supreme confidence in it. Give it a swing!.
MATERIALS
Hook: Tube
Weight: Lead Dumbbell Eyes
Thread: Fire Orange 6/0
Tail: White Ostrich over White Deer Hair
Body: Pearl UV mylar
Thorax: Fluor. Red Trilbal Antron Dubbing under White Deer Hair
Throat: White Ostrich
Wing: White Ostrich, Grizzly Saddle tips, Rainbow Flashabou, Natural Gray Ostrich
Head: White Flashabou Dubbing
Click on photos to enlarge!

|
Place preferred tube on your mandrel. |

|
Start your thread near the front. |
|
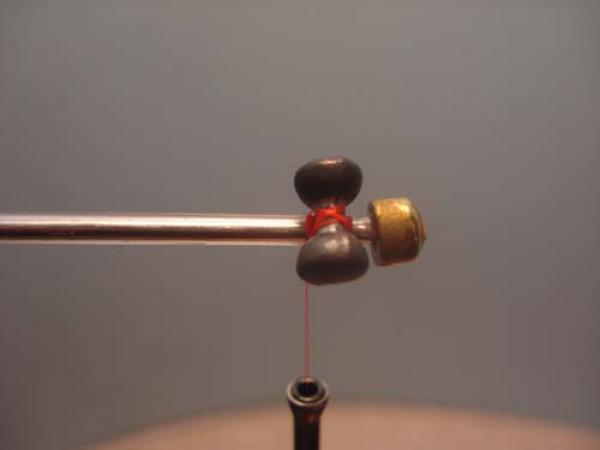
With X-wraps, secure some weighted eyes to what will be the underside of the fly. |
|
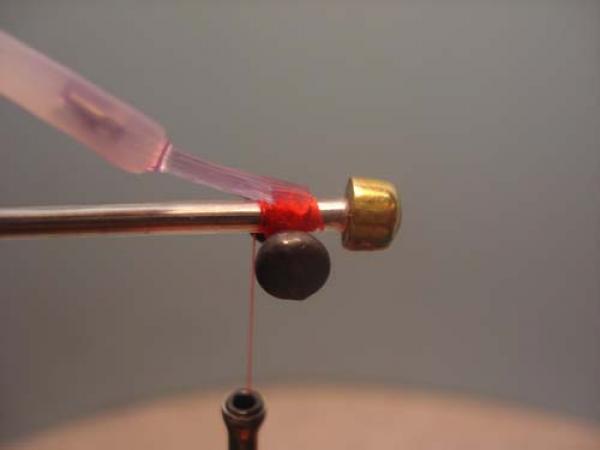
Lay a coat of superglue to lock them in. |

|
Advance the thread to the rear. I stop well short of the end of the tube to allow for rigging. |
|
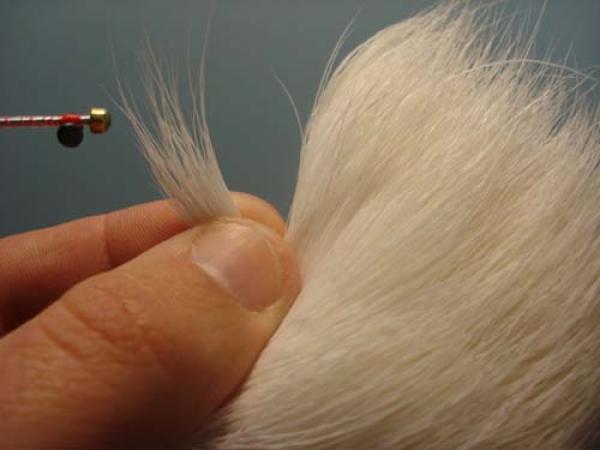
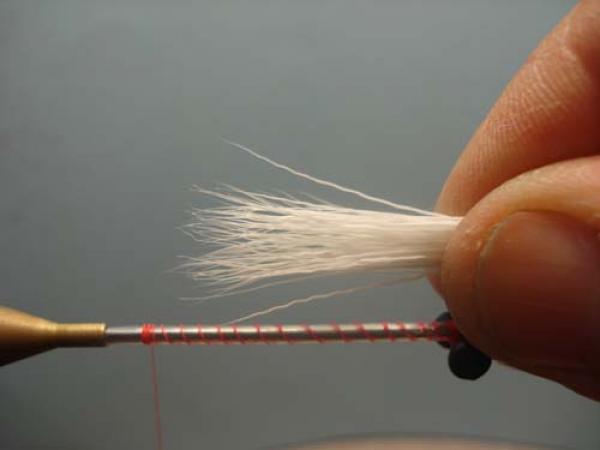
Select a moderate bunch of white deer hair form the hock or belly. |

|
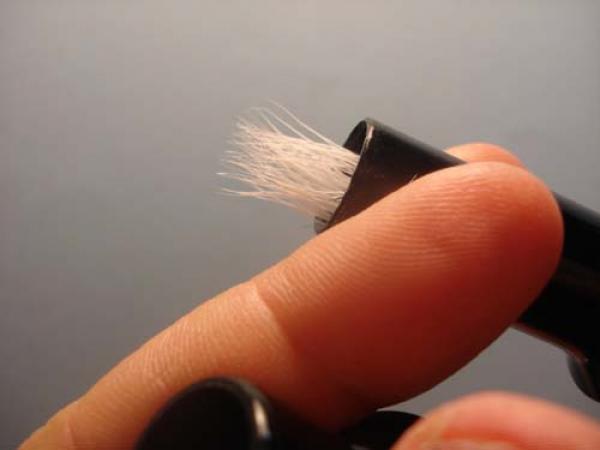
Clean the fuzz from the butt ends. |
|
Stack so the tips are roughly even. |
|
Measure to be about as long as the tube (or longer if desired). |
|
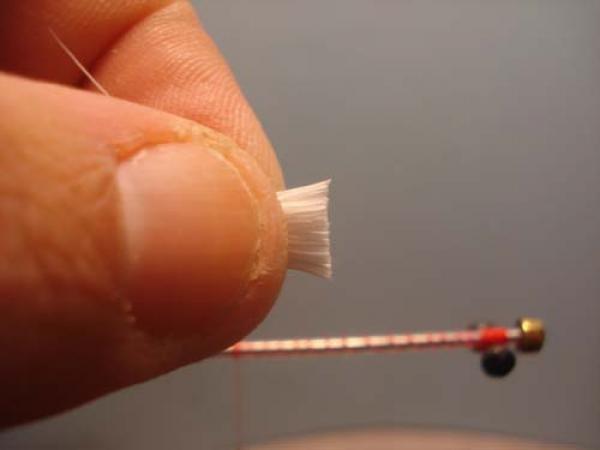
Clip the butt ends square and rather short. We will not be trimming the butts after spinning, the only purpose of the butt ends is to secure the hair tips and add a bit of a hump for the tail fibers. |

|
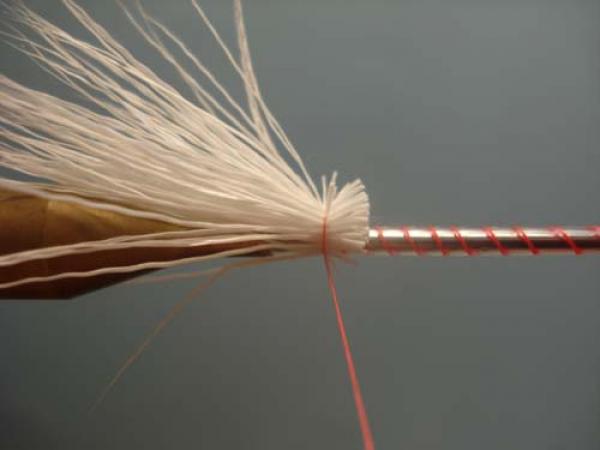
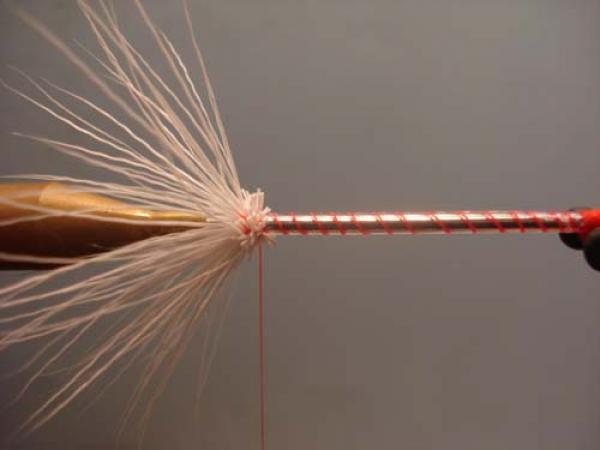
Force the bundle around the tube... |
|
...and take one loose wrap of tread around them. |
|
Begin to tighten as you make wrap #2, the bundle will spin around the tube. |
|
Make a good number of tight wraps through the butt ends to lock them in. |

|
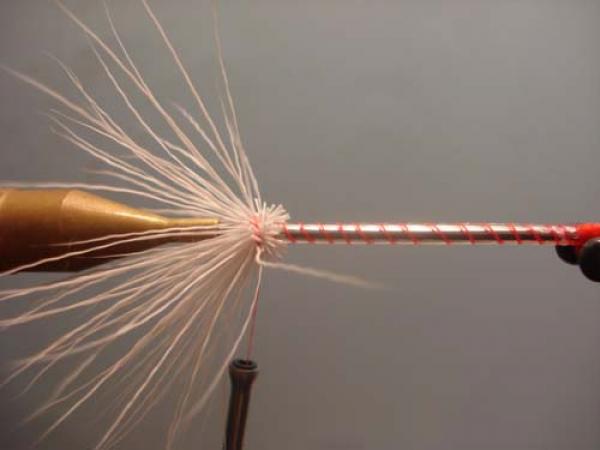
Pull back the ends and advance the thread to the leading edge. |

|
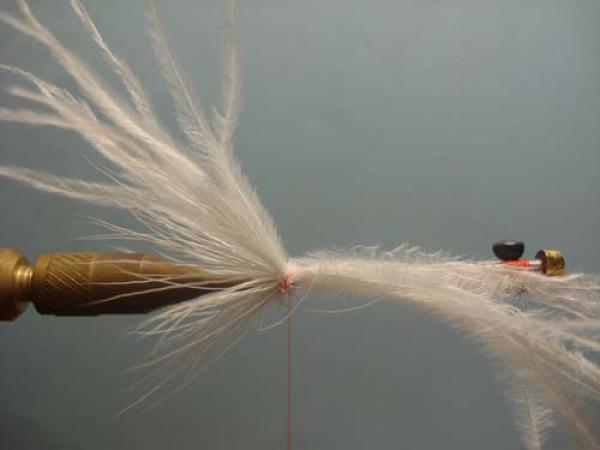
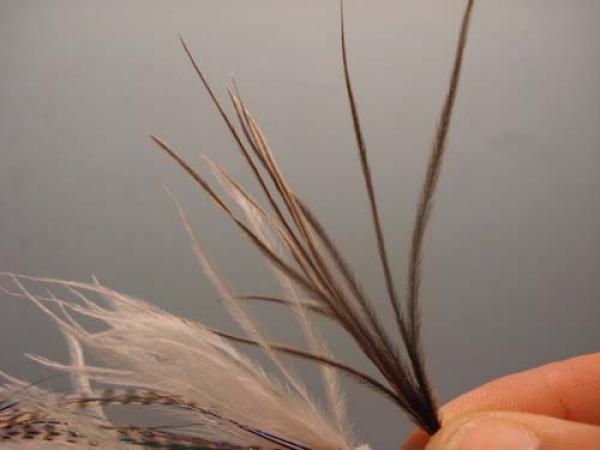
Select several ostrich plumes. Look for thin, tapered tips. |
|
Secure the bundle to one side of the tube with the tips left quite long. Notice how the hair holds them away from the tube. |
|
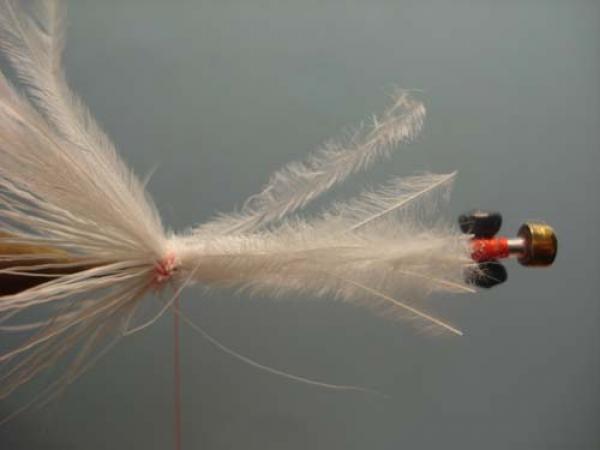
Clip the excess so they are just short of the eyes. |
|
Repeat on the opposite side. |
|
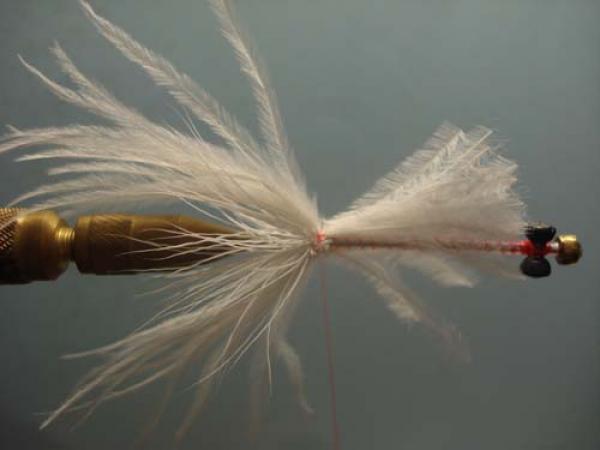
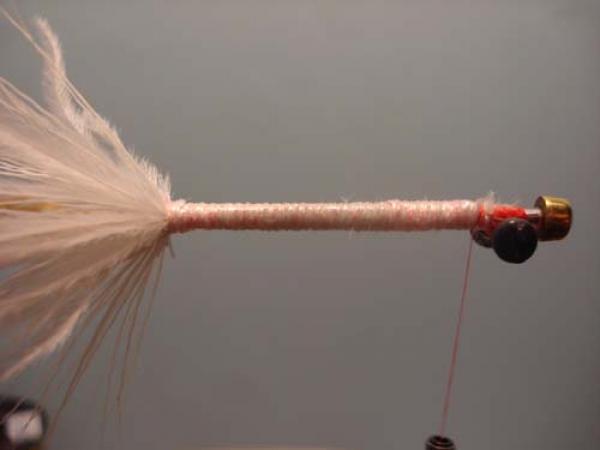
Bind the excess to the tube to keep the underbody diameter even. |
|
Secure a long strand of mylar, or your body material of choice, down the top of the tube from eyes to tail. |
|
End with your thread behind the eyes. |
|
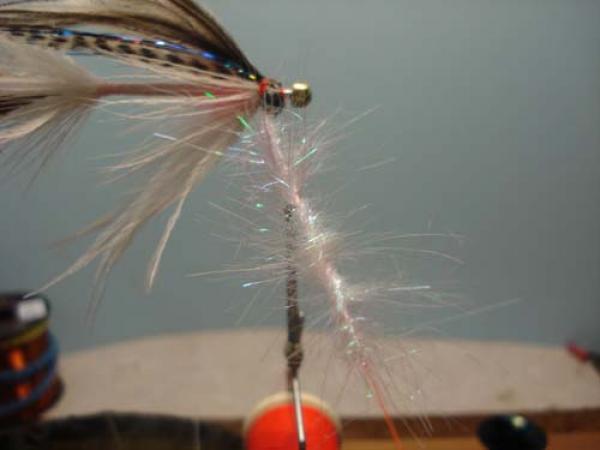
Wrap forward to build a thin, tight body. |
|
Secure and cut the excess. |
|
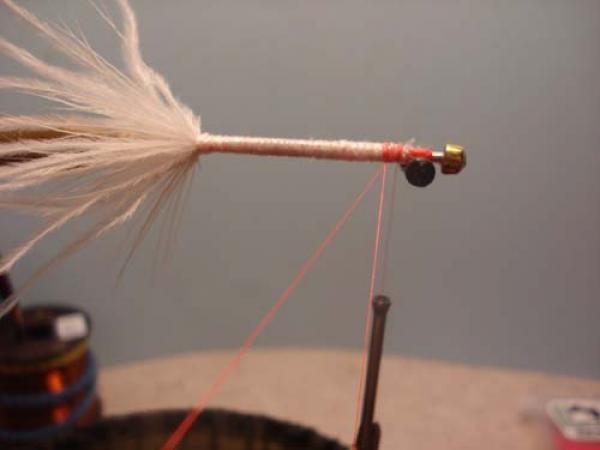
Form a dubbing loop behind the eyes. |

|
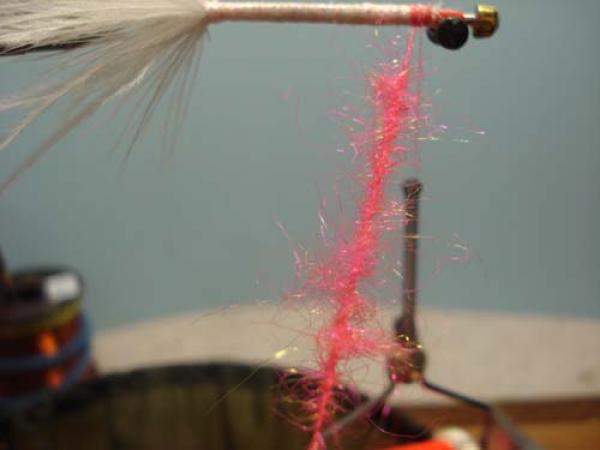
Fill the loop with dubbing-here I am using STS Trilobal to form a hot spot effect. |
|
Spin the loop to secure the dubbing and build a rough chenille. I like to use stainless steel BBQ skewers as my spinning tool. They have a hook on one end that is not quite closed which I find ideal for this operation. |
|
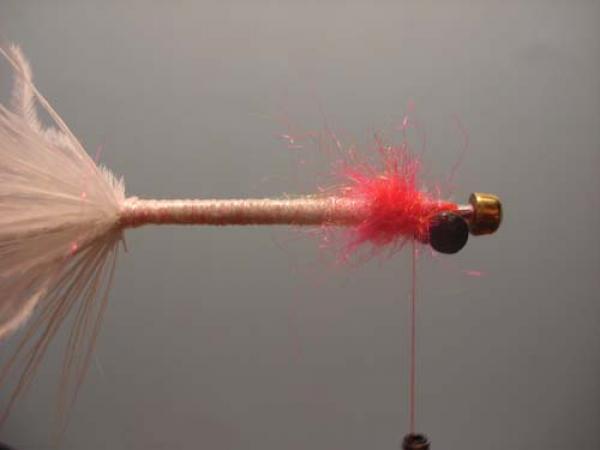
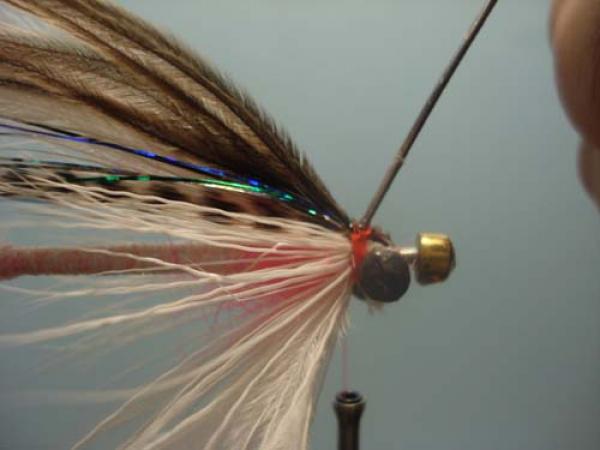
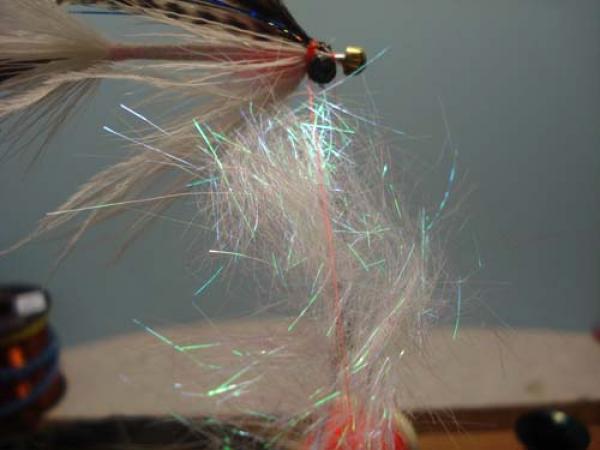
Wrap the dubbing in a compact area behind the eye, stroking back the fibers between each wrap. Secure and trim the excess. |
|
I like to brush the dubbing out. |
|
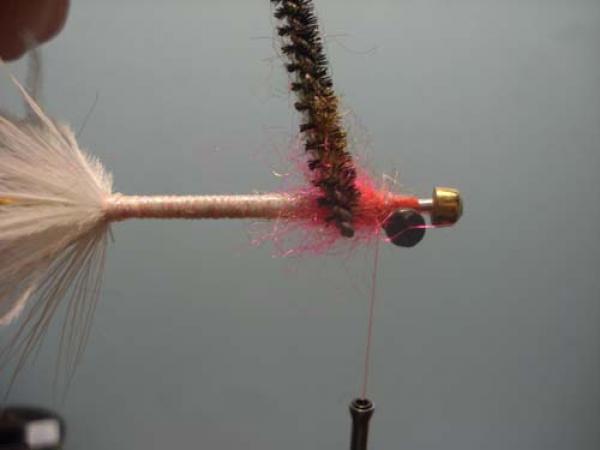
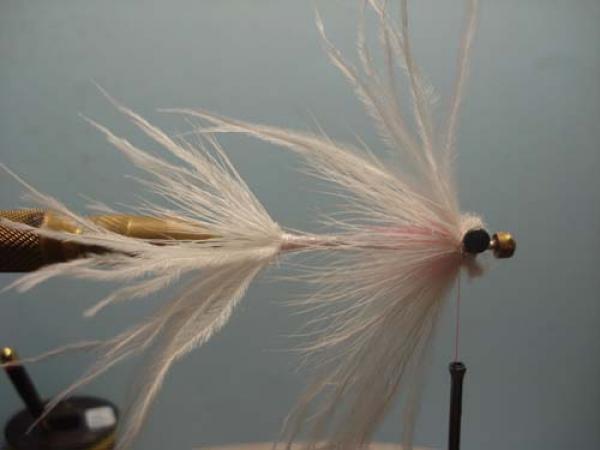
Select, prepare and measure another bunch of deer hair. I want the tips to just reach the front of the tail when they are laid flat. |
|
Clip the butt ends short. |
|
Spin as we did with the tail. |
|
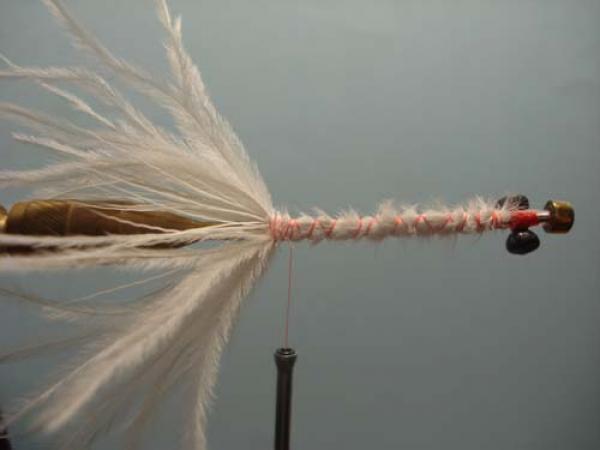
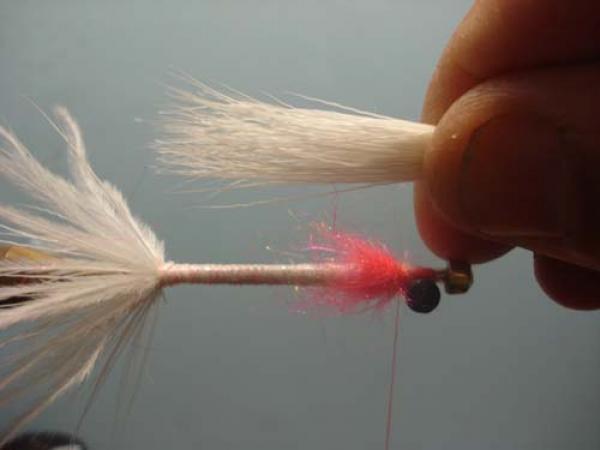
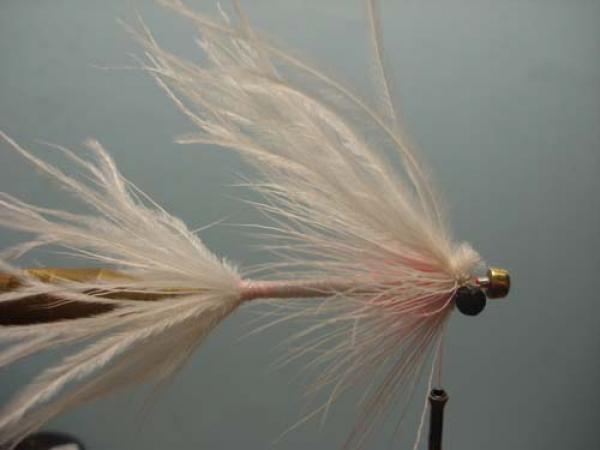
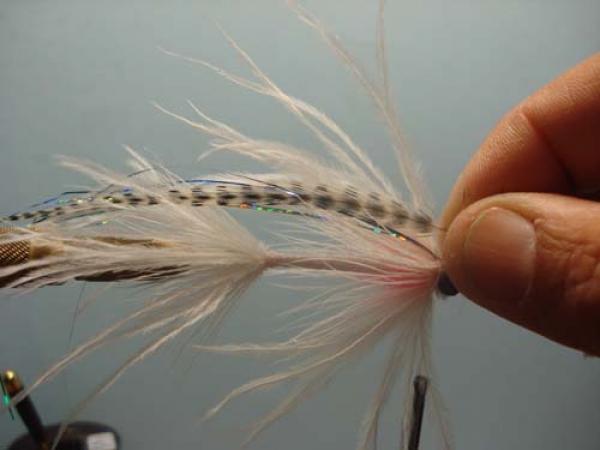
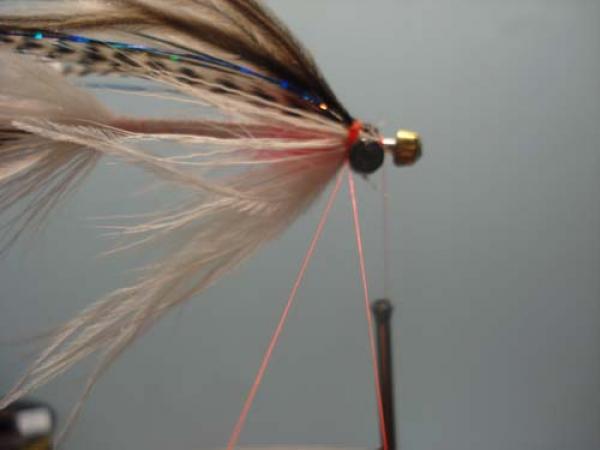
Select a healthy bunch of ostrich and tie them on top (opposite the eyes) as a wing. I like the tips to extend well into the tail. |
|
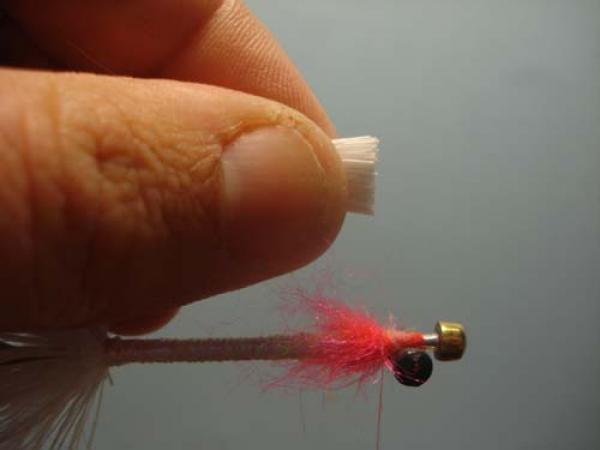
Secure another bunch, a bit shorter, on the bottom of the tube. |
|
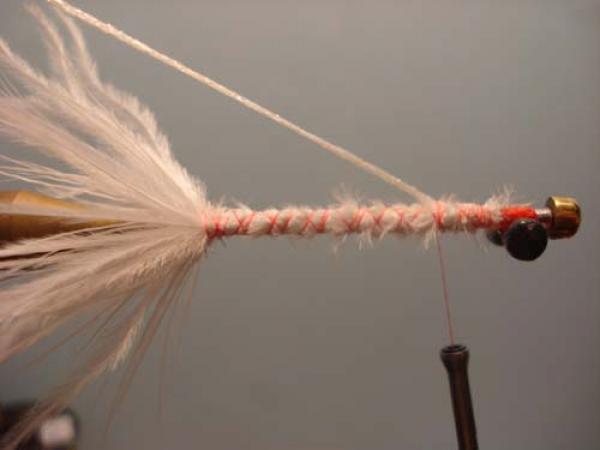
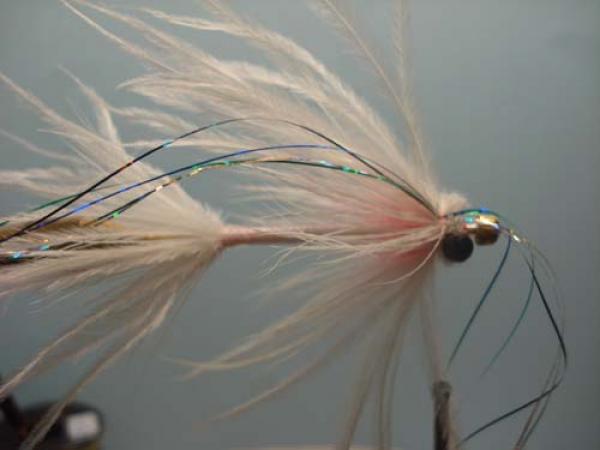
Next, secure a few strips of flash to the wing to one side by binding them don behind the eye at the middle of the flash material. You will have tips extending in both directions. |

|
Next, fold the portion that is extending forward back to the rear and secure with thread just to the far side of the wing. This will lock in the flash material with a minimal amount of thread wraps. |
|
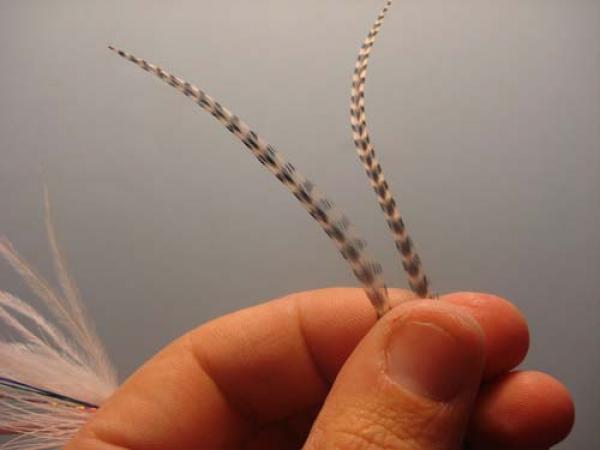
Select two thin saddle hackle tips. |
|
Measure each to be about as long as the entire fly and expose the stem at that location. |
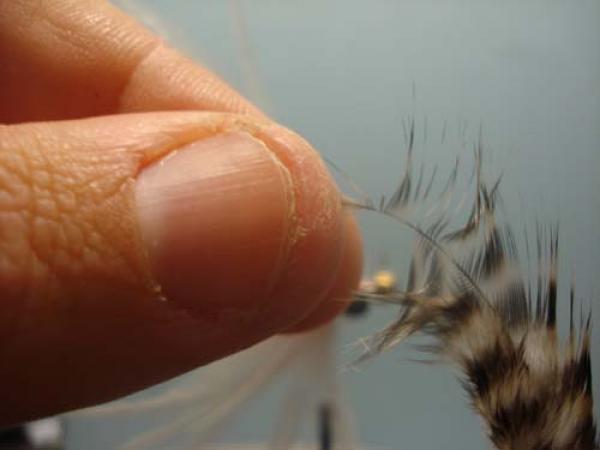
|
Exposing the stem... |
|
Secure one saddle to the nearside of the wing with a few wraps. |
|
Fold the excess back and secure with a few more wraps, thus locking it in place. |

|
Repeat on the far side. |
|
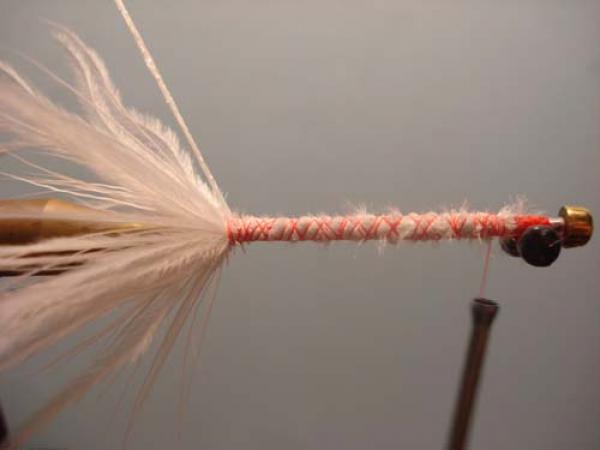
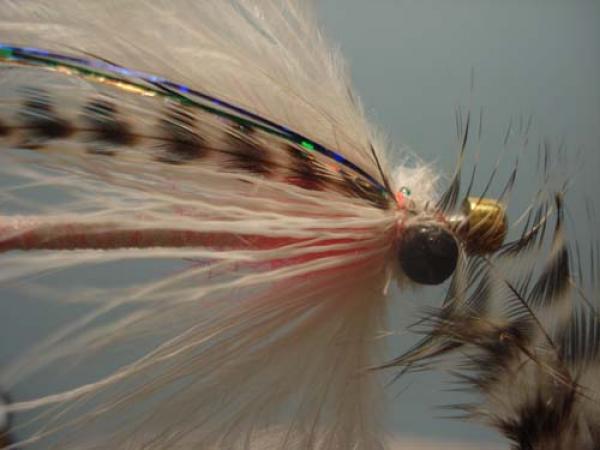
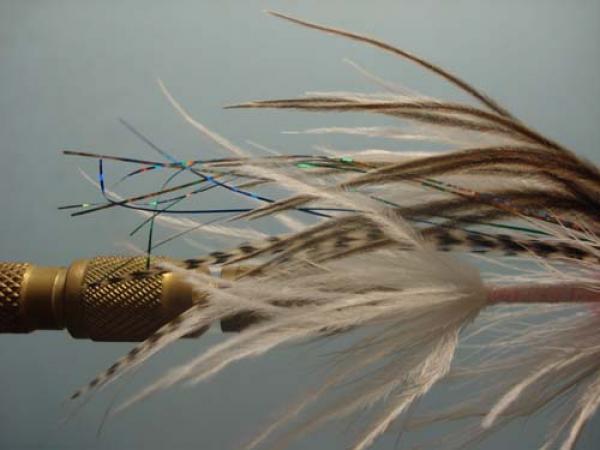
Select a bunch of contrasting colored ostrich herls. Here I am using natural grey. |
|
Secure them atop the wing as shown. |
|
At this point I like to add some cement to the thorax thread windings to lock it all in place. This fly will see some abuse! |
|
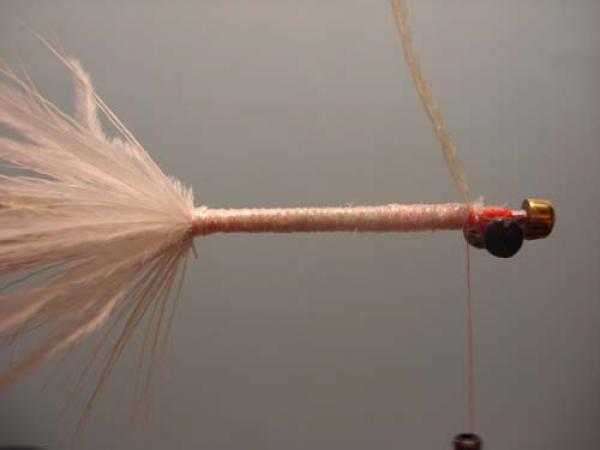
From another dubbing loop and then advance the thread forward of the eyes. |
|
Insert some dubbing. Shown is pearl Flashabou dubbing. |
|
Spin the loop. |

|
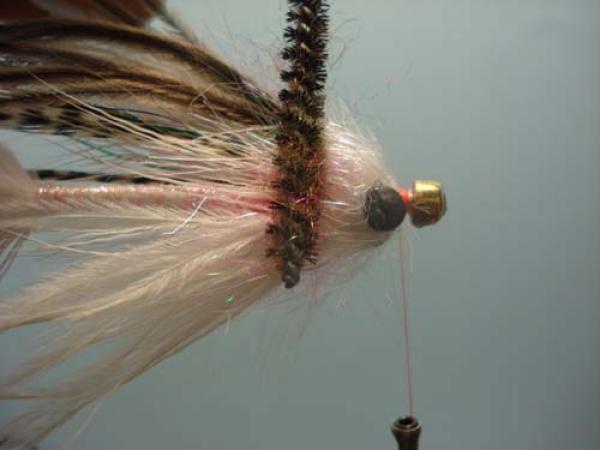
Wrap the head. |
|
Brush out. Secure and trim the thread. |
|
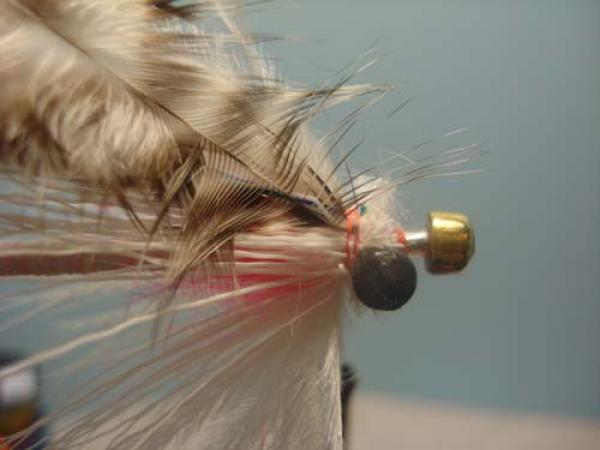
Trim the flash to length. |
|
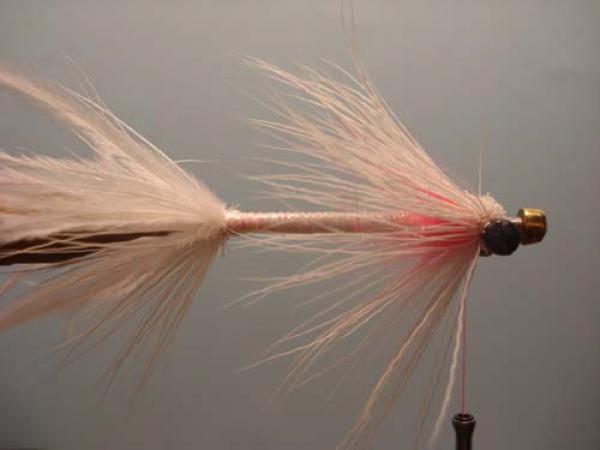
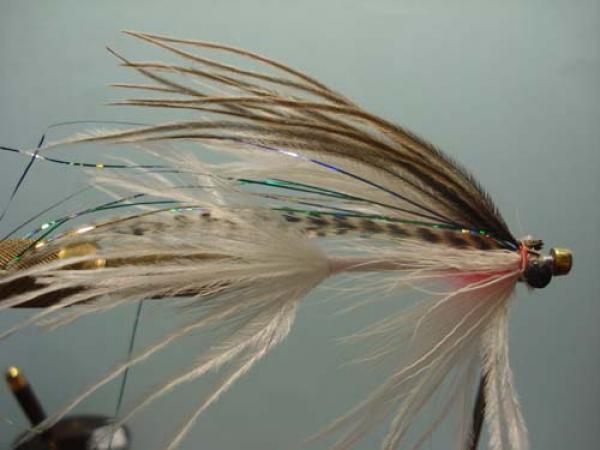
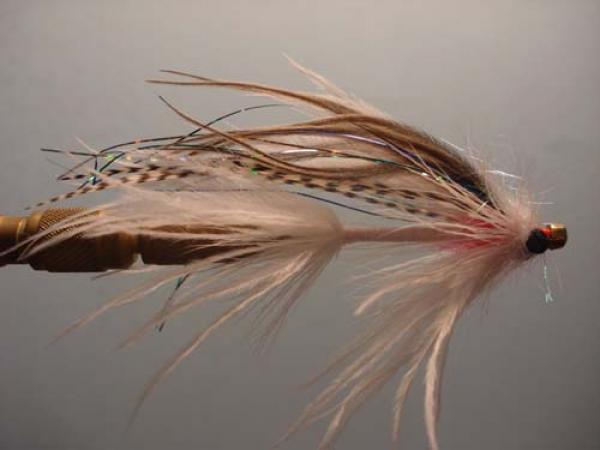
A completed White Intruder style tube fly. |
|
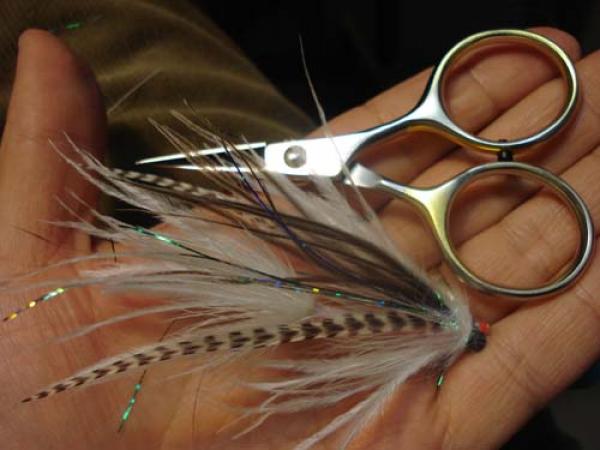
For size reference. |