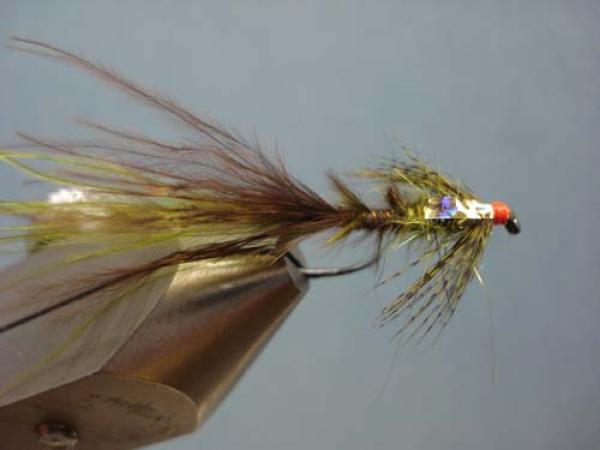
Little Pine Damsel
Fly and Photos by Loren Williams
In March of 2007 I accompanied 4 of my fellow Fly-Fishing Team USA anglers to Tasmania, Australia to compete in the 2007 Oceania Championships. This biannual competition was originally created to decide the National team for both New Zealand and Australia, but has since grown to include other countries like Canada, the USA and Japan. Still deciding the Kiwi and Aussie champs, these games are a good test of angling skill as you are facing these countries best anglers in their own back yards.
Tasmania is known for it's fine stillwater fishing over wild trout, and this competition highlighted that particular arena with 3 lake venues during unreasonably warm temperatures that had water measuring in the mid 70's. Our team persisted and we ended up winning the Bronze Medal with our captain, Scott Robertson, winning the individual silver and Devin Olsen placing a strong overall fifth. For accounts of the competition, click here.

One of the most interesting stillwaters we fished was Little Pine Lagoon (above). Typical in surface area to most of our western alpine lakes, Little Pine differed in that in many areas you could wade completely across the lake without going over your waist. The lake was rich in weeds and contained a plethora of aquatic invertebrates.
Our practice sessions did not jive with the hyped-up Highland Dun hatches that are expected at the end of the Aussie summer, and since the weather and water was so atypically warm we did not expect them to be a factor. In order to catch, we needed to get creative. After splitting up we found that most basic stillwater applications took fish. Bank-fishing was less productive as to be expected with territorial brown trout. Our Loch-Style (boat and drogue) practice was far more productive. I was able to fool ample fish with a 3-nymph rig on a floating line fished nearly static-just occasionally causing the flies to rise and then fall.
Some of my mates had success pulling buggers and damsels.
This pattern is named after this lagoon and was designed after seeing a fly Scott Robertson had success with. During competition, many flies get created the "night before" and this was one such fly. Damsels were obviously numerous in this lagoon so having a damsel-esque nymph on your rig was a no-brainer. But one thing I discovered in practice was that hot-spots seemed to very much increase our production. My best fly in practice was a hare's ear-ish nymph with a hot thorax Scott later named "Loren's Hare's Ear," so I aimed to include some of that mojo in this fly. Thus, the advent of the red head. The flash case was part of Scott's pattern and probably another very important trigger.
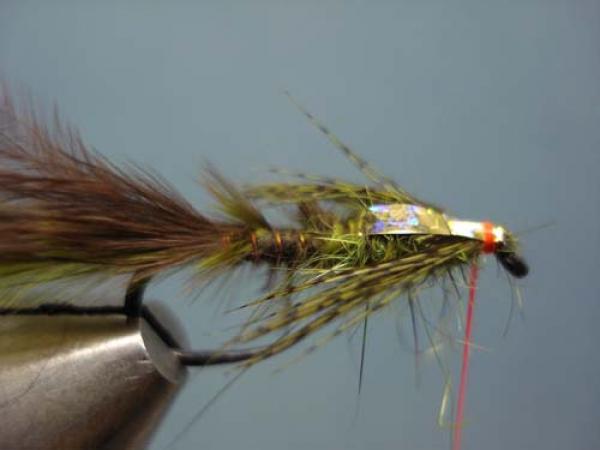
My competition session was fished with this fly on point, my Hare's Ear on the middle, and with a bob fly on top and accounted for nearly a dozen hooked fish. Sad to say I failed at landing all but one of those fish, but a pig he was! The flies and rig was so productive that my boat partner, Steve Brown, switched over to try and copy what I was doing. After the session, when all the anglers discuss what they did-it was agreed that our boat out-hooked the other boats combined, and then some! Too bad I was not more educated about barbless hooks then! The 52-cm wild Tasmanian brown trout you see below was enough fish to give me a second-place in that session, however I should have handily won. Can't just hook them, you need to net them too!

Since then this fly has accounted for large numbers of stillwater trout when fished as an imitation or as an attractor/searching pattern. One can shorten the tail a bit if the trout are obviously "on" damsels to make it more imitative. Left long, the pattern is probably too big to imitate actual damsels, but it sure draws in fish.
MATERIALS
Hook: Knapek S (#8-#10), or your favorite nymph/wet fly hook
Thread: Fire Orange
Tail: Blend of Light Olive and Brown Marabou
Rib: Fine Copper Wire
Abdomen: Excess marabou from tail, twisted and wrapped.
Wing Case: Gold Holographic Tinsel
Thorax: Wotton SLF Olive
Legs: Olive Partridge
Click photos to enlarge!
|
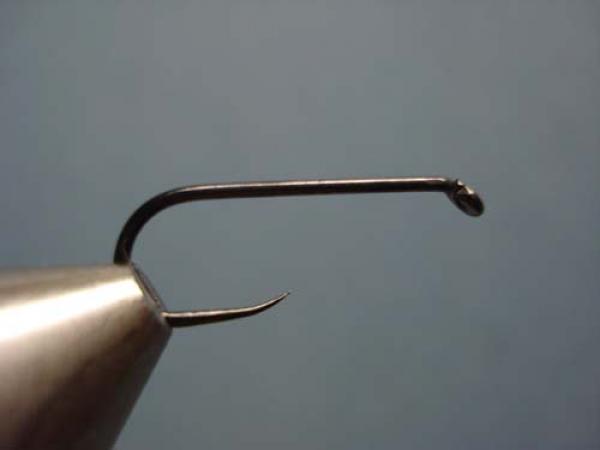
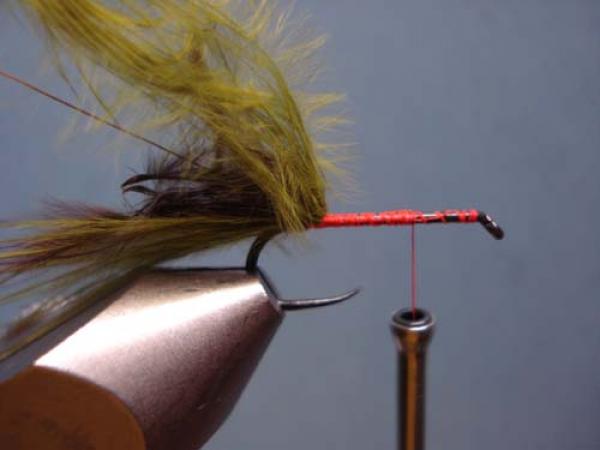
Place the barbless hook in your vise. |
|
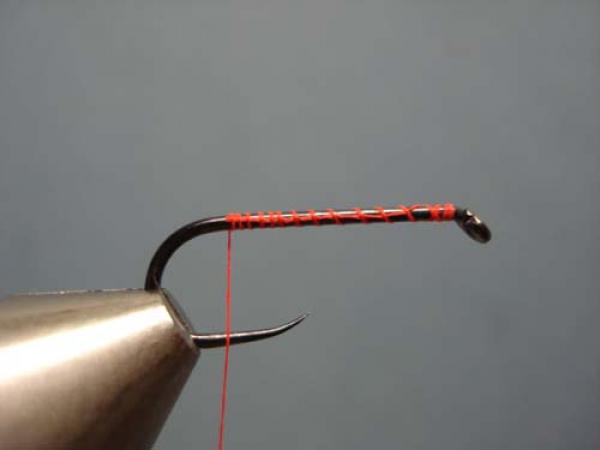
Start your thread behind the eye and run it to the rear. |

|
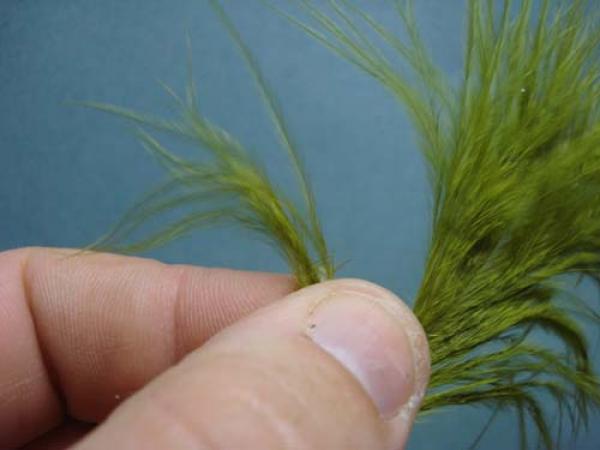
Select two marabou plumes with long individual fibers. |
|
Select a few (4-5) fibers from one color. |
|
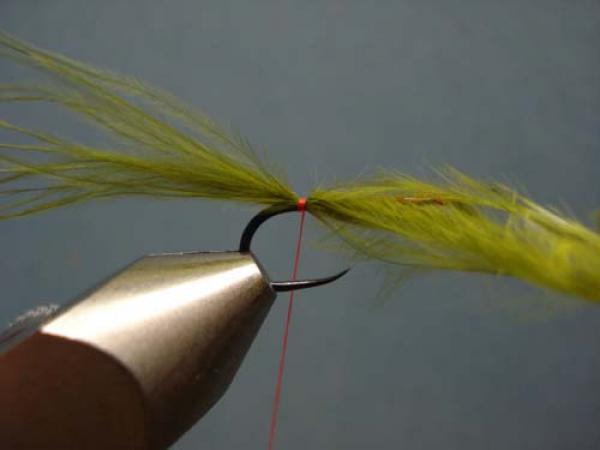
Measure the tips to be 2X the length of the hook. |
|
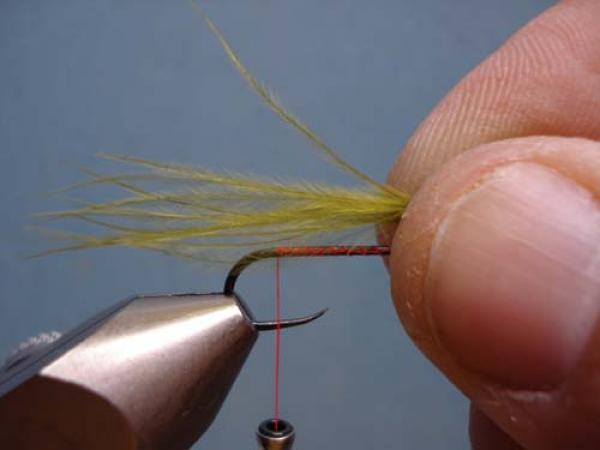
Tie them in at the rear with 2 firm wraps of thread. |
|
Repeat with color #2. |
|
Pull the excess to the rear and wrap the thread forward to the middle of the hook. |
|
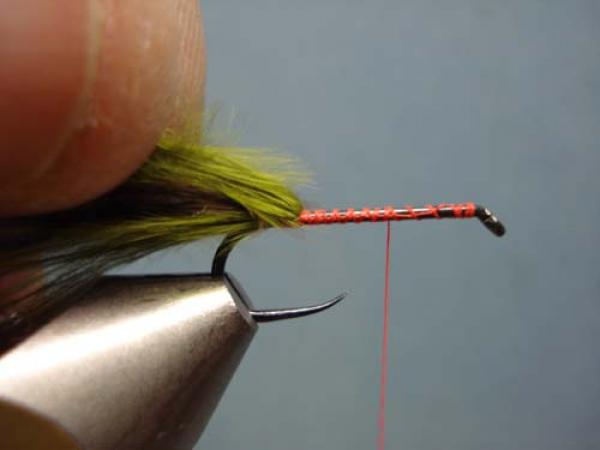
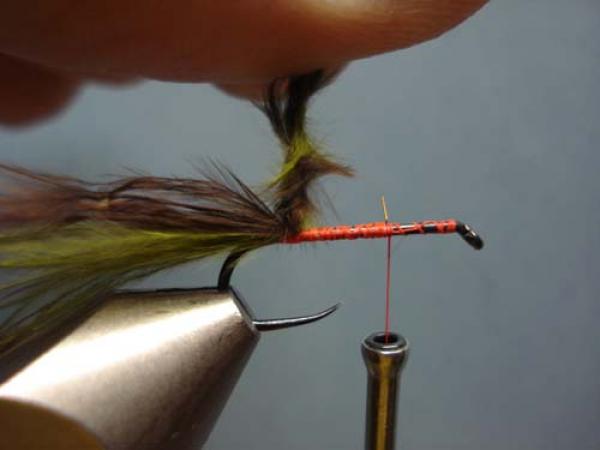
Catch-in a section of fine copper wire on the far side of the hook. |
|
Bind it along the far side back to the tail. Advance your thread forward to the middle. |
|
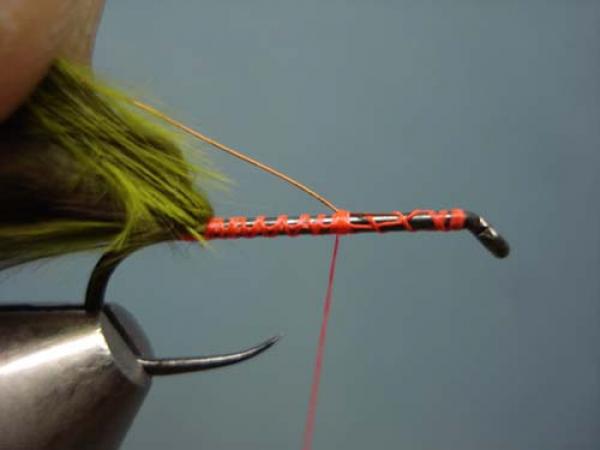
Twist the marabou excess together. |
|
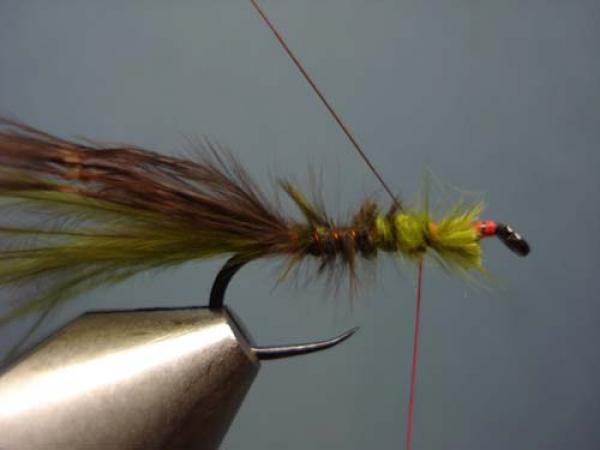
Wrap the butt ends forward and secure at the middle of the shank. |

|
Counter-rib the copper wire in open and even turns to secure the marabou. Notice how the wire is crossing the thread on the final pass... |
|
...passing under the hook shank, up the other side and angled to the rear. |

|
2 thread wraps and the wire is secure. Clip the excess. |
|
Find your large gold holo. tinsel. Secure a section to the top of the thorax area (front 1/2 of the hook). |

|
Apply a very tacky dubbing wax to your thread. |
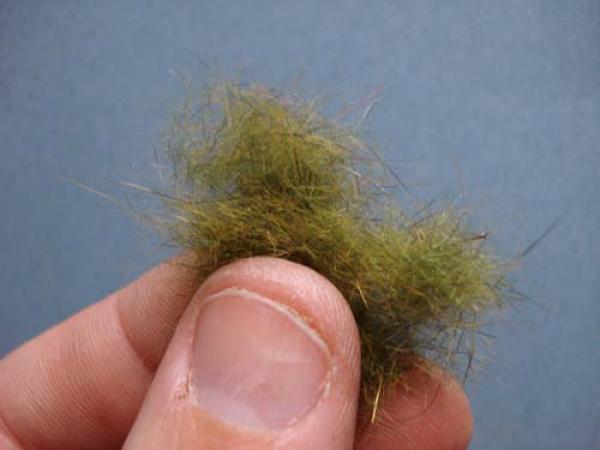
|
I like Davy Wotton's SLF Green Olive dubbing for this, but any spiky grayish olive dubbing will work just fine. |
|
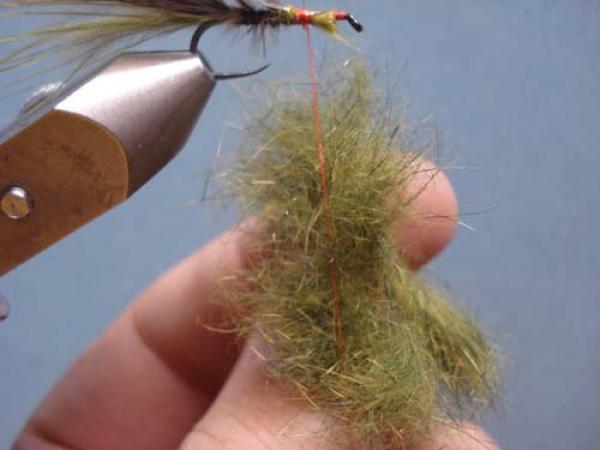
Touch the dubbing to the thread. |
|
You will end up with this. |
|
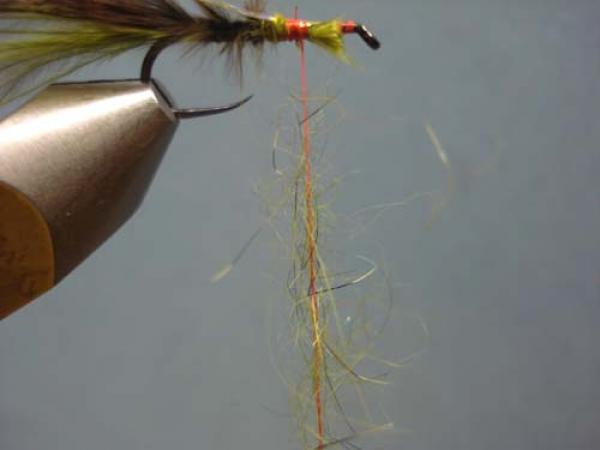
Spin your bobbin... |
|
..and you'll get this. |

|
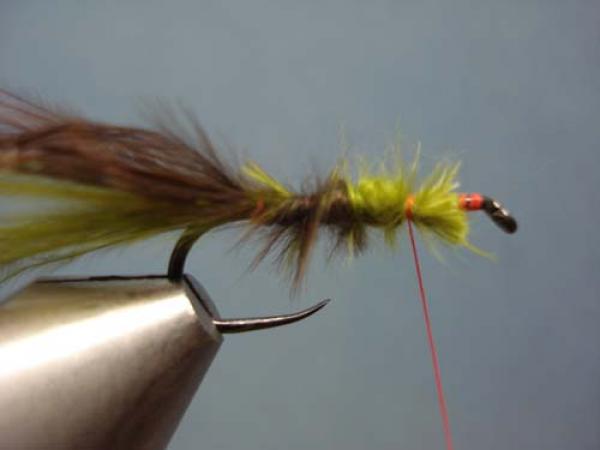
Form a rather thing, fuzzy thorax. End with the thread a bit behind the eye. |

|
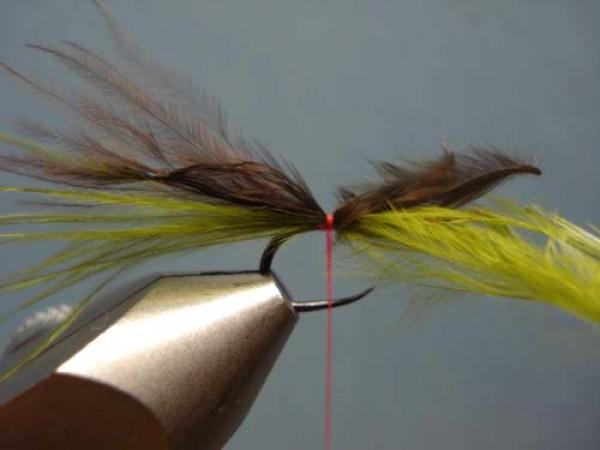
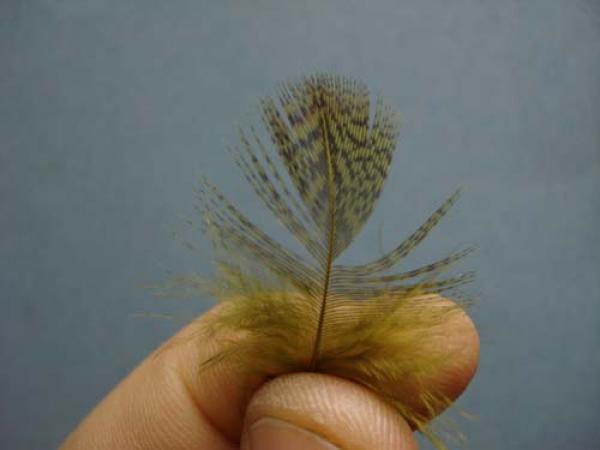
Find a nice olive partridge skin. |
|
Select a well-marked brown, dyed-olive feather. |
|
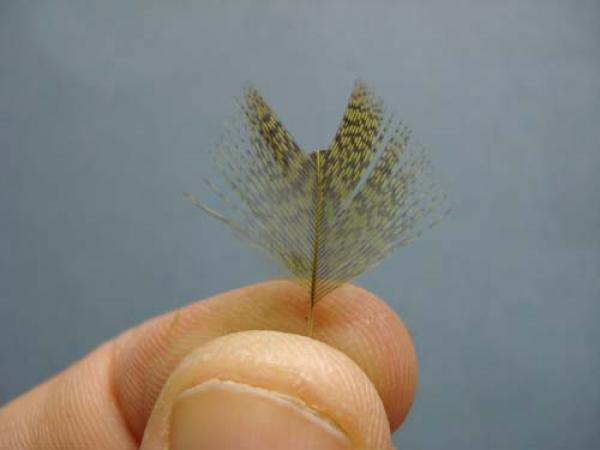
Remove the basal fuzz and clip a "V" out of the center by snipping away the stem as shown. |

|
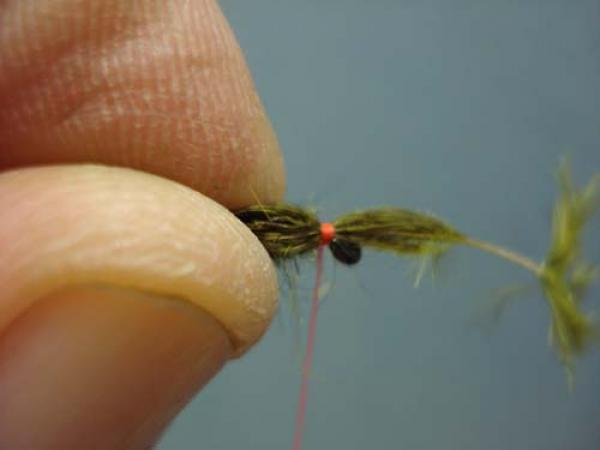
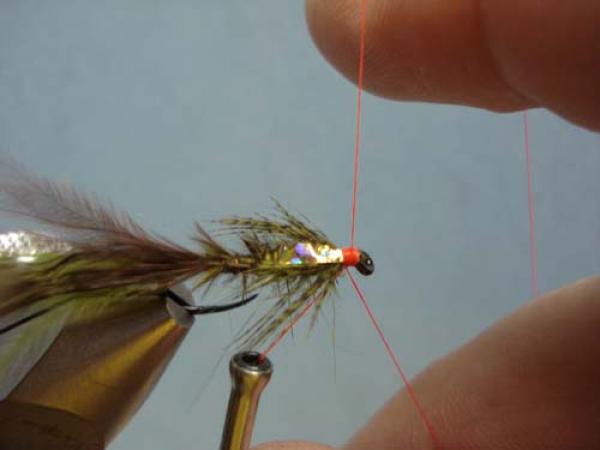
Tie it in with 2 loose wraps behind the eye. |
|
Pull the feather forward though the thread wraps until you have the fibers at the proper "leg" length-just past the rear edge of the thorax. |
|
Lock the feather in place with a few tight thread wraps. |

|
Clip the excess. |
|
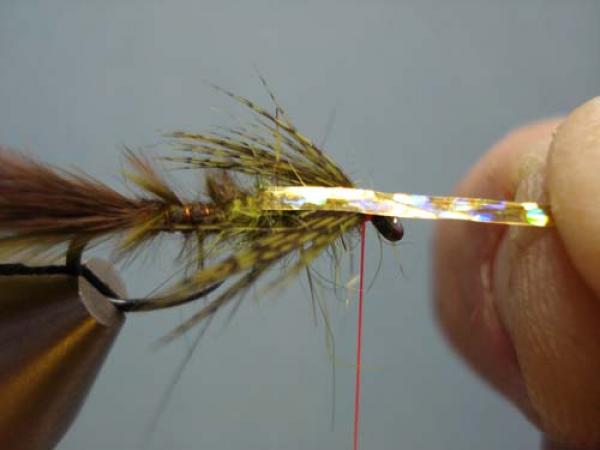
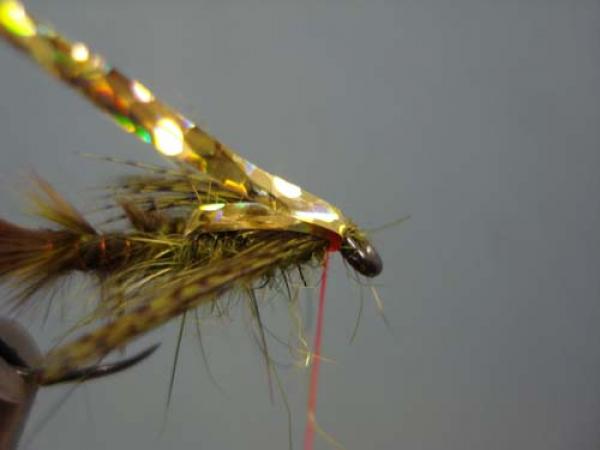
Pull the tinsel forward into the V-notch of the feather, thus splitting the fibers to either side, forming legs. |

|
Pinch-down on the tinsel to hold it in place. |
|
Make 2 wraps to secure. |
|
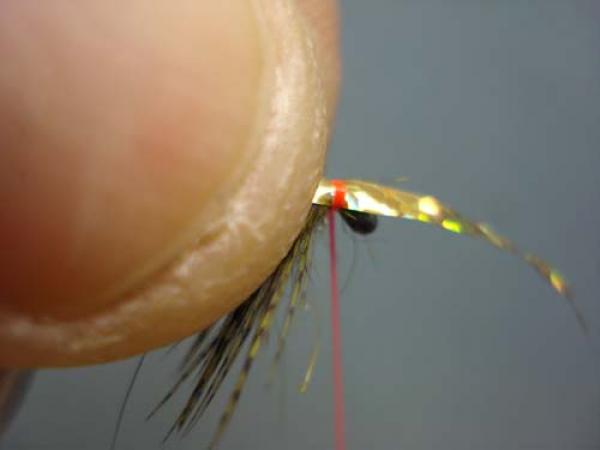
Pull the tinsel to the rear. |
|
2 more wraps to lock it in. |
|
Clip the excess. I do not try to get real close as the tinsel will lay against itself so any tab will be unnoticeable. |
|
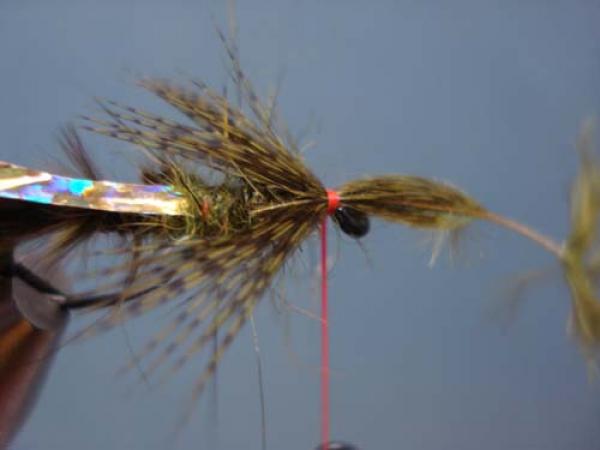
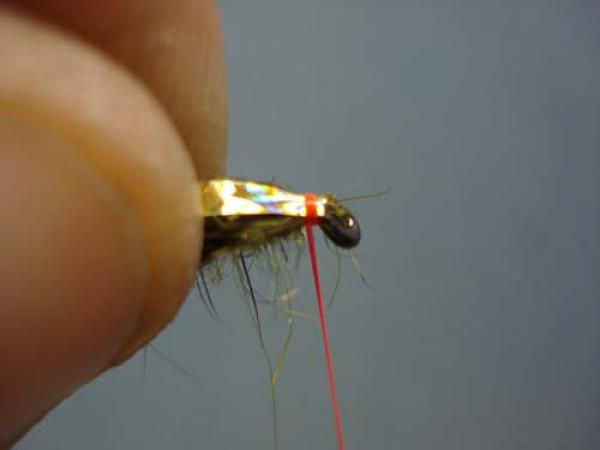
Form a neat head and whip finish and cement. |
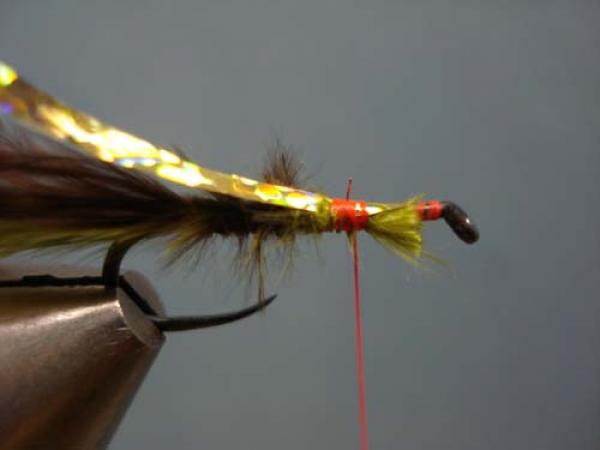
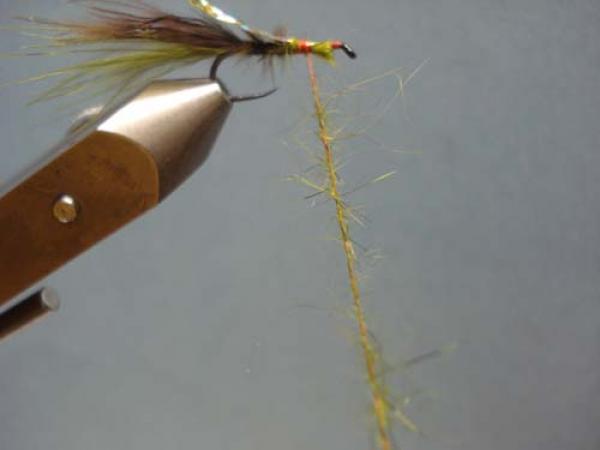
|
The Little Pine Damsel! |