Colonel Bates
Fly and Photos by Loren Williams
Carrie G. Stevens has left a legacy in the fly-tying world with her feather-wing streamers. The patterns, tied on 6X-10X long hooks, utilize common materials to form both imitative and attractor type baitfish imitations. Mrs. Stevens tied these flies without a vise and, probably, this is the reason the wings on her flies were mounted on the sides of the hook instead of on top. This has come to be known as the "Rangeley Style." It is quite common, and perfectly acceptable, to tie the wings atop the shank in order to show the body, or to tie them as originated along the sides. Mrs. Stevens prepared each wing separately as a complete unit before tying them on to each side of the hook. Although I prefer to mount the wings atop the shank as shown in this tutorial, when I do tie them as originated the end product is far superior when the wings are constructed beforehand. Wee bits of cement on the flattened portions of the feather stems are all that is required to build each wing.
Carrie Stevens was the wife of a Maine fishing guide when she started to develop her streamers. The first prototype was a stripped-down version of what we now know as the Grey Ghost. She used that pattern to take a contest winning brook trout. The victory brought her pattern to the headlines and created a demand among the fly fishing community. Thus, Carrie became a professional tyer and went on to create dozens more in the Rangeley Style.
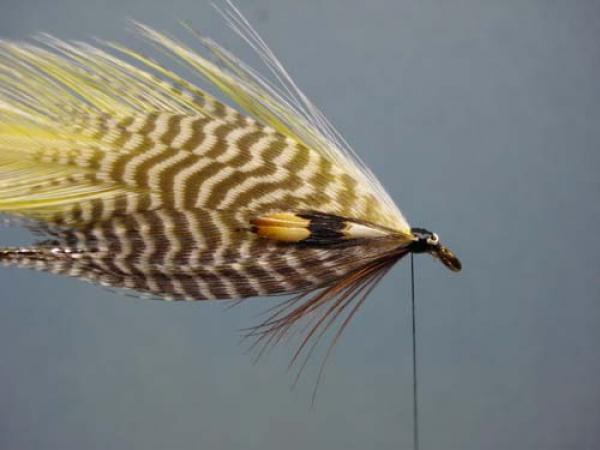
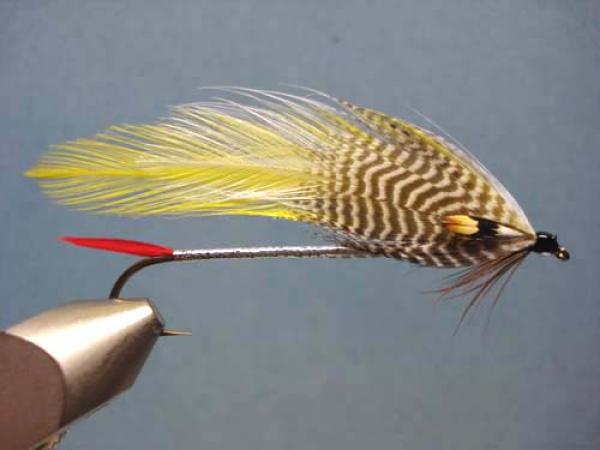
I have elected to demonstrate a pattern that is not quite as popular as the Ghosts simply because tutorials on the Grey and Black Ghost abound. The Colonel Bates is pure attractor and offers some interesting accents over the Ghost patterns. As mentioned, I have strayed a bit in that I do tie the wings aloft and I omit her trademark colored band at the rear of the head.
MATERIALS
Hook: 6XL (or longer) Streamer Hook
Thread: red
Tail: narrow section of red goose quill
Body: medium flat silver tinsel
Throat: dark brown saddle hackle barbules
Wing: two yellow saddle hackles flanked by two slightly shorter white saddle hackles
Shoulders: Teal flank feathers 1/2 length of the white wing portion
Cheeks: jungle cock
Click photos to enlarge!
|
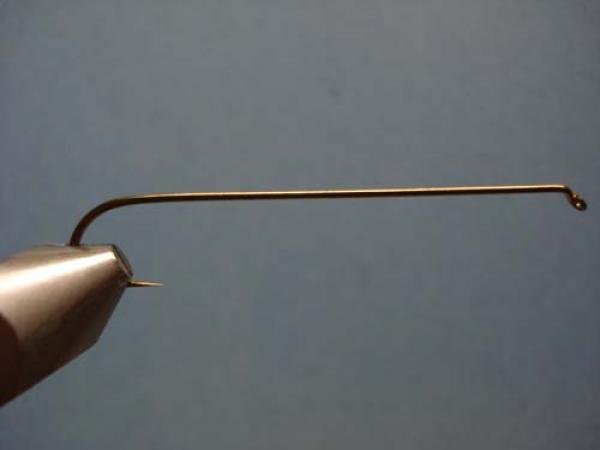
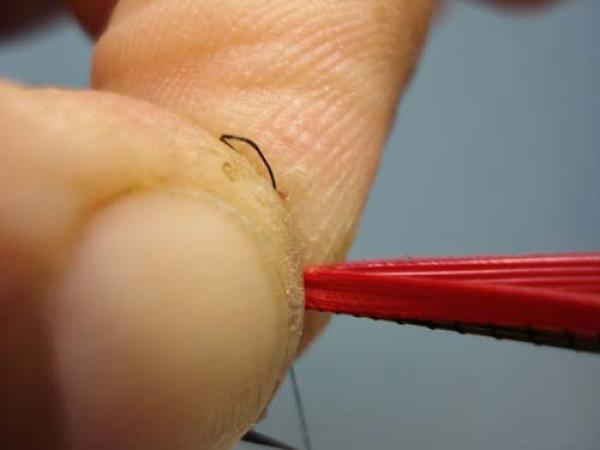
Place the debarbed hook firmly in the vise. It is best to mount the bend deeply in order to help offset the excessive length. |
|
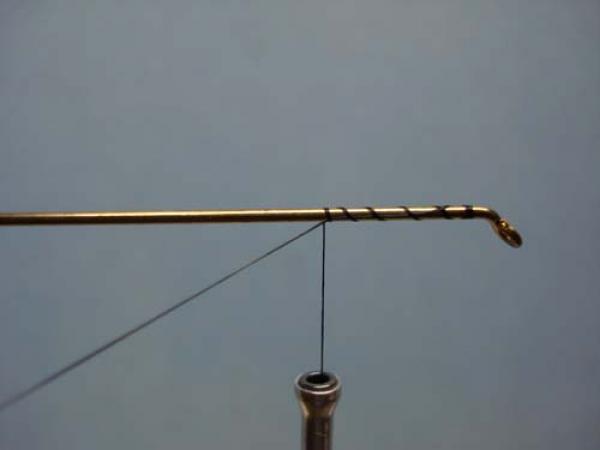
Start the jam knot near the eye... |
|
...and lay a base of thread to the rear, ending above the barb position. |
|
From matching right and left red goose quills.... |
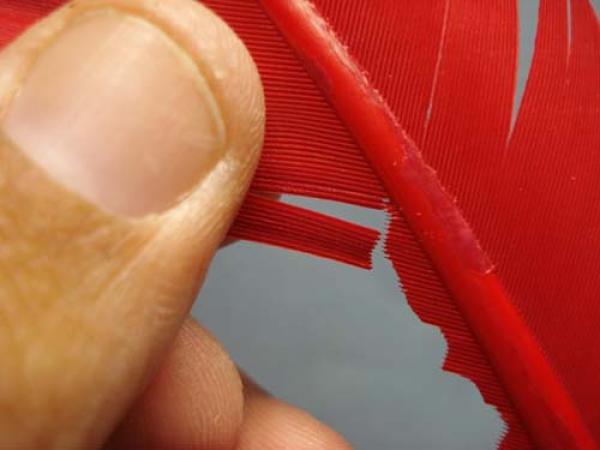
|
...snip out a thin slip from the long edge of each feather. |
|
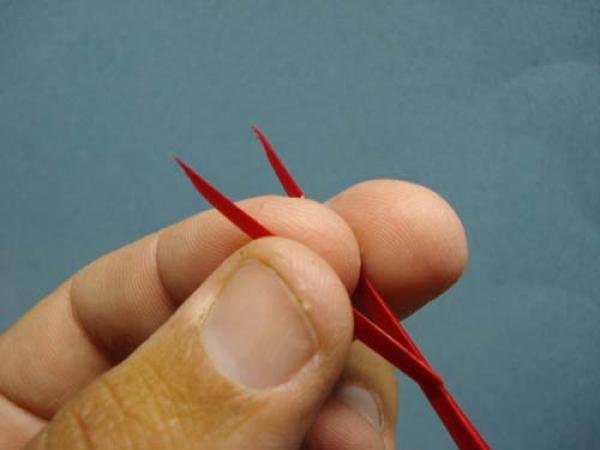
Place the slips together, goods sides out, so that the tips are aligned. |

|
Gently slide the tips into perfect alignment if needed. |
|
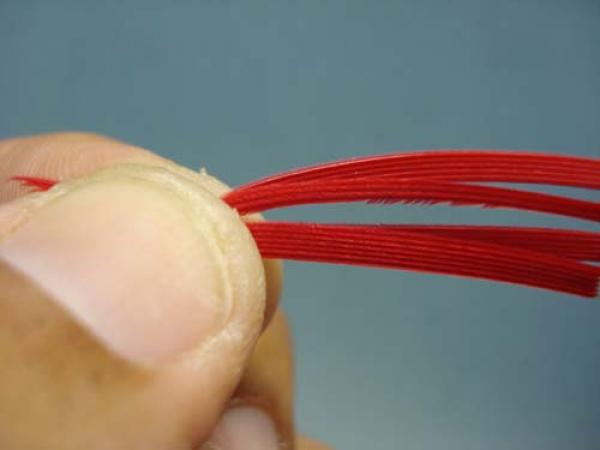
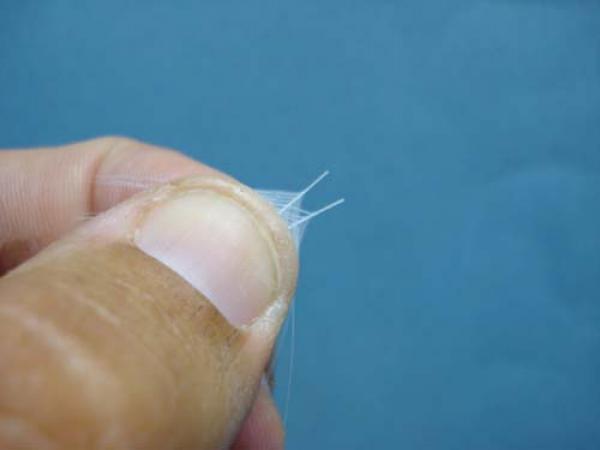
Using a dubbing needle, remove the upper half of the paired slips leaving a very slim slip unit. |
|
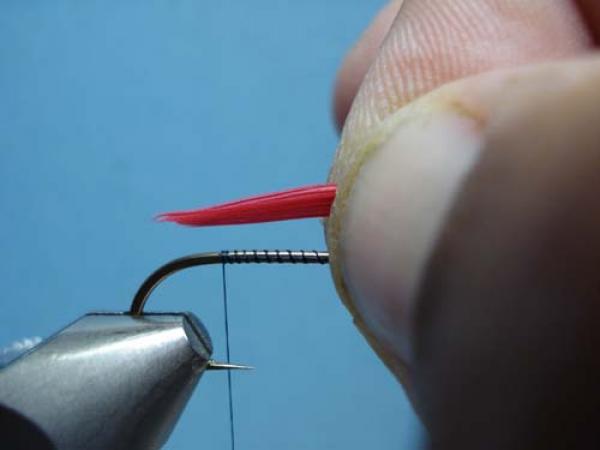
Measure the length of the tail to about equal the hook's gap. |
|
Switch hands and using a solid pinch wrap secure the tail to the top of the shank directly above the barb. No thread should be showing under or behind the tail. |

|
Begin the bind the quill slip forward. Note: I will make a purposeful error while securing the slips in order to show you how these errors will follow you along as you attempt to build a tinsel body. |
|
As you continue forward, try to keep the quill slip atop the hook shank. Notice the section where I allowed the slip to roll underneath. Follow that spot through the next steps. |
|
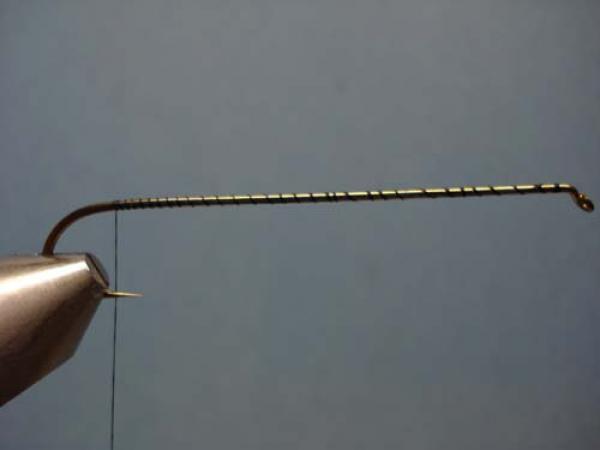
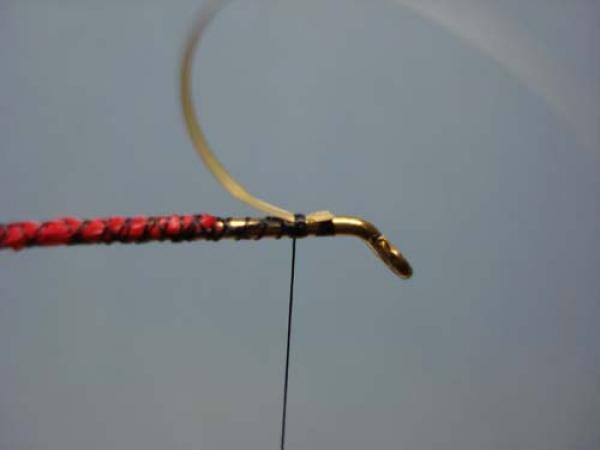
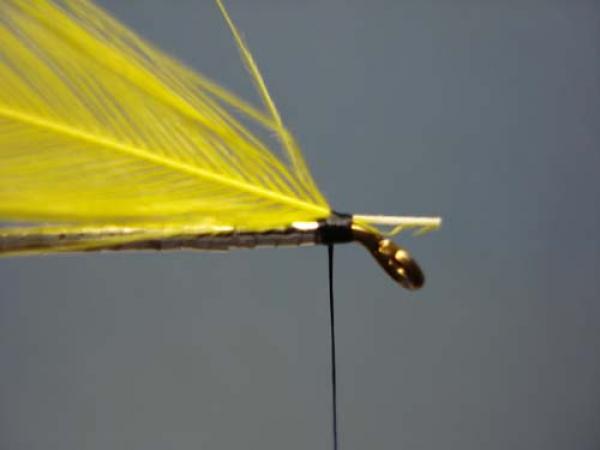
Cut a long piece of mylar tinsel and secure it behind the eye. If your mylar is two-sided, be sure the gold side is facing you so that it becomes hidden as the body gets wrapped. |
|
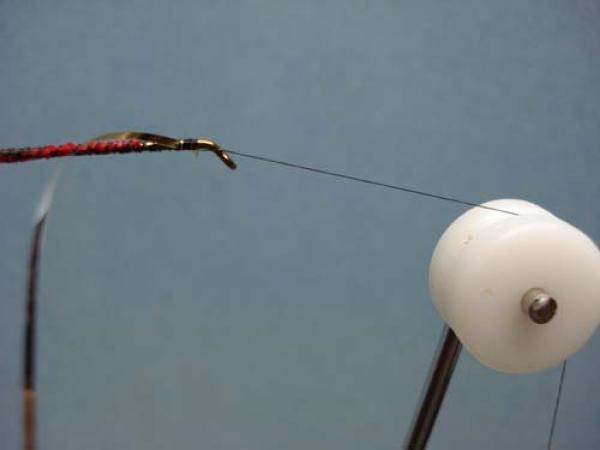
If you have a rotary vise, toss a half-hitch and place the thread over the cradle. Wrapping tinsel on a 6XL hook is about a zillion times easier with a rotary vise. |
|
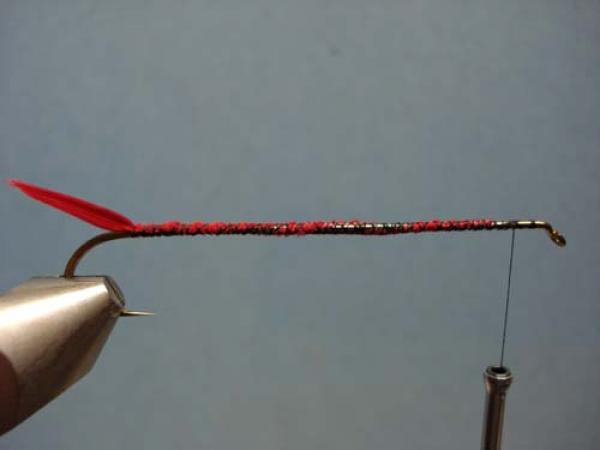
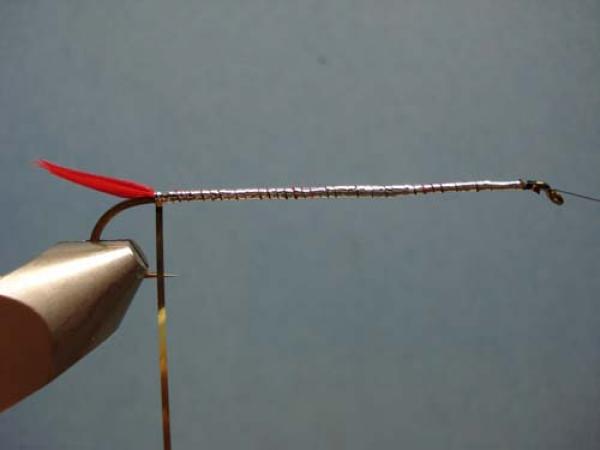
Wrap the tinsel to the rear in close tight turns. See the ugly bump! |

|
Wrap the tinsel back to the front, this will close up the original gaps but it will NOT hide the bump. This is why your underbody needs special attention. |
|
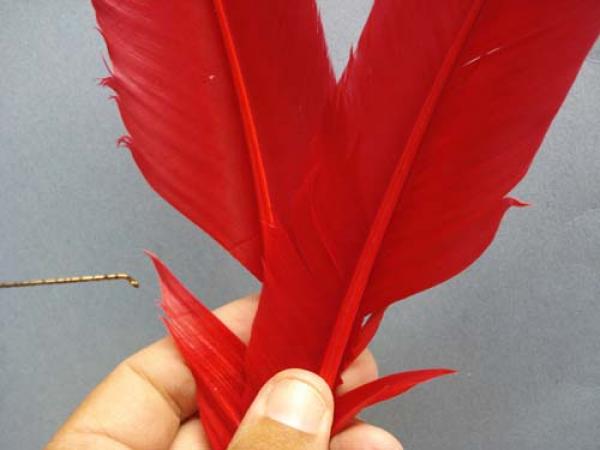
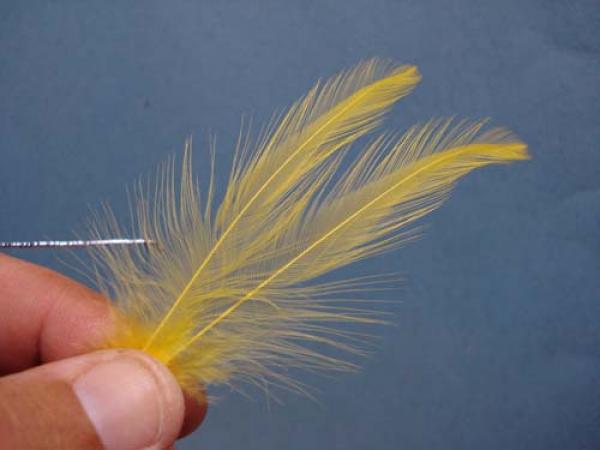
Select two straight large hackles from a yellow chinese rooster (a.k.a. Saltwater) cape. |
|
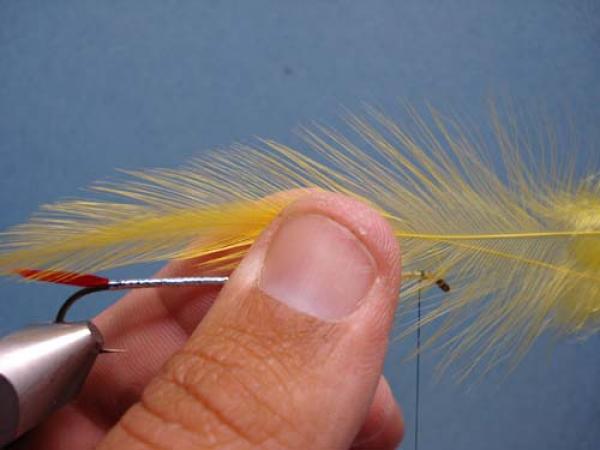
Place the undersides of the feathers together and even the tips then measure the unit for length. You want the tips to just exceed the tail in length. |

|
Expose the stems just forward of the beginning of the wing. |
|
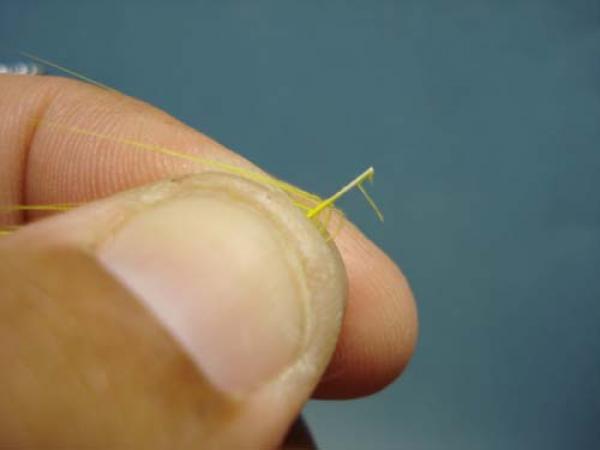
Clip the excess, leaving short stubs of exposed stems. |
|
Holding the feathers firmly together, pinch wrap them to the top of the shank, just behind the eye. Wrap forward with a few tight wraps to secure. |
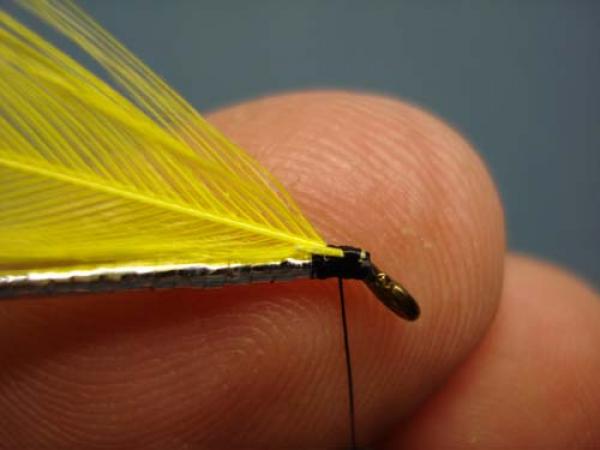
|
Fold each stem back and wrap over the fold to lock them in place. Clip the excess. Then advance the thread back to its' last wrap at the front of the wing. |

|
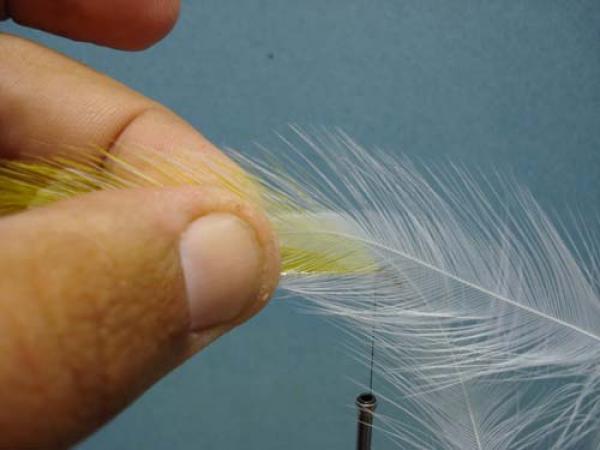
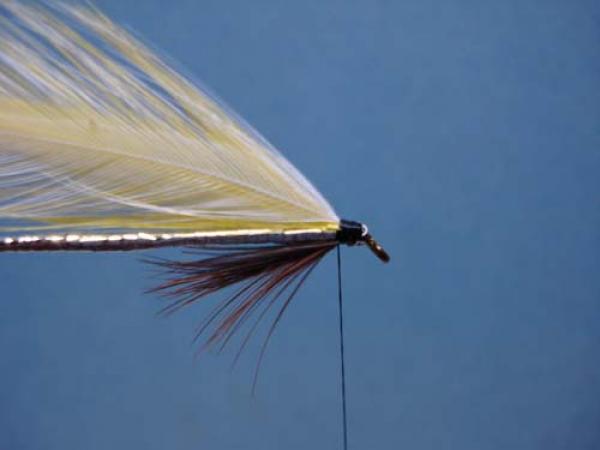
Select two white Chinese rooster hackles. |
|
Prepare as before, but measure this pair to be 3/4 the length of the yellow portion of the wing. |
|
Expose the stem and snip the excess. |

|
Allow the hackles to lie on the outside of the yellow portion of the wing but with the stems at the same angle then pinch wrap as before to attach. |
|
Fold the stems back and secure. Clip the waste. |
|
Advance the thread to rear of what will be the "head." |

|
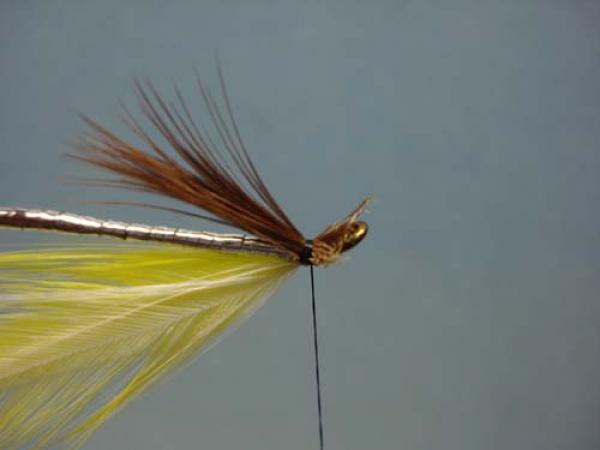
Select a dark brown saddle hackle with long barbs. Stroke the barbs parallel to the stem. |
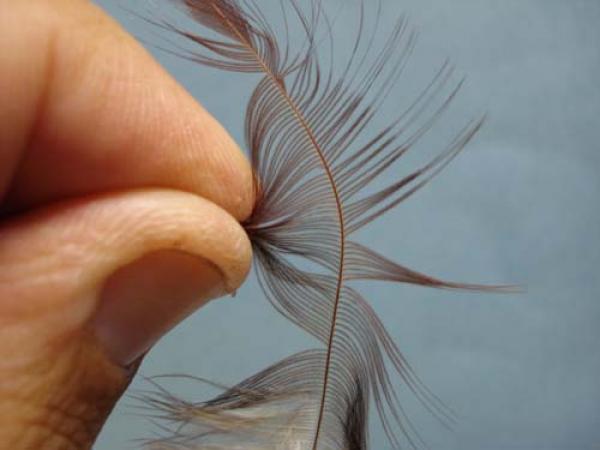
|
Coming from above and below, pinch a healthy section of barbs together. |
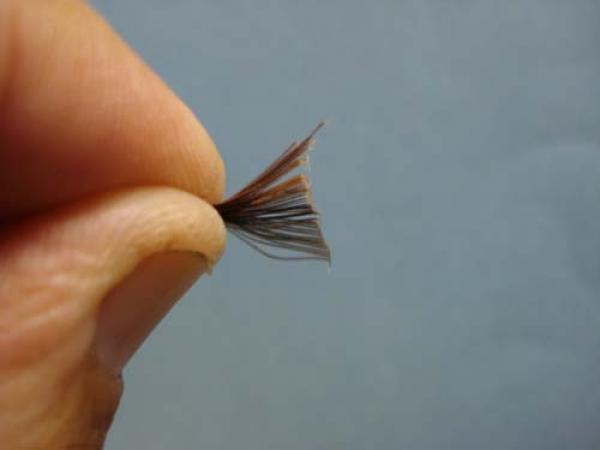
|
Snap the tip of the feather toward your chest with your other hand, this will remove the pinched barbs without misaligning the even tips. |

|
Invert the hook. |
|
Tie in the barbs at the throat position so they reach 1/4 to 1/3 of the way down the shank. Clip the excess. |
|
Place the hook back in its normal position. |

|
Select two similarly marked Teal Flank feathers. I prefer to use feathers who are roughly squared and rather firm. |

|
Measure one feather to reach half way down the white wing portion. |

|
Strip the excess barbules from the feather. |

|
Secure it to the side of the shank as shown. It may help to flatten the stem with thin needle nose pliers. |
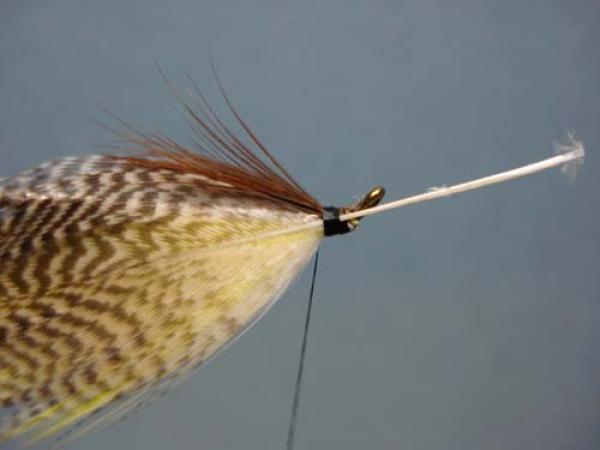
|
Repeat on the far side. |

|
Notice how the flank covers the wing and extends below the shank, yet follows the wing's outline on top. |

|
Select two Jungle Cock Eyes. I prepare these in advance by removing the fluffy base barbs and sealing the points with a thin coat of SHHAN. |
|
Prepare a single point by flattening its stem with pliers. This will prevent it from rolling when securing it to the hook. |
|
Secure it to the hook as a cheek so that it extends parallel to the hook shank and reaches to the rear edge of the throat hackle. |

|
Repeat on the far side. |
|
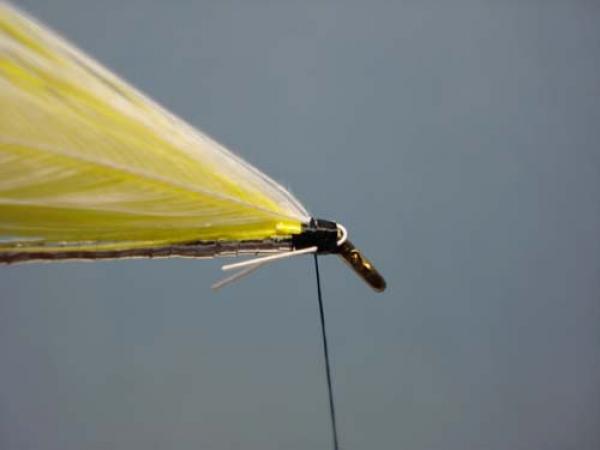
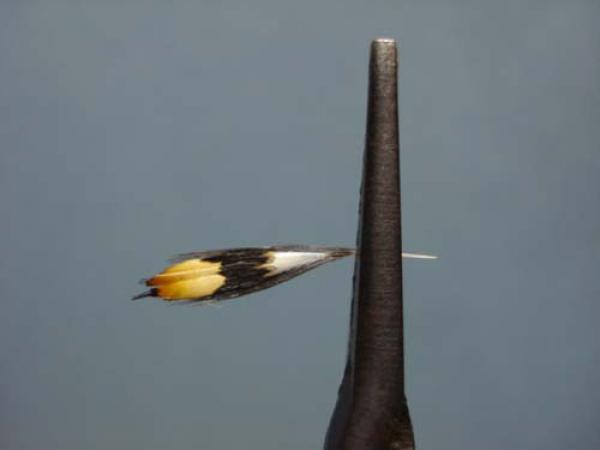
Add several glossy coats of head cement and you have a completed Colonel Bates! |
|
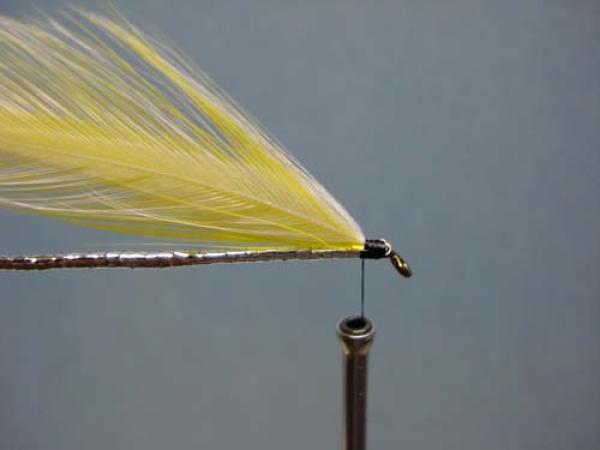
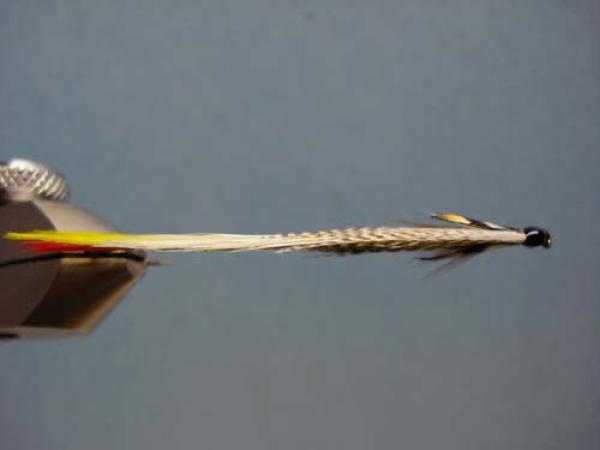
From the top. |