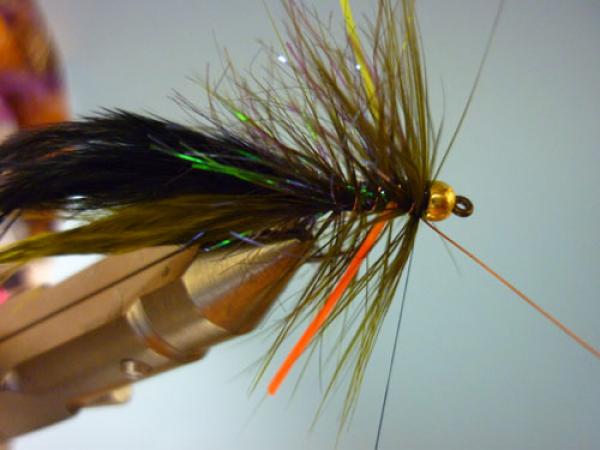
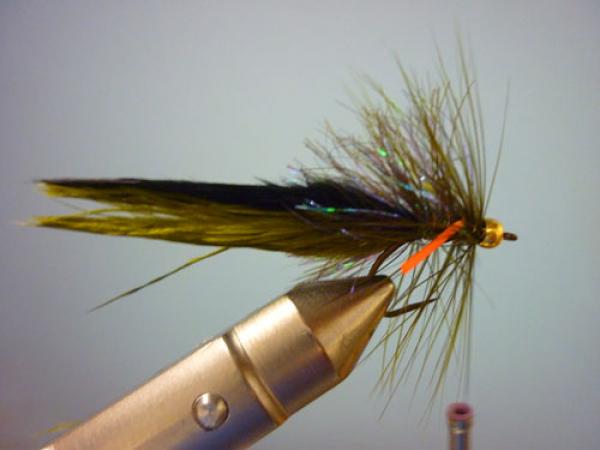
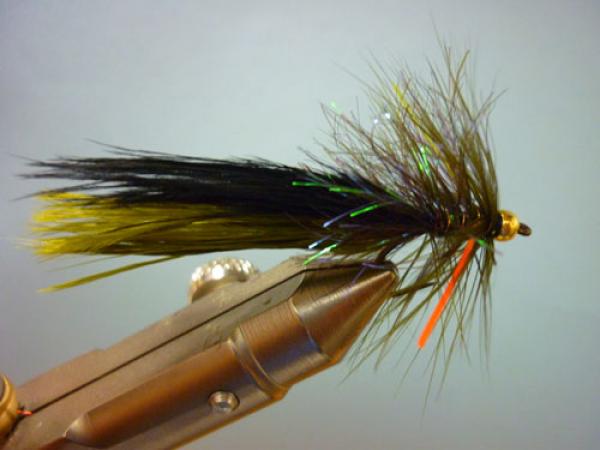
Olive Rat Bastard
Fly and Photos by Loren Williams
I feel that many fly anglers view streamer fishing as a dark art to be used only when the water is "off" or when the angler is seeking trophy trout. I know I used to feel that way. In the past few years however, I have been committed to gaining confidence in streamer fishing. What I have learned on my own and in discussion with my good friend, Kurt Finlayson, has been paramount to my angling.
Atypical to nymph fishing, the pattern in terms of size, color, and action is critical to streamer success. The more I experiment and observe, the more I am able to fine-tune my offerings on order to maximize my success. This means that I am certain I am no where near an endpoint in my resolve!
I feel that trout do not miss a fly, they simply refuse it at the last minute. Since much of my streamer fishing occurs in small streams I am able, and often prefer, to fish my fly in view. Much of the excitement, and frustration, lies in watching the explosion of a trout on your fly. When you button those fish you know you have the right fly. When they puke all over your fly but don't take you can be assured there is something they do not like-and it can be minor. It will also change under differing conditions and across watersheds.
For this reason, it pays to spend time fishing streamers so you can begin to learn what pattern variables you might want to cover. Feel free to contact me (315-399-4108) if you want private lessons on small stream streamer applications over wild trout! We will discuss the patterns, variables, rigging and presentation options.
The scope of this article covers the pattern. The Rat Bastard is a conglomeration of qualities I have found effective in streamers coupled with construction ideas formed by hundreds of hours on the water and in conversation with other anglers. My days of targeting trophy trout were the basis of where to start when designing flies while refining applications to target the general population. I knew action was critical so tails are imperative. As we see fish swipe and miss, we assume they miss short. Most tyers will seek ways to mount the hook nearer the tail to take those "nippers." However, when I began to observe I noticed that the trout invariably attack the front of the fly, usually in a downward direction-regardless of where the attack originates from. My friend Kurt began to experiment with smaller hooks not larger (although this was both of our original directions) and was met with success. I took that ball and pushed the limit. I am now so convinced at the frontal attack that I prefer short, wide gapped hooks. The hooks need to be scary sharp and barbless in order to maximize penetration and minimize removal damage.
Constructing the fly on a short hook may challenge you but basically I am tying a beefed-up jig. The tail length will be excessive, in the magnitude of 2-4 times the length of the hook shank-and I usually only use 1/2 to 2/3 the shank to tie the body! Coupled with the tungsten bead and lead wire, this gives the fly a very front-heavy weight distribution so the fly drops seductively on any pause in the retrieve. Crucial! I build them in different weights to account for different currents speeds and water depths. I enjoy fishing them in sight, but as deep as I can. The tail is what draws the fish, but the head is what they attack. I feel that by exaggerating the tail I can really excite the fish, but by keeping the head short I can focus the attack to the hook point.
Visibility is important to my enjoyment, but also to the success of the fly. I will often put a visible top color on the tail for my use. A bulky front end also adds to the visibility of the fly but it should also impart plenty of action. Remember, the hook will be short compared to the finished fly so typical proportion parameters like gape and shank length get tossed. You will see me using hackle many times larger than the gape.
I tie this fly with, and without, the flash body. One can substitute rayon chenille, seal fur, or many other materials to give a muted body-at time this option is key! I will also tie a version (pictured below) using palmered fur strips to build a bulky head.
The hot colored rubber legs seem to be an important trigger and many of my streamers incorporate them. However, have some with muted legs that compliment the fly as there will be those days where it matters! I try to position the legs very near the hook point as I believe they are focal points for the attack.
Lets tie!
MATERIALS
Hook: Mustad C49S #6-#10
Thread: 6/0 color to compliment body
Bead: Tungsten to suit hook
Weight: lead wire to match hook wire diameter
Tail: Marabou 2-3 times the body length
Body: Medium Palmer Chenille
Rib: Medium copper wire
Legs: Fluor. rubber legs
Hackle: Oversized saddle reverse palmered
Click photos to enlarge!

|
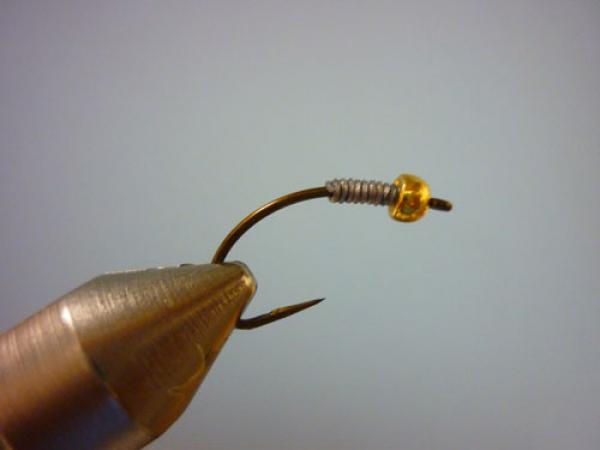
Place hook firmly in your vise. |

|
Apply 10 wraps of lead wire, try to match the wire diameter of the lead to the wire diameter of the hook. |
|
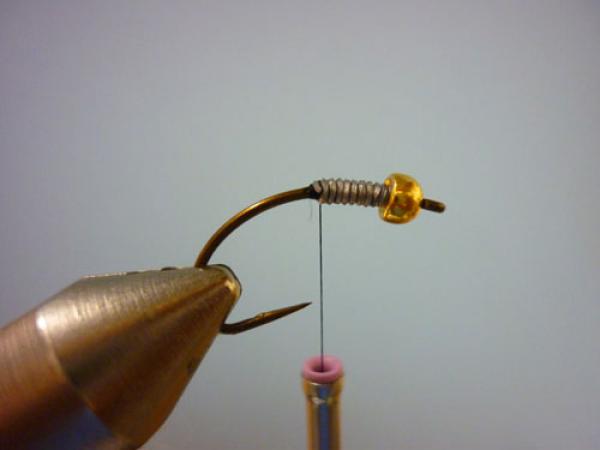
Push the wire coil up into the cavity of the bead. |
|
Secure the coil with thread wraps, you do not want the coil to spin after the fly has been tied. |
|
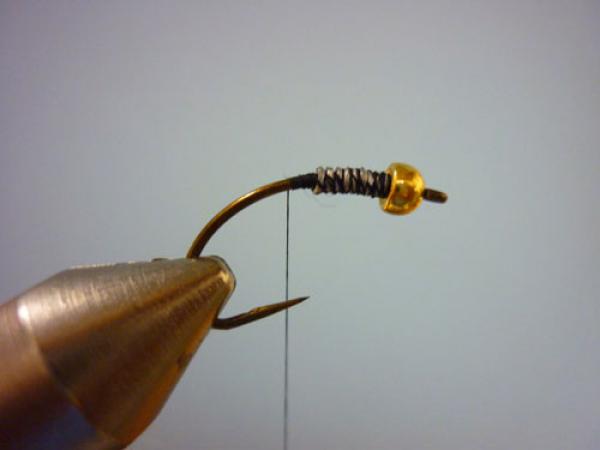
End the process with the thread at the rear. |

|
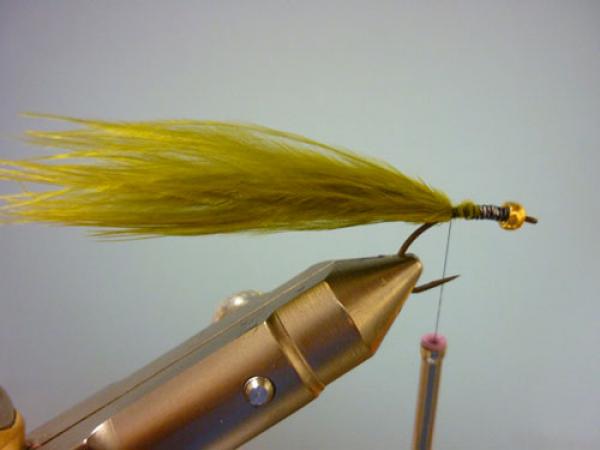
Select an olive marabou plume. Select a section from the side and strip it away from the stem. Don't worry about even tips. |

|
You will end with this. |
|
Clip the very butt ends away to square up the bundle at the tie-in point. No need to measure for length, you want to tie in the marabou by the butt ends-using them to build a taper up to the lead wire coil. |
|
It should look like this. A tad bit of spit stroked onto the marabou will keep it under control. |

|
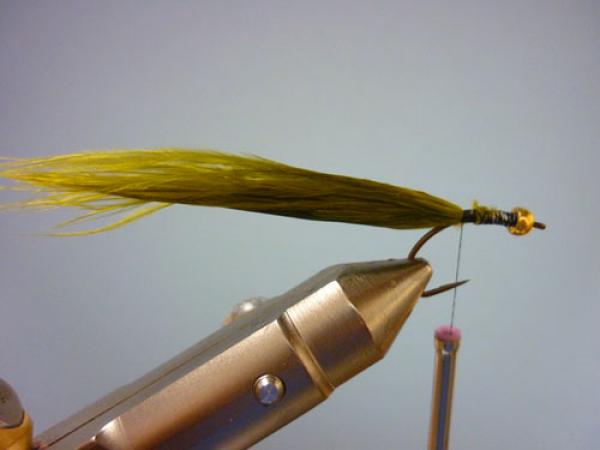
Repeat with a same-sized bundle removed from the opposite side of the stem. |
|
#2 in place. |
|
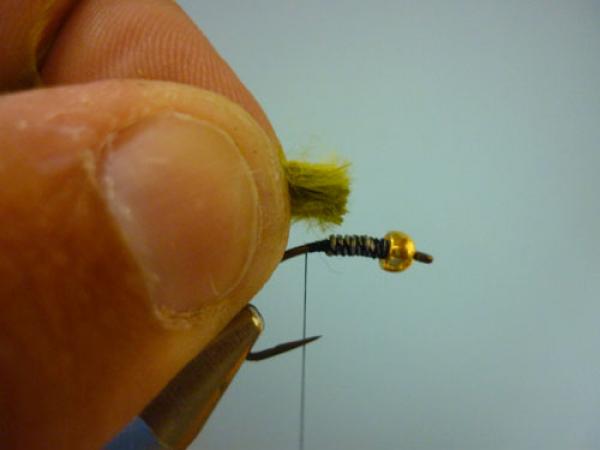
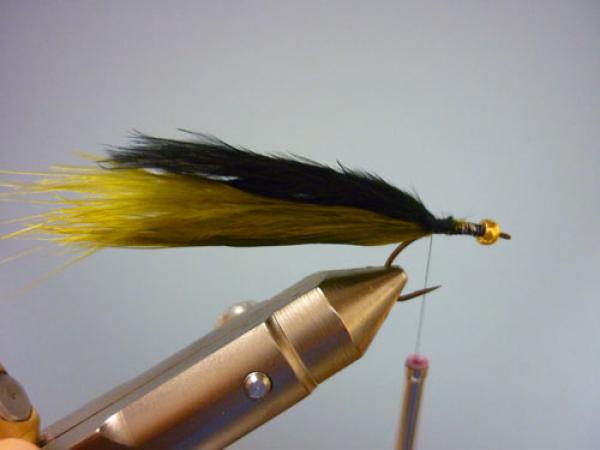
Repeat, if desired, with a third bundle form a contrasting color. This will be to assist you in seeing the fly. Notice I have not tie over the lead wire coil-this is done on purpose to keep the body diameter manageable. |

|
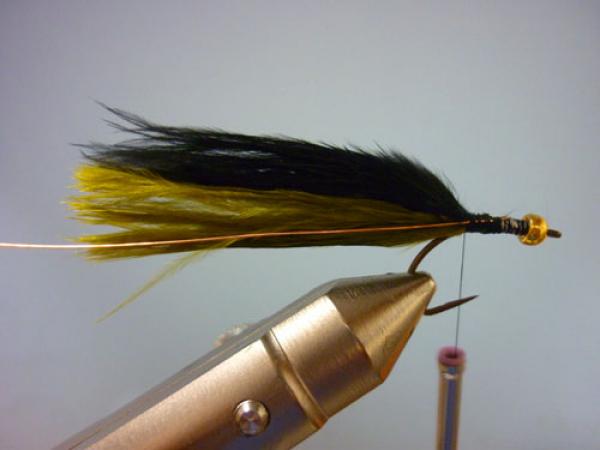
Now, simply moisten the tips of your fingers on both hands and "pinch" off the tips of the marabou to bring them to the 2-4 times the shank length discussed. DO NOT cut them with scissors, pinching the tips leaves a much more natural taper. |
|
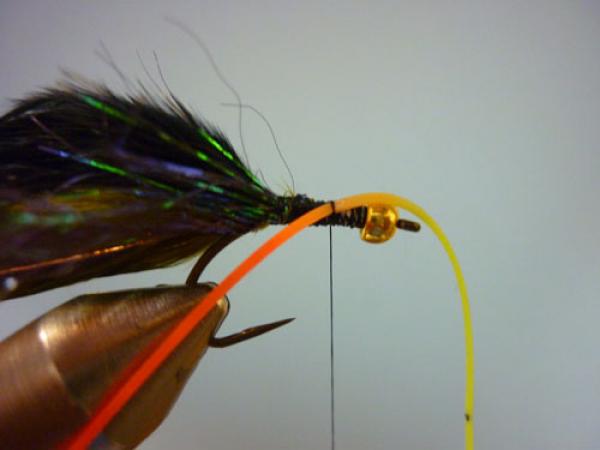
Secure a section of medium copper wire to the nearside of the hook. |
|
Secure a section of black palmer chenille to the nearside of the hook. |
|
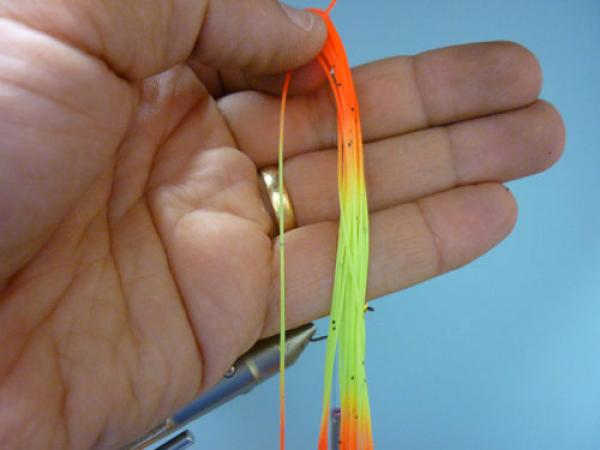
Obtain a single fiber of fluor chart/orange rubber legs. |
|
Secure the orange section to one side of the hook... |
|
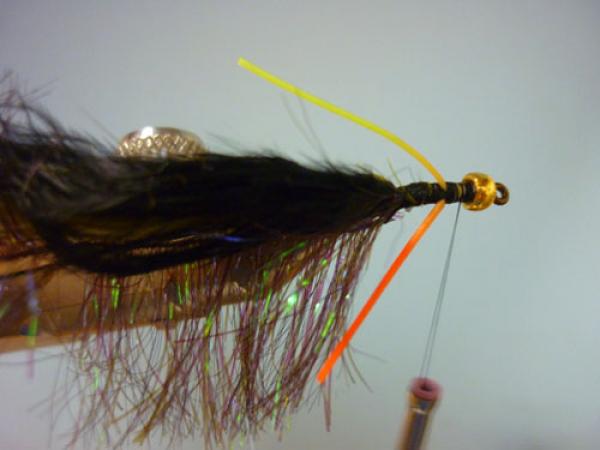
...fold the rest across the top and secure the chartreuse section to the far side. |
|
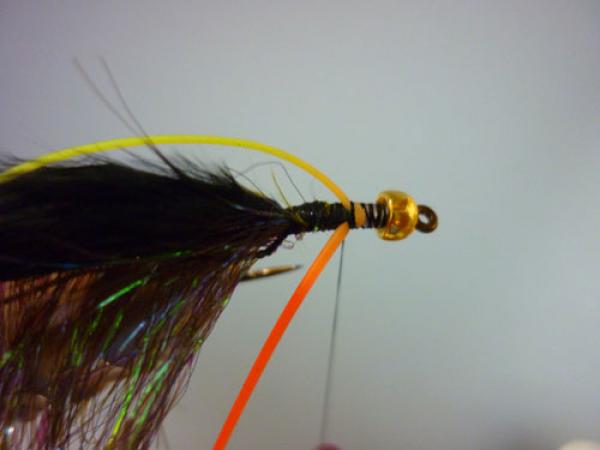
Clip each leg to length, so that they fall just short of the half way point on the tail. |

|
With the thread behind the bead, make open wraps forward using the palmer chenille. Try not to make this too dense. |
|
Secure the chenille. |
|
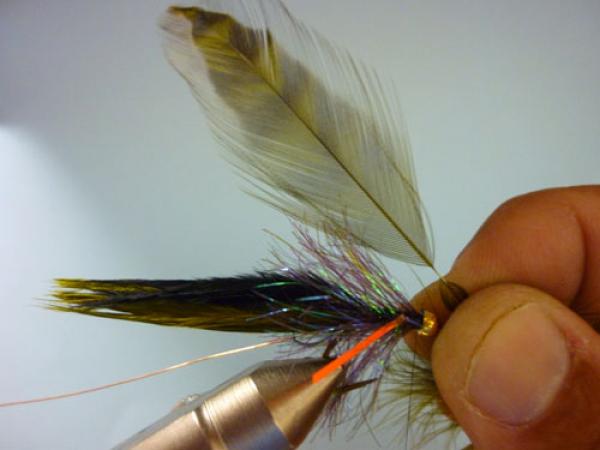
Select an oversized saddle hackle. Remove the fluff and clip the excess stem away. |
|
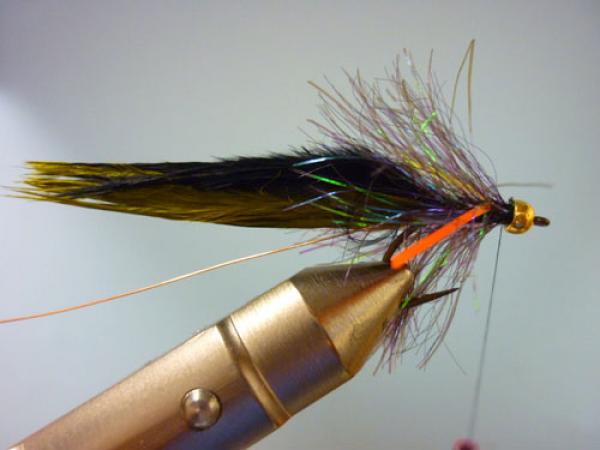
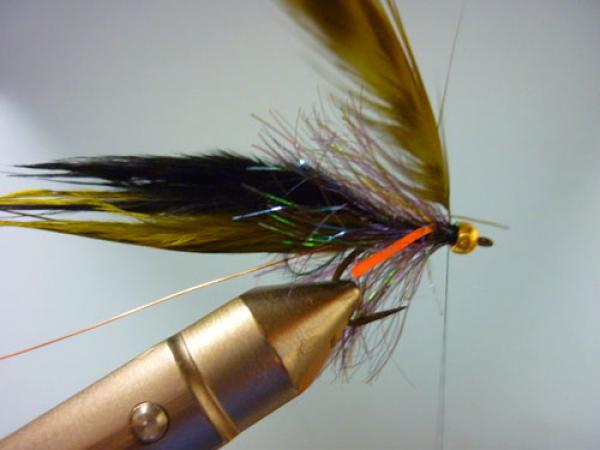
Secure the hackle just behind the bead. |

|
Wrap to the rear, using your off-hand to pull the palmer chenille fibers forward between wraps. |

|
Catch the tip, at the rear, with the copper wire, and continue to wrap the copper rib forward to secure the hackle. |
|
Last wrap of copper passes under the shank and in front of the thread... |
|
...pull the wire back and secure with a few thread wraps. Remove excess copper with a wiggle and a pull. Whip finish and cement! |
|
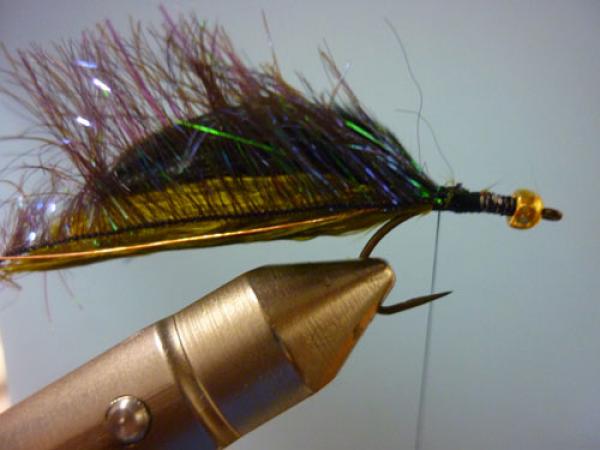
Completed Olive Rat Bastard! |