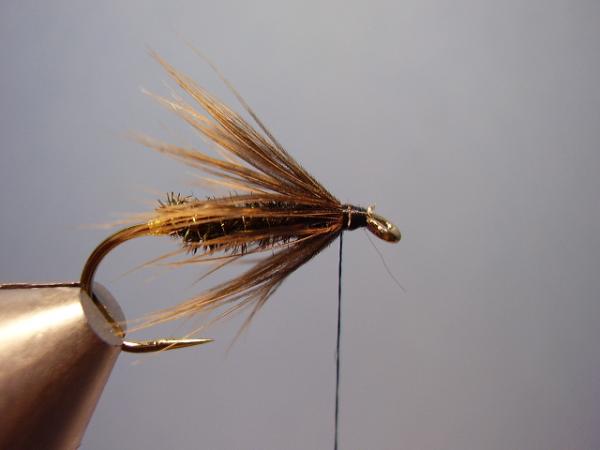
Leadwing Coachman
Step-by-Step
Fly and Photos by Loren Williams
The Leadwing Coachman is a fine example of a versatile wet fly pattern, and one that exhibits a number of tying skills. Aside from being pleasing to the eye, this pattern does a fine job at imitating various species of caddisflies and mayflies and works well as a general searching pattern. Any winged wet fly has its place in an anglers fly box to imitate various drowned and emerging insects or migrating nymphs.
I'm not exactly sure who is credited with the development of the pattern, but it is listed in the famous book Trout, written by Ray Bergman published in the early 1950's.
The pattern will likely be seen in a few lights as many tiers embellish the recipe with their favorite techniques and materials. Some add tails, some omit the tag. I have shown a more traditional recipe.
Material List:
Hook: Mustad R50, or similar wet fly hook
Thread: Black
Tag: Gold Mylar Tinsel (fine)
Rib: Fine Gold Wire
Body: Peacock
Hackle: Brown Hen
Wing: Duck or Goose Quill
Click photos to enlarge!

|
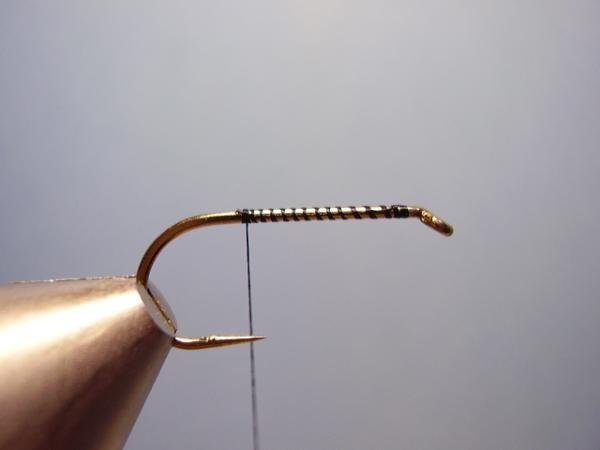
Insert the hook into your vise, being sure to make good contact along the inside of the jaw surfaces. |
|
Start your jam knot behind the eye and lay a thread base rearward to just past the point. |
|
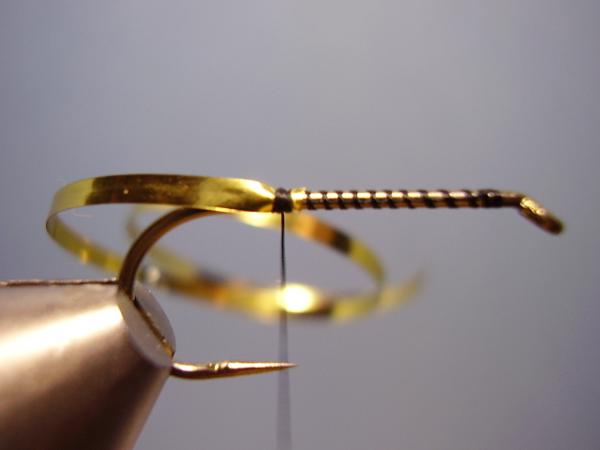
Catch in some fine gold mylar tinsel long the near side of the hook. Here, I used a medium width mylar simply because I was lacking fine mylar. You will see the less than desirable results in the next few photos. |

|
Crease the mylar by folding it up and away from you; this will result in a clean 45-degree fold to to get the wraps started. Continue to wrap to the rear, ending just past the barb. |
|
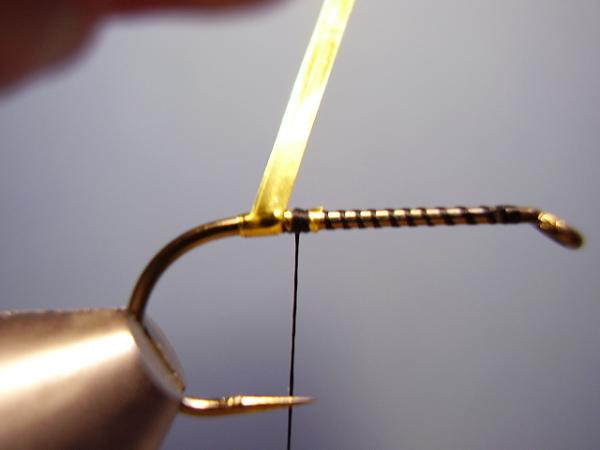
Return, with forward wraps, to the tie-in location. Pass behind the shank and come in front of the thread, then pull back slightly... |

|
...and secure with a few tight thread wraps. Notice how the tinsel did not wrap upon itself neatly, the results would have been better had I used fine tinsel. |
|
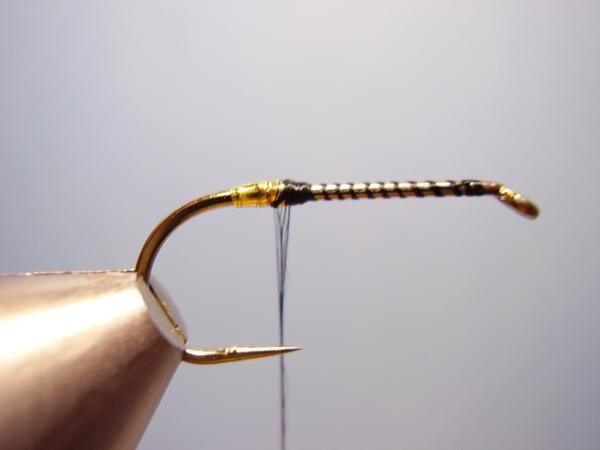
Advance the thread forward to about the 1/4 shank position. |

|
Catch in the fine gold wire and secure it to the rear on the far side of the hook. Then return to the 1/4 position with your thread. |
|
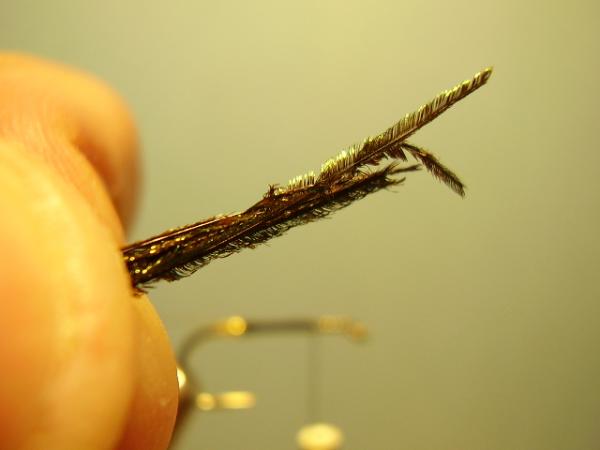
Select 5 or 6 full flued peacock herls and roughly align the tips. |
|
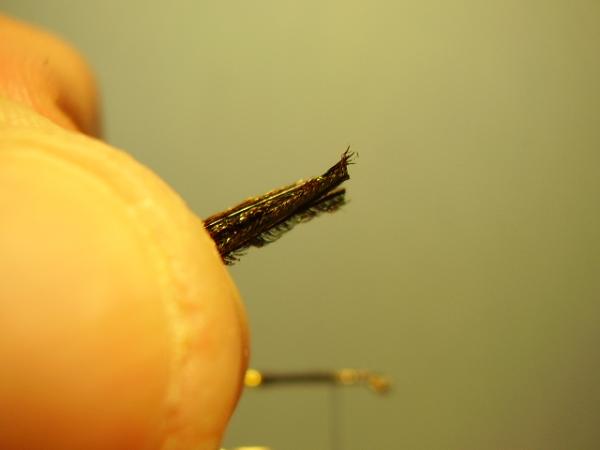
Lop-off the top 3/4" to remove the weakest areas and square up the tips. |
|
Secure to the hook and bind to the rear. Be sure to go completely to the edge of the tag to eliminate any gaps. |
|
Advance the tread forward. |
|
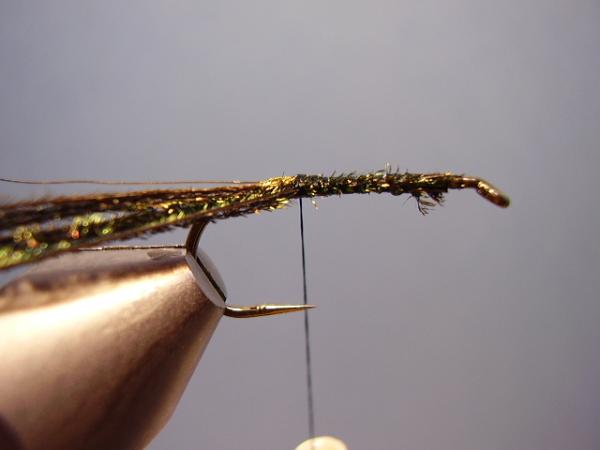
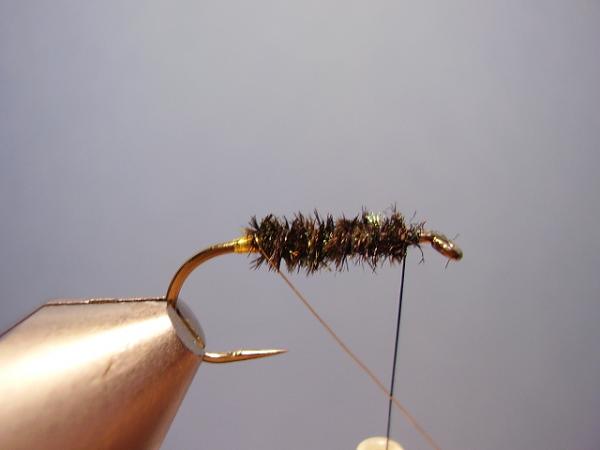
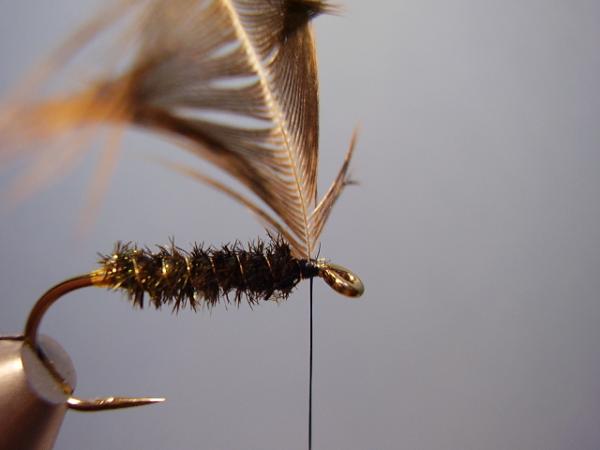
Wrap the peacock bundle forward. |

|
Tie-off in the same manner as the tag tinsel. |
|
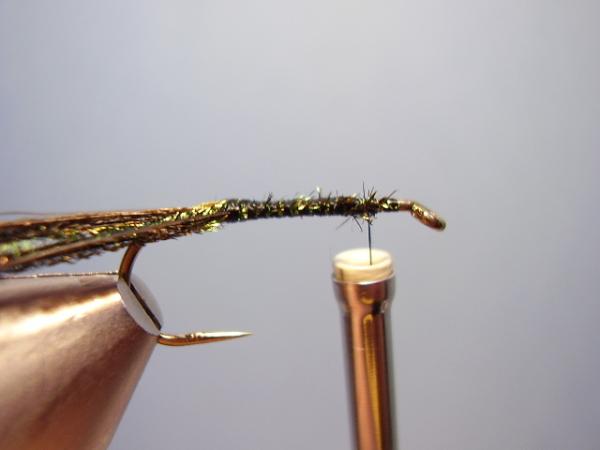
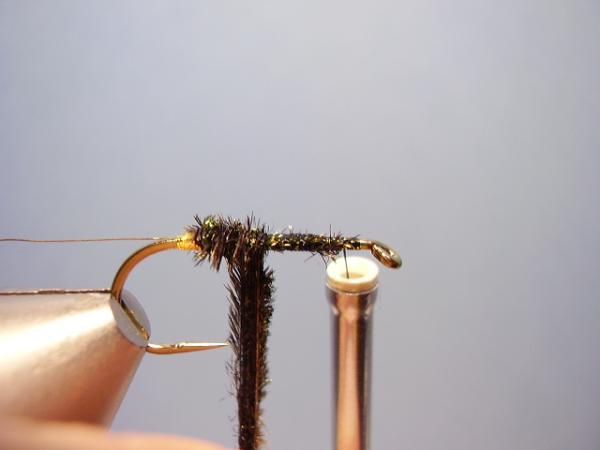
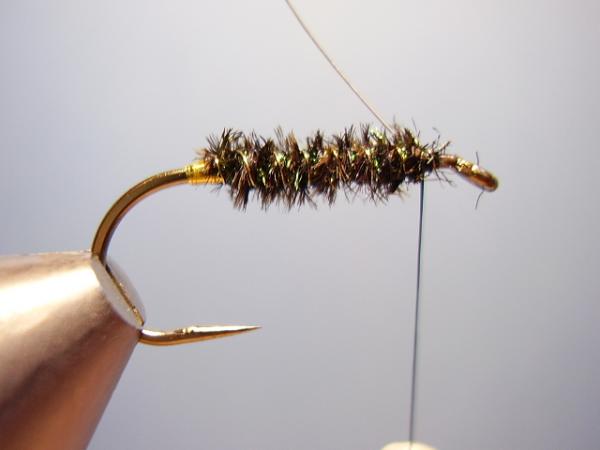
Counter-rib (wrap in the opposite direction forward, or wrap toward you) with the gold wire for durability . Try to keep the wraps parallel and even in spacing. |
|
Secure in the same manner as the mylar and peacock. |
|
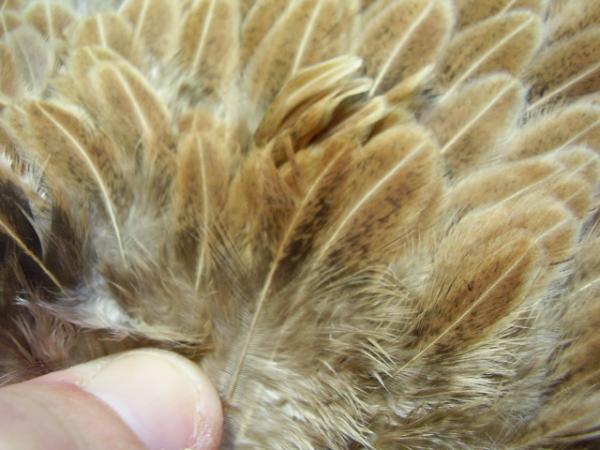
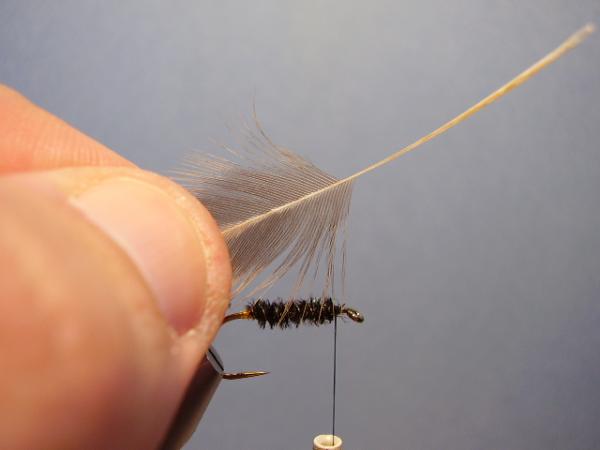
Select a brown hen cape of back. I have chosen a back with distinct markings but a tad lighter than the original recipes demands. |

|
Select a feather with barbs about as long as the hook shank. |
|
Remove the fuzz at the base. |
|
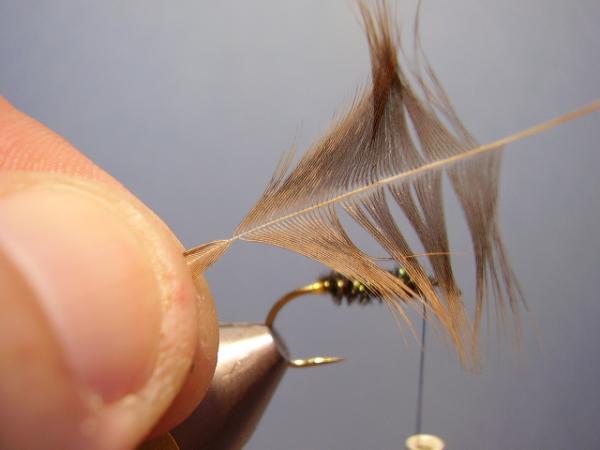
Grasp the very tip and stroke the rest of the barbs toward the base to expose the tip. |
|
Secure the feather as shown, with the underside facing up. |
|
Clip off the exposed tip. Note: You may find it easier to perfomr the preceeding steps prior to applying the peacock and ribbing. |
|
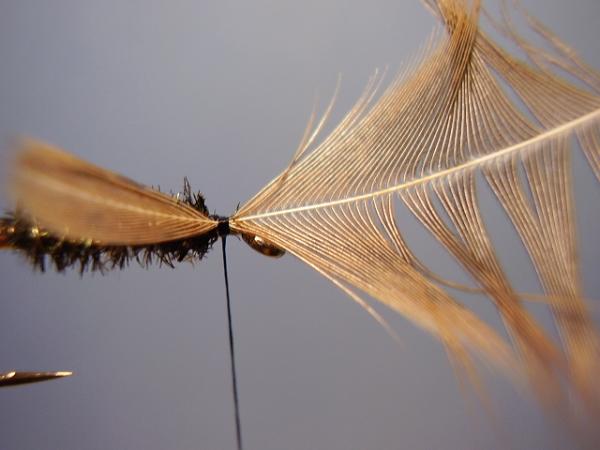
Lift the feather and advance the thread to just in front of the stem. |

|
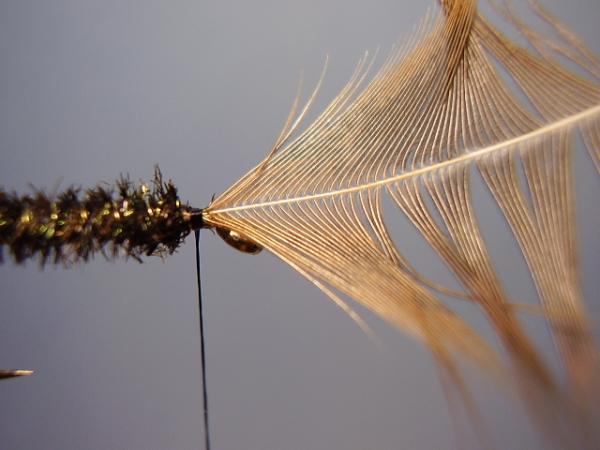
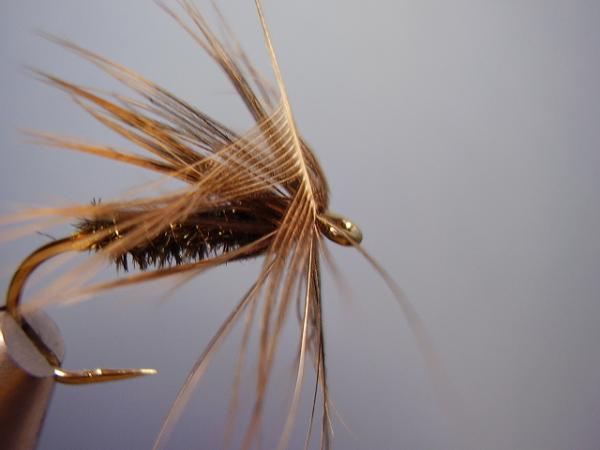
With your hackle pliers, make 2 or 3 wraps of hen hackle in front of the body... |

|
...being sure to pull the barbs back between wraps. |
|
Secure in the same manner as the other materials. |
|
Clip away the excess. |
|
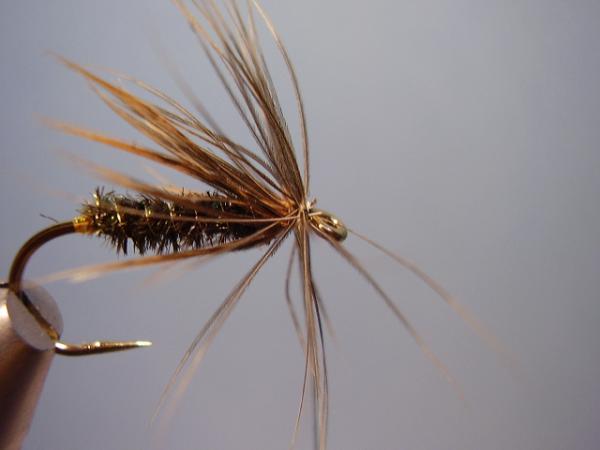
Pull the barbs to the rear to expose the thread and eye. |
|
Make a few tight wraps back on the hackle to force it to the rear and to create room for the wing. |

|
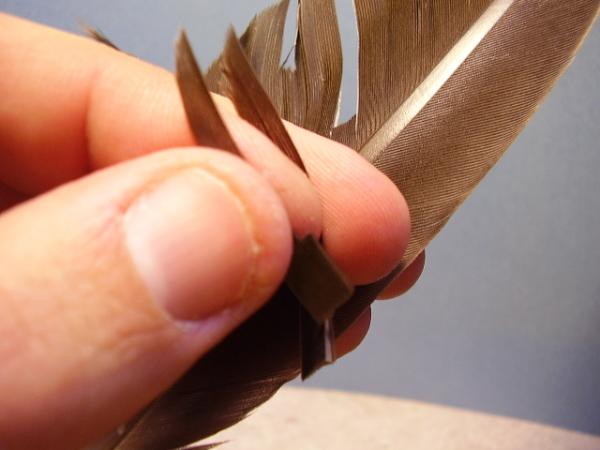
Select two goose or mallard primaries, one form the left and one form the right wing. Notice how, when placed with the undersides together, the wings curve together? This is how we want them to be tied on the hook. |

|
As opposed to this. |
|
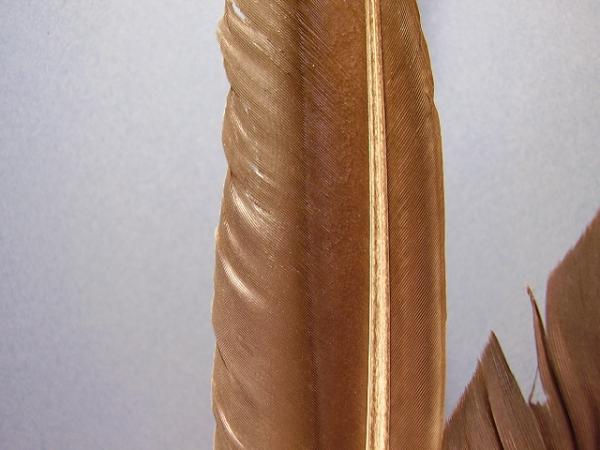
Look at the underside of the primaries and you will see a sort of webbing marked by the darker line. Between this line and the center quill the barbs widen and flatten and are unusable for winging. Select your slips based on the space available outside of that demarcation. |
|
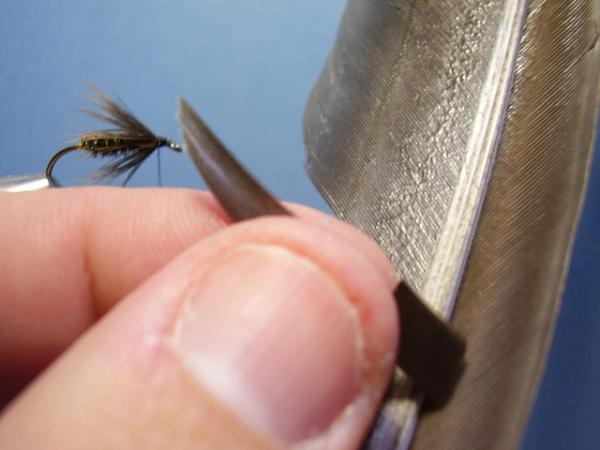
Select a wing slip from the left feather to be about equal in width as the hook's gap. |
|
Repeat with the right feather. With forethought, you can achieve this without letting go of the first slip and that makes pairing the slips much easier. |

|
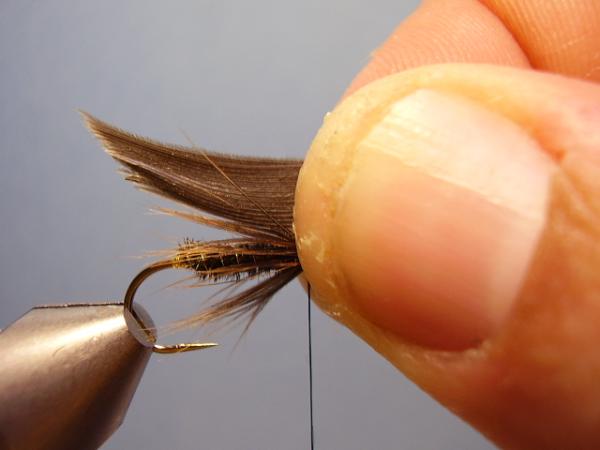
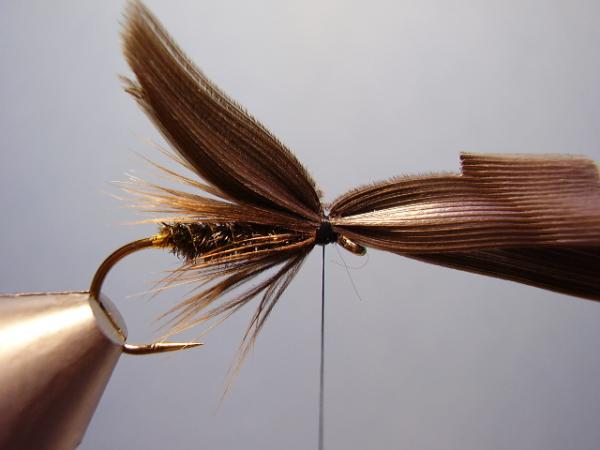
Pair-up the slips, undersides together, so the natural curves bring the tips together. Align the tips by sliding the slips up and down. Resist the temptation to fondle the quills as this will transfer your oils to the quills and ruin their integrity. Each quill is lined with tiny hook that cause them to stick to each other, your oils will hamper that adhesion. |
|
Measure the wing to be equal to the hook in length, and be sure they are oriented with the long edge on top. |
|
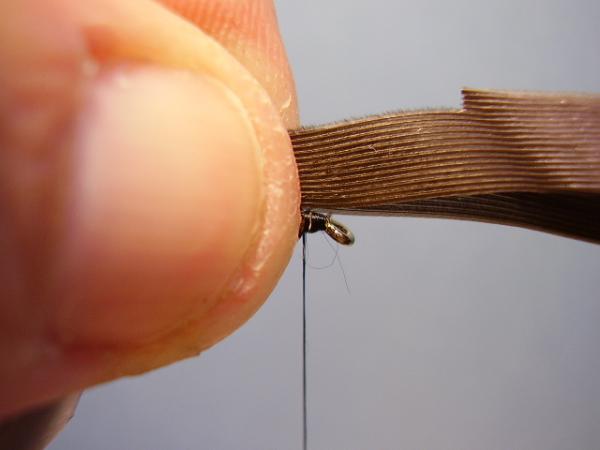
Transfer hands and place the measured point directly over the thread. The thread should be hanging at the forward edge of the body..NO GAPS! |
|
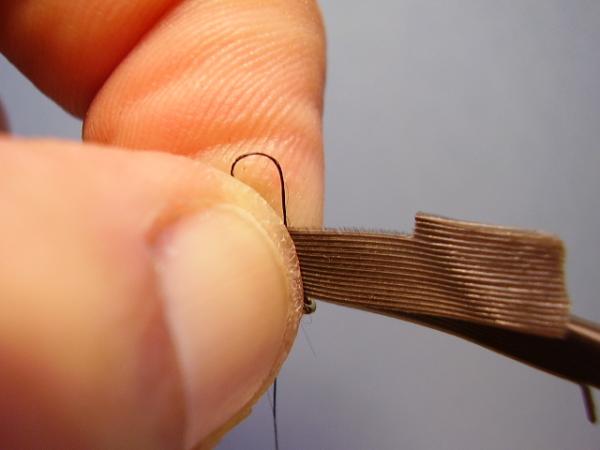
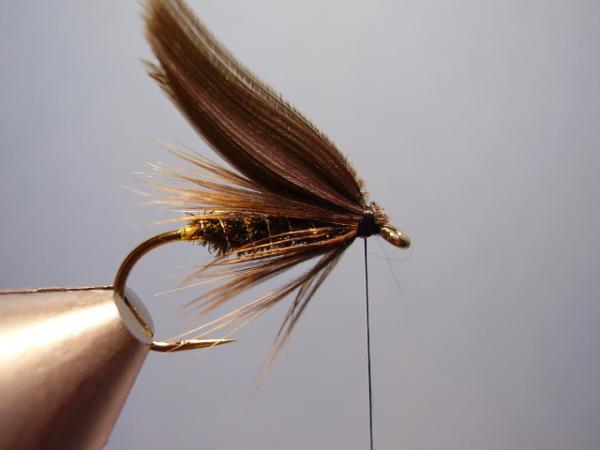
Make one effective pinch-wrap to lock the wings to the top of the shank. This is the only technique that will produce satisfactory results. |
|
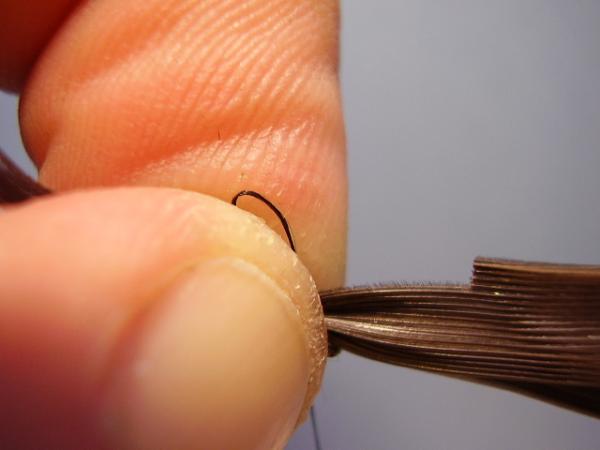
A second pinch wrap for good measure. |
|
Make 2 or 3 good wraps forward of the pinch wraps for durability so that the wings do not shift when you clip the butt ends. Notice how the wing shape has not changed, the wings have not split, and the wings are dead top the hook shank? The signs of well made pinch wraps. |
|
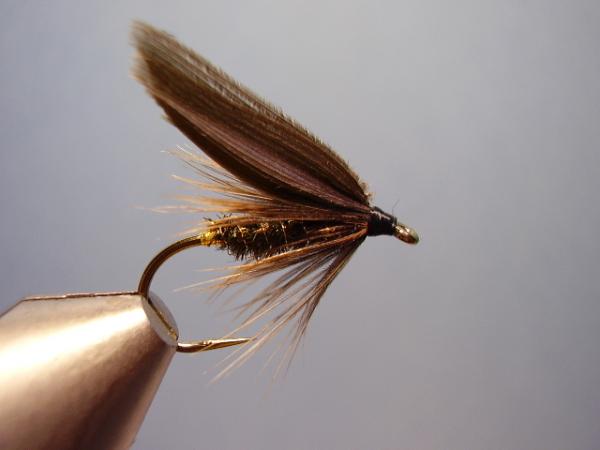
Clip the butt ends of the quills close to the thread. |
|
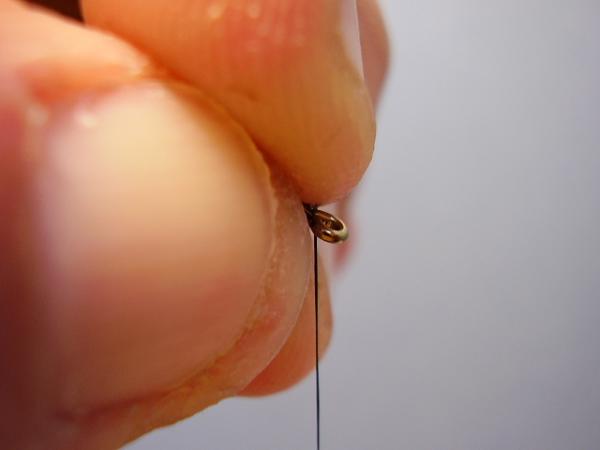
Form a neat, small head and whip-finish. Trademark to classic wet flies is a small glossy head. Three coats of head cement (I use Sally Hansen's" Hard as Nails") will do the job. |
|
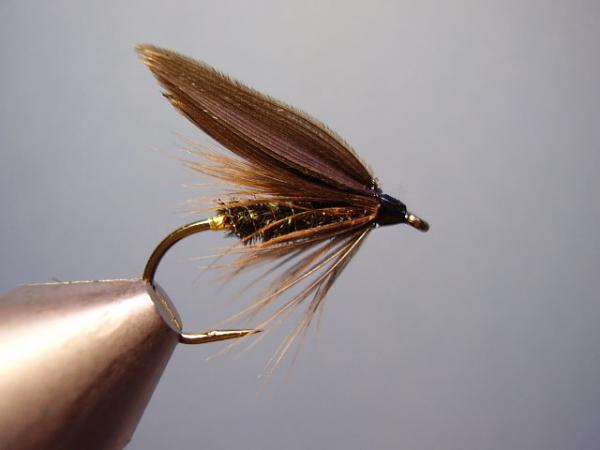
A completed Leadwing Coachman Wet Fly! |